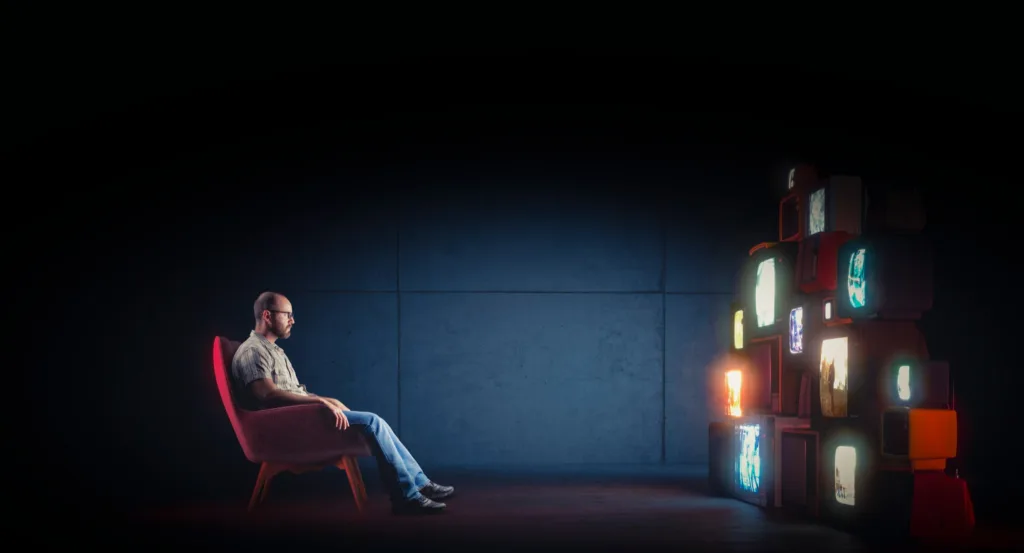
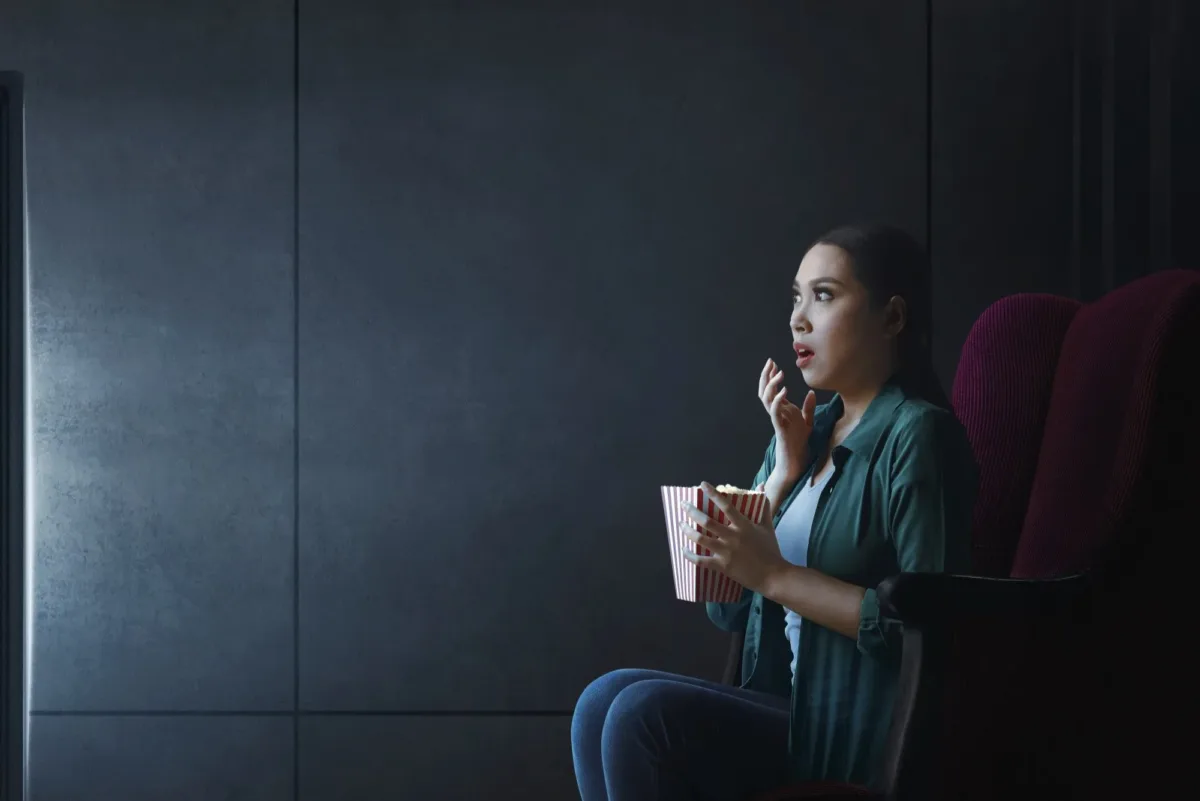
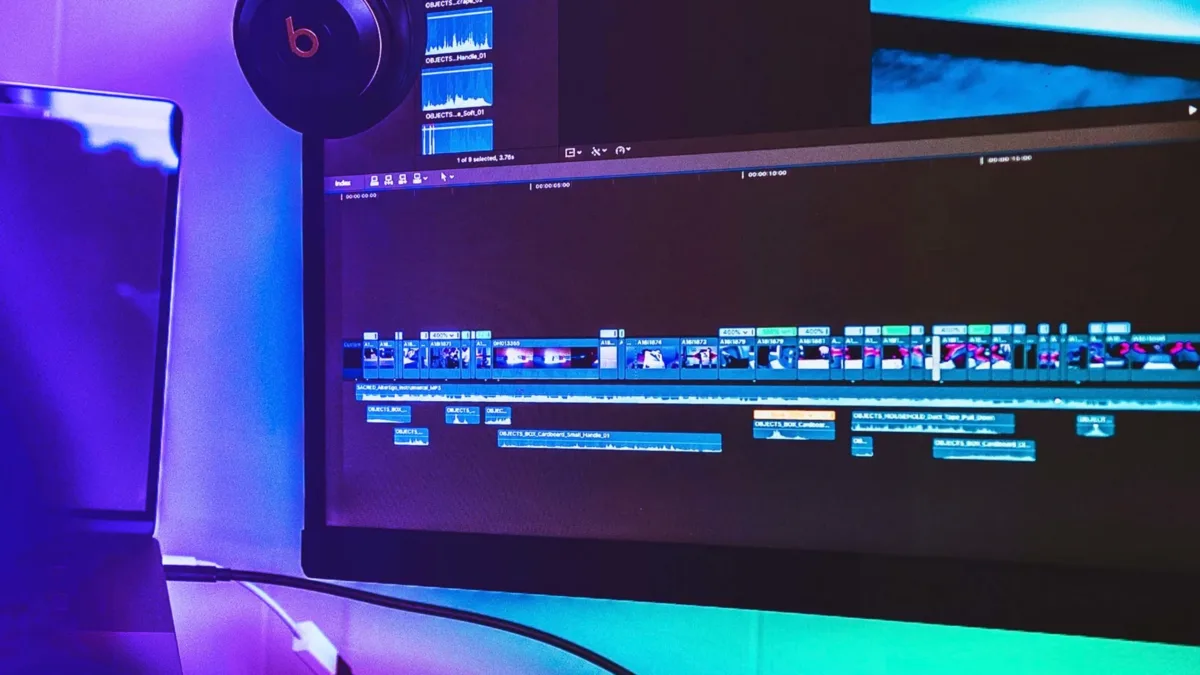
Lights, camera, action…and music! How to use music in film and video projects? That’s right, folks – music is a vital component of any great film or video project. It can set the mood, evoke emotion, and even propel the story forward.
But how do you choose the right music for your project, and how do you use it effectively? Here are a few tips to get you started:
Consider the tone
The music you choose should match the tone of your project. Are you making a lighthearted comedy or a serious drama? Is your video meant to be inspiring or suspenseful? Think about the emotions you want to evoke in your audience and choose music accordingly.
Pay attention to pacing
The tempo and rhythm of the music can affect the pacing of your video. If you want to create a sense of urgency, choose a faster-paced track. If you want to slow things down and create a more contemplative mood, go for something slower.
Use music to create contrast
Sometimes, using music that contrasts with the visuals can create a powerful effect. For example, pairing a sad song with footage of a joyful event can create a bittersweet tone.
Consider the lyrics (or lack thereof)
If your project includes dialogue or narration, make sure the music isn’t competing with it. Instrumental tracks are a safe bet, but if you do choose a song with lyrics, make sure they don’t detract from the story.
Don't forget about licensing
Before using any music in your project, make sure you have the legal right to do so. There are plenty of royalty-free music libraries out there, but TuneCutter is the best for price and licensing purposes going forward.
And there you have it – a few tips for using music in your film and video projects. Just remember, music is a powerful tool, so use it wisely!
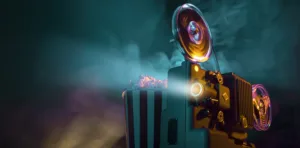
Are you tired of boring, static images in your videos? Want to add a little flair and pizzazz to your video content? Well, have no fear, the Ken Burns Effect is here!
No, we’re not talking about the director of “The Civil War” documentary. We’re talking about a nifty little technique that adds movement and depth to still images in your video projects.
So, what exactly is the Ken Burns Effect? Simply put, it’s a technique of panning and zooming on still images, creating the illusion of movement and animation. It’s named after the famous documentary filmmaker, who used the technique extensively in his films to bring old photographs to life.
The effect involves zooming in or out on an image, while simultaneously panning across it. This creates a sense of motion and depth, making still images appear more dynamic and engaging.
Slideshows are boring, right?
Think about it – have you ever watched a slideshow of pictures that just seemed to drag on and on? Boring, right? But with the Ken Burns Effect, those same pictures can become much more interesting and visually stimulating.
The beauty of this technique is that it can be applied to a variety of different video projects. Whether you’re creating a slideshow of family photos or a promotional video for your business, the Ken Burns Effect can help elevate your content and make it stand out.
how do you create the Ken Burns Effect?
So, how do you create the Ken Burns Effect in your own video projects? It’s actually quite simple.
First, choose the image you want to apply the effect to. Ideally, you’ll want to choose an image with a strong focal point or subject that you can zoom in on. A landscape or group photo might not work as well as a portrait or close-up shot.
Next, import the image into your video editing software of choice. Most programs, like iMovie or Adobe Premiere, have built-in tools for creating the Ken Burns Effect.
Once you’ve imported the image, select it and click on the “crop” or “transform” tool. This will bring up a menu of options for adjusting the size and position of the image.
To create the effect, you’ll want to set two keyframes – one at the beginning of the clip, and one at the end. These keyframes will mark the starting and ending points of your zoom and pan.
At the first keyframe, zoom in on the image using the “scale” or “zoom” tool. You can also adjust the position of the image within the frame using the “pan” tool.
At the second keyframe, zoom out or return the image to its original size and position.
Finally, adjust the timing and duration of the effect to your liking. You might want to make the zoom and pan faster or slower, depending on the tone and pacing of your video.
And that’s it! With just a few simple steps, you can add a little extra oomph to your still images and make them come alive.
the Ken Burns Effect - Easy right?
Of course, like any video technique, the Ken Burns Effect can be overused or applied inappropriately. You don’t want to use it on every single image in your video, or it might become repetitive and tiresome.
Instead, use it strategically to highlight key moments or to add emphasis to specific images. It’s also a good idea to pair the effect with other visual elements, like text overlays or transitions, to create a more cohesive and polished look.
So, there you have it – the Ken Burns Effect in all its glory. It may seem like a small detail, but it can make a big difference in the overall quality and impact of your video content. Give it a try and see for yourself!
Ah, TikTok – the land of viral videos and dance crazes. So, you want to create and edit a TikTok video that engages with millions? Let’s get editing!
First things first, start with a clear concept. What’s the hook of your video? Is it a dance challenge, a funny skit, or a quick cooking tutorial? Once you have a concept in mind, film your footage and import it into your editing software of choice (TikTok has its own built-in editing tools, but you can also use external apps like iMovie or Adobe Premiere Rush).
Next, start trimming your footage to keep only the best moments. Aim for a tight, fast-paced edit that keeps viewers engaged from start to finish. Use jump cuts and other creative transitions to keep things interesting.
Add music! Music is a key element of TikTok videos, so choose a track that fits your concept and mood. Use the editing tools to time your cuts and transitions to the beat of the music.
Now it's time to add effects
TikTok has a wide variety of filters and effects built-in, but you can also use external apps to add more advanced effects like color grading or motion graphics. Just be careful not to overdo it – a little goes a long way.
Finally, add captions and hashtags to make your video easily discoverable. Use popular hashtags related to your concept and include captions that are funny or engaging.
And there you have it – a TikTok video that’s ready to go viral! With a clear concept, tight editing, music, effects, and captions, your video will be sure to engage with millions. So get out there and start creating!
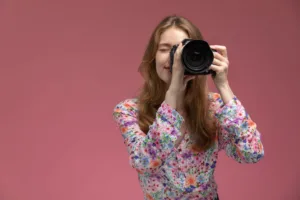
Looking for an affordable video camera that won't break the bank? You've come to the right place! Here are some of the best video cameras under $1000.
Panasonic Lumix G7
First up, we have the Panasonic Lumix G7. This mirrorless camera is perfect for those just starting out in the world of videography. It shoots 4K video, has a flip-out screen for easy self-shooting, and is compact and lightweight, making it great for on-the-go shooting.
Sony a6400
Next on the list is the Sony a6400. This camera has excellent autofocus, shoots 4K video, and has a tilting screen for easy overhead and low-angle shots. It’s also great for still photography, making it a versatile choice for any content creator.
Canon EOS Rebel T8i
If you’re looking for something a bit more traditional, the Canon EOS Rebel T8i is a great choice. It shoots 4K video, has a fully articulating touchscreen, and is compatible with Canon’s extensive lens lineup. Plus, it has built-in Wi-Fi and Bluetooth for easy sharing and remote control.
DJI Pocket 2
For those who need something even more compact, the DJI Pocket 2 is a handheld camera that shoots 4K video and has built-in gimbal stabilization. It’s great for vlogging or capturing on-the-go footage, and the pocket-sized design means you can take it anywhere.
Blackmagic Pocket Cinema Camera 4K
Last but not least, we have the Blackmagic Pocket Cinema Camera 4K. This camera is a bit pricier than the others on the list, but it’s a powerhouse when it comes to video quality. It shoots 4K video with 13 stops of dynamic range, has a built-in SSD for fast and easy storage, and includes DaVinci Resolve Studio for advanced editing capabilities.
There you have it, folks – some of the best video cameras for under $1000. Whether you’re just starting out or looking to upgrade your gear, these cameras offer great value for the price. So get out there and start shooting!
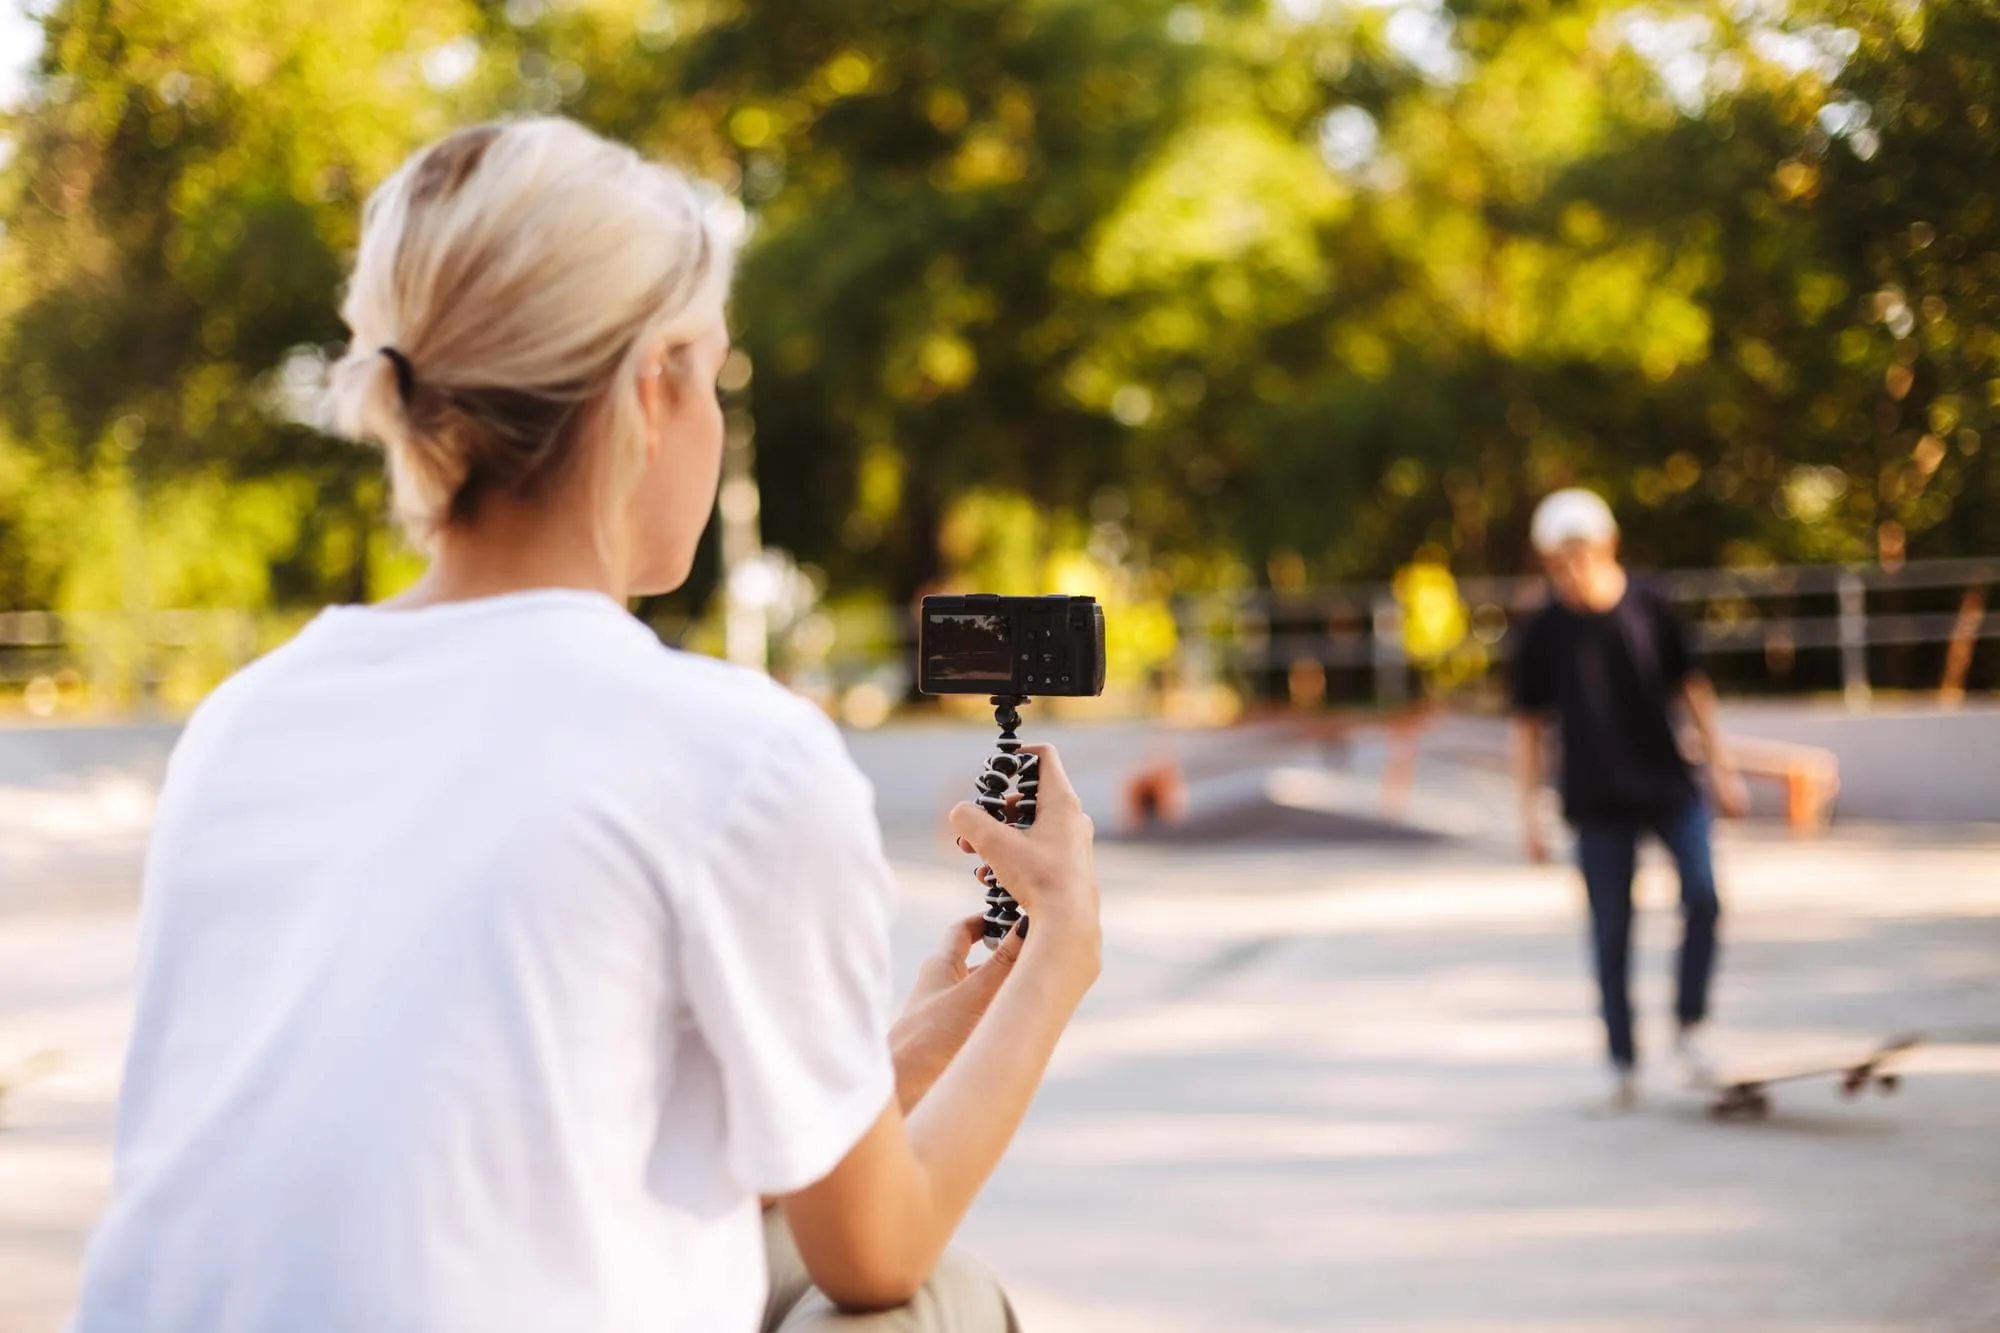
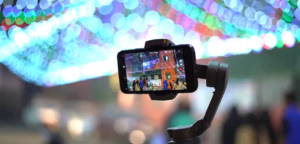
Are you tired of shooting bland videos on your iPhone? Well, get ready to take your shots to the next level with these tips on how to make great cinematic shots on an iPhone.
First things first, stability is key. Shaky footage can make even the best shots look amateurish, so invest in a tripod or stabilizer to keep your phone steady. This will help you achieve those smooth, cinematic movements that make your shots stand out.
pay attention to your framing
Think about the rule of thirds, and try to place your subject off-center for a more visually pleasing shot. Also, be mindful of your composition – try to include interesting foreground and background elements to add depth to your shot.
Lighting is also crucial for achieving that cinematic look. Avoid shooting in harsh, direct sunlight and opt for softer, diffused light instead. You can achieve this by shooting during golden hour (the hour after sunrise and before sunset), or by using artificial lighting such as a ring light or softbox.
Don't forget about sound!
Audio is just as important as visuals in creating a cinematic experience. Invest in a good quality microphone to capture clear, crisp audio that enhances your footage. Add background soundtrack with amazing tracks from TuneCutter, of course!
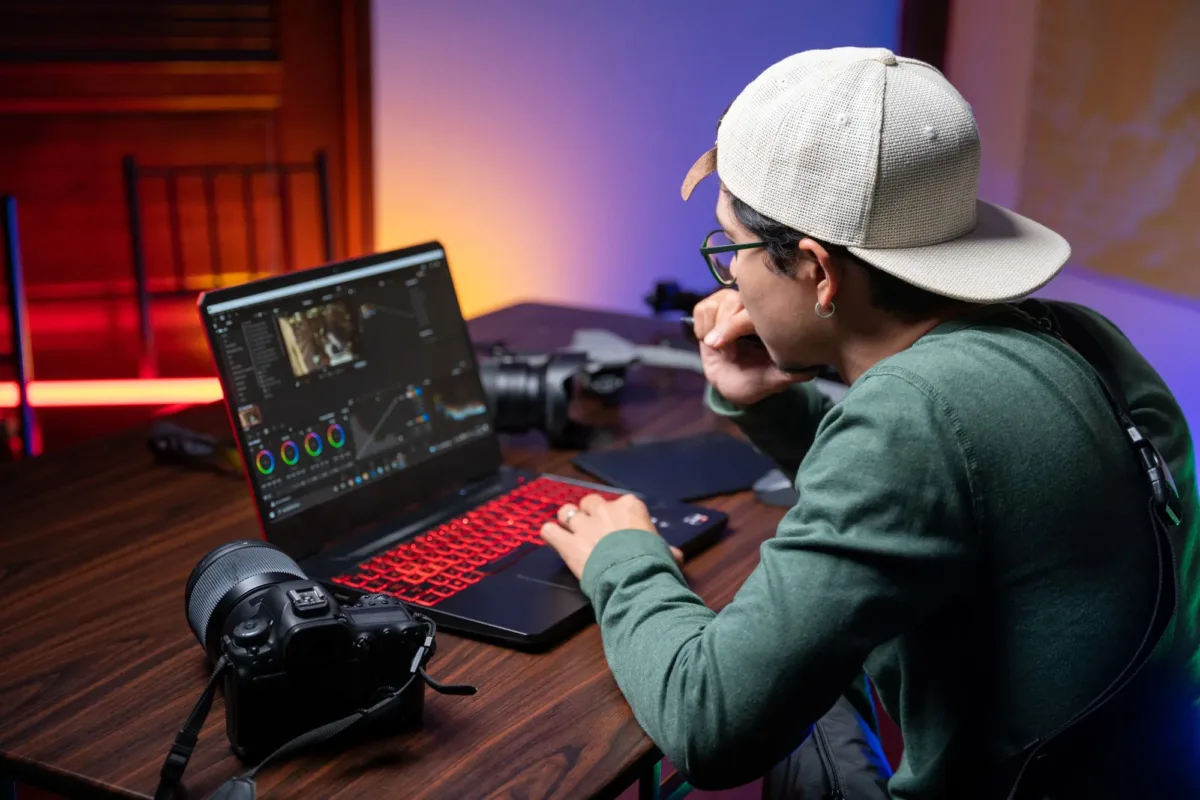
Finally, editing is where the magic happens. Take advantage of editing software like iMovie or Adobe Premiere Pro to add color grading, slow-motion, and other effects that enhance the overall cinematic feel of your footage.
So there you have it, folks – with a little bit of know-how and some handy equipment, you can make great cinematic shots on your iPhone. Remember to experiment and have fun, and you’ll be creating professional-looking videos in no time!
iMovie vs Final Cut Pro? Are you looking to up your video editing game? Well, you’re in luck because we’re about to dive into a showdown between iMovie and Final Cut Pro. These two editing softwares are both made by Apple, but they have some significant differences. So, let’s take a look and see which one comes out on top.
First up, we have iMovie. This editing software comes free with every Mac and is designed for beginners. It’s perfect if you’re just starting out with video editing and want to dip your toes in without committing to a paid software. iMovie is user-friendly and easy to navigate, making it great for making quick edits to your footage.
On the other hand, we have Final Cut Pro, which is a more professional-grade software. It’s used by industry professionals and offers more advanced features and tools than iMovie. This software is perfect if you’re looking to take your video editing skills to the next level and create more complex videos.
iMovie vs Final Cut Pro: Which One Is Right For You?
Well, it all depends on your needs. If you’re just starting out with video editing and want something easy to use, then iMovie is a great option. It’s simple and straightforward, and it’s perfect for making quick edits to your footage. Plus, since it’s free, it won’t hurt your wallet.
But if you’re looking to create more professional-grade videos and want access to advanced features and tools, then Final Cut Pro is the way to go. This software offers more control over your footage, and it’s perfect for creating complex edits and adding special effects.
Here are a few key differences between the two:
iMovie:
Comes free with every Mac
Is perfect for beginners
Offers a simple and user-friendly interface
Has limited features and tools compared to Final Cut Pro
Final Cut Pro:
Is a professional-grade editing software
Offers advanced features and tools for more complex video editing
Ah, the 180 degree rule – one of the fundamental rules of filmmaking! If you’re new to filmmaking, you may be wondering what exactly this rule is and why it’s so important. Don’t worry, we’ve got you covered. In this blog, we’ll explain what the 180 degree rule is and give you some tips on how to use it effectively.
So, what exactly is the 180 degree rule? In simple terms, it’s a rule that dictates that when filming a conversation between two characters, the camera should stay on one side of an imaginary line drawn between them. This helps maintain spatial continuity and keeps the audience from getting disoriented. If you cross the line, the characters will appear to switch positions on screen, which can be confusing for the viewer.
For example, imagine you’re filming a conversation between two characters sitting across from each other at a table. You would draw an imaginary line between them and make sure that the camera stays on one side of that line throughout the scene. If you need to show the other side of the table, you would move the camera to the other side and stay on that side for the rest of the scene.
Now, you may be wondering why the 180 degree rule is so important. Well, it’s all about maintaining spatial continuity and keeping the audience engaged in the story. If you cross the line, it can be disorienting for the viewer and take them out of the story. By following the 180 degree rule, you can ensure that your film is easy to follow and keeps the audience engaged.
So, how do you use the 180 degree rule effectively? Here are a few tips:
Tip #1: Plan ahead
As with any aspect of filmmaking, planning ahead is key to using the 180 degree rule effectively. Make sure you have a clear idea of the scene you want to film and draw an imaginary line between the characters before you start shooting.
Tip #2: Use the rule creatively
Sound effects and foley are crucial to creating a realistic and immersive sound design. Think about all the sounds you hear in your everyday life – footsteps, doors opening and closing, the hum of an air conditioner – and try to recreate them in your film. This will help bring your audience into the world of your film and make them feel like they’re a part of it.
Tip #3: Break the rule intentionally
As with any rule in filmmaking, it’s okay to break the 180 degree rule – as long as you do it intentionally. Breaking the rule can create tension and disorientation, which can be effective in certain scenes. Just make sure that the break is intentional and serves a purpose in the story.
By following these tips, you can use the 180 degree rule effectively and create engaging and immersive films. So go forth and start filming – the world of filmmaking is waiting for you!
What is Sound Design? Welcome to the wonderful world of sound design! If you’re a filmmaker, you already know how important sound is to a great film. But have you ever thought about the art of sound design and how it can take your project to the next level? In this blog, we’ll explore what sound design is and give you some tips on how to use it effectively in your films.
So, what exactly is sound design? Simply put, it’s the process of creating and manipulating sound to enhance the storytelling of your film. This includes everything from creating sound effects and foley to mixing dialogue and music. Good sound design can transport your audience into the world of your film and add depth and emotion to every scene.
So, how do you use sound design effectively? Here are a few tips to get you started:
Tip #1: Plan ahead
As with any aspect of filmmaking, planning ahead is key to successful sound design. Make sure you have a clear idea of the sound you want to create before you start shooting, and create a detailed sound design plan. This will save you time and headache in the editing process.
Tip #2: Use sound effects and foley
Sound effects and foley are crucial to creating a realistic and immersive sound design. Think about all the sounds you hear in your everyday life – footsteps, doors opening and closing, the hum of an air conditioner – and try to recreate them in your film. This will help bring your audience into the world of your film and make them feel like they’re a part of it.
Tip #3: Mix your sound carefully
Mixing is the process of combining all the different sound elements in your film into a cohesive whole. This includes dialogue, sound effects, foley, and music. Be sure to mix your sound carefully to ensure that everything is balanced and sounds good together. You don’t want any one element to overpower the others.
Tip #4: Experiment and have fun!
Finally, don’t be afraid to experiment and have fun with your sound design. Try new things, play with different sounds, and see what works best for your film. Sound design is an art form, and there’s no right or wrong way to do it.
By following these tips, you can take your film’s sound design to the next level and create an immersive and engaging experience for your audience. So go forth and start creating – the world of sound design is waiting for you!
Are you ready to take your filmmaking skills to the next level? If you’re looking to add some serious drama and tension to your videos, chiaroscuro lighting might just be the answer. In this blog, we’ll break down what chiaroscuro lighting is and how to use it to create some seriously captivating footage. So get ready to dive into the world of lighting and shadows!
First things first, what the heck is chiaroscuro lighting? Simply put, it’s a technique that uses strong contrasts between light and dark to create depth and drama in a scene. Think of those classic film noirs with dark alleys and shadowy figures – that’s chiaroscuro lighting at work.
So how do you create this effect? Here are a few tips:
Tip #1: Use a single light source
Chiaroscuro lighting is all about creating strong contrasts between light and shadow, so using a single, strong light source can help you achieve this effect. Try positioning your light source off to one side of your subject to create strong shadows on the opposite side.
Tip #2: Play with angles
The angle of your light source can also have a big impact on the look of your shot. Experiment with different angles to create interesting shadows and highlights. You might try positioning your light source above your subject for a more dramatic effect.
Tip #3: Control your light intensity
Since chiaroscuro lighting relies on strong contrasts, you’ll want to make sure your light source is bright enough to create those deep shadows. But be careful not to overdo it – you don’t want your footage to be too blown out or harsh. Use dimmer switches or diffusion material to control the intensity of your light.
Tip #4: Get creative with your shadows
Finally, don’t be afraid to get creative with your shadows. You can use objects to create interesting shapes and patterns, or even use a piece of cardboard to block part of the light source and create a more defined shadow.
By using these tips, you can create some seriously stunning footage with chiaroscuro lighting. Whether you’re filming a dramatic scene or just looking to add some visual interest to your shots, this technique is a powerful tool in any filmmaker’s arsenal. So go forth and experiment – who knows, you might just create the next film noir classic!
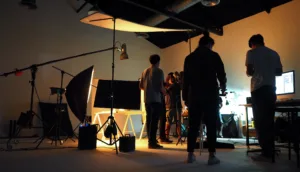
Welcome to the wonderful world of video production! If you’re new to the game, you might be wondering what the heck we’re talking about when we say “the 3 stages of video production.” Fear not, my friend – we’re here to break it down for you in a fun and easy-to-understand way.
Stage 1: Pre-Production
Ah, the magical world of pre-production! This is where all the planning happens. During this stage, you’ll be brainstorming ideas, creating storyboards, scouting locations, and assembling your crew. You’ll also be working on the script and figuring out all the technical details like lighting, sound, and camera angles. Think of this stage as laying the groundwork for the rest of the production process.
Stage 2: Production
Now it’s time for the fun part – actually shooting your video! During the production stage, you’ll be capturing all the footage you need to bring your vision to life. This includes setting up the camera and lights, recording audio, and directing your talent (if you have any). You’ll be working closely with your crew to make sure everything runs smoothly and you get all the shots you need.
Stage 3: Post-Production
Finally, we come to the third and final stage of video production – post-production. This is where all the magic happens. During this stage, you’ll be editing your footage, adding special effects, and creating sound design. You’ll also be color correcting and mastering your video to make it look and sound its best. Think of this stage as putting all the puzzle pieces together to create the final product.
So there you have it – the 3 stages of video production in a nutshell. Whether you’re a seasoned pro or a newbie, these stages are essential to creating a successful video. Just remember to have fun and enjoy the process – after all, video production is an art form and there’s no right or wrong way to do it!