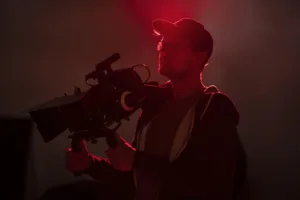
Hey there, filmmakers and video enthusiasts! Have you ever wondered what diffused light is and why it’s so important in filmmaking? Well, today we’re going to shed some light on this (pun intended) and explain why diffused light is a crucial element in creating stunning visuals. So, let’s dive in and learn more!
What is diffused light?
Diffused light is a type of light that has been scattered or spread out, resulting in a soft and even light source. This is in contrast to harsh direct light, which creates strong shadows and can be unflattering. Diffused light can be created using a variety of methods, including softboxes, diffuser panels, and even natural light on an overcast day.
Why do filmmakers use diffused light?
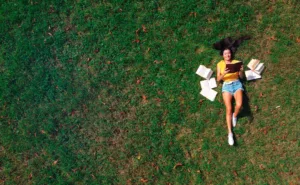
Filmmakers use diffused light for a variety of reasons, but mainly it’s because it creates a soft and flattering light source that can be used to enhance the look of their subjects. Diffused light can be used to create a variety of moods and styles, from bright and airy to moody and dramatic. It’s also great for creating a more natural and realistic look, as it mimics the soft, even light that you might find on a cloudy day.
Diffused light is also great for reducing harsh shadows and creating a more flattering look for your subjects. It can help to smooth out skin tones and make your subjects look more youthful and vibrant. This is why many portrait photographers and beauty vloggers swear by diffused light for creating stunning visuals.
So, how can you create diffused light?
There are several ways to create diffused light, depending on your budget and equipment. Here are a few options:
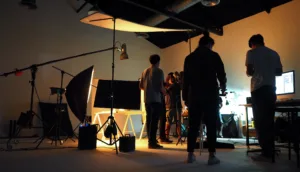
Softboxes:
These are specially designed light modifiers that can be attached to your lights to create a soft and even light source. They come in a variety of shapes and sizes, from small tabletop versions to large studio models.
Diffuser panels:
These are large, translucent panels that can be used to diffuse natural light or artificial light sources. They can be hung over windows or placed in front of lights to create a soft and even light source.
Umbrellas:
Yes, you read that right. Photography umbrellas can also be used to create diffused light. Simply point your light source at the inside of the umbrella, and the light will bounce back towards your subject, creating a soft and even light source.
In conclusion, diffused light is a crucial element in creating stunning visuals in filmmaking and photography. It can help to create a variety of moods and styles, while also making your subjects look more flattering and natural. So, go ahead and experiment with diffused light in your next project, and see how it can transform your visuals. Happy filming!
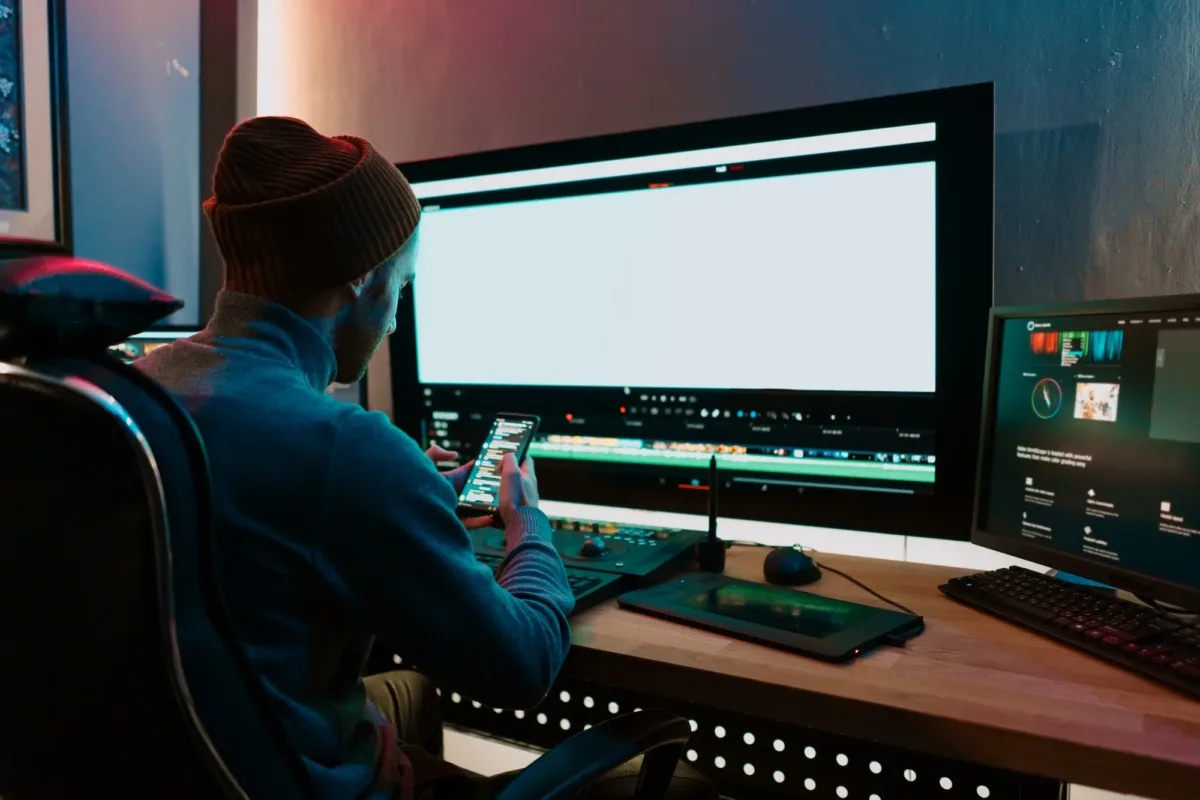
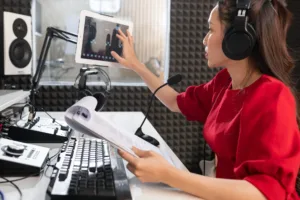
Hey there, Premiere Pro users! Are you tired of trying to figure out how to split a clip in Premiere Pro? Well, look no further because we’ve got you covered with this easy-to-follow guide on how to do just that. So, let’s dive in and split some clips like a pro!
Step 1: Select the clip
First things first, select the clip that you want to split in the timeline. You can do this by clicking on it with your mouse.
Step 2: Position the playhead
Next, position the playhead (the little blue triangle) to the point where you want to split the clip. You can do this by dragging the playhead along the timeline or by using the arrow keys on your keyboard.
Step 3: Split A clip
Now, it’s time to split the clip! There are two ways you can do this:
Option 1: Right-click the clip and select "Split Clip"
This is the easiest way to split a clip. Simply right-click on the clip and select “Split Clip.” Premiere Pro will split the clip at the position of the playhead, creating two separate clips.
Option 2: Use the "Razor Tool"
The Razor Tool is another way to split a clip. You can find it in the toolbar on the left-hand side of the screen. Click on the Razor Tool and then click on the clip at the position where you want to split it. Premiere Pro will split the clip at that point, creating two separate clips.
Step 4: Adjust the clips
Now that you’ve split the clip, you may want to adjust the two separate clips. You can do this by dragging them along the timeline or by trimming them using the Trim Tool (the little bracket-looking icon in the toolbar).
And that’s it! You’ve successfully split a clip in Premiere Pro. It’s a simple process that can be done in just a few clicks. So, go ahead and give it a try on your own. Happy editing!
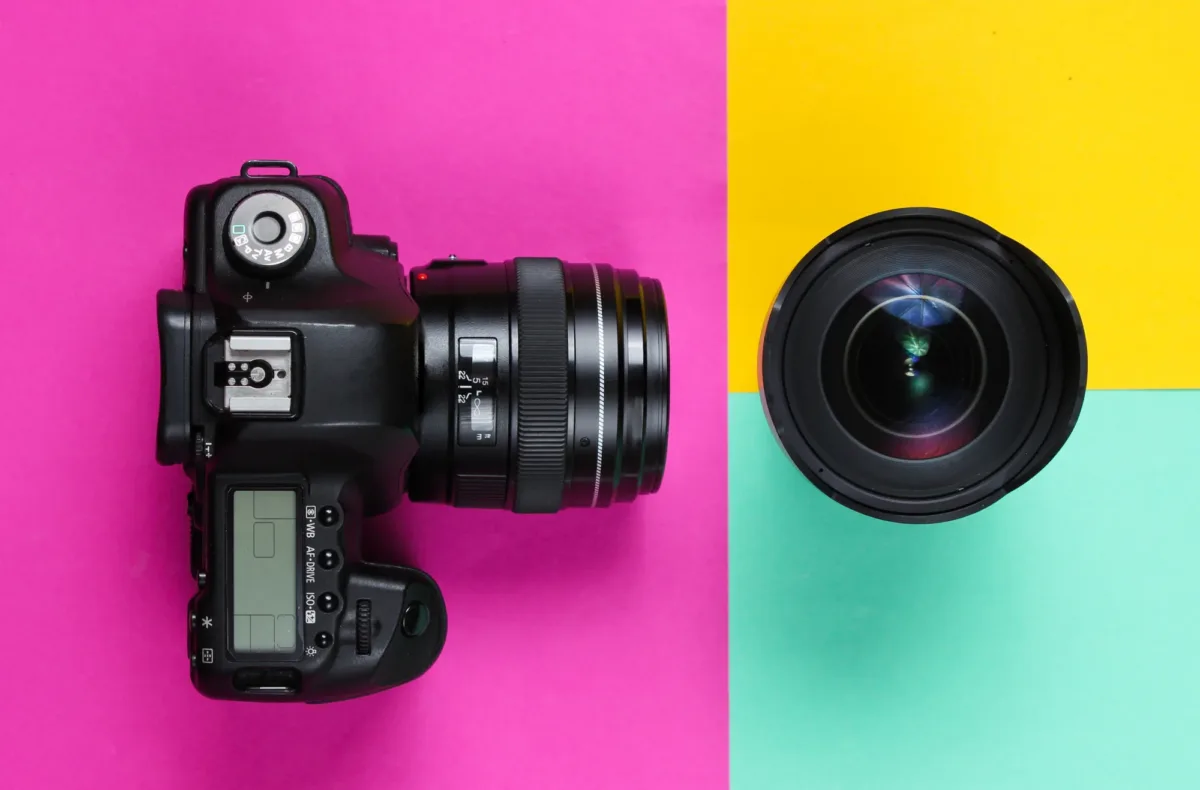
Hey there, video enthusiasts! Are you on the hunt for a high-quality video camera that won’t break the bank? Look no further because we’ve compiled a list of the best video cameras under $3000 that will help you create stunning footage without breaking the bank. So, let’s dive in and check them out!
Sony A6400
The Sony A6400 is a versatile mirrorless camera that can shoot 4K video at up to 30fps, making it perfect for videographers on a budget. It also features a fast autofocus system and a flip-out touchscreen, which is ideal for vloggers or those who want to shoot themselves.
Canon XF705
The Canon XF705 is a professional-grade camcorder that can shoot 4K video at up to 60fps, making it perfect for high-end productions. It also features a 15x optical zoom lens, dual-pixel autofocus, and built-in ND filters, making it a versatile and reliable choice for any videographer.
Panasonic GH5
The Panasonic GH5 is a mirrorless camera that can shoot 4K video at up to 60fps, making it perfect for filmmakers who want to shoot high-quality footage. It also features a fast autofocus system, dual SD card slots, and built-in image stabilization, making it an excellent all-around camera.
Blackmagic Pocket Cinema Camera 4K
The Blackmagic Pocket Cinema Camera 4K is a compact and powerful camera that can shoot 4K video at up to 60fps. It also features a large sensor, built-in RAW recording, and professional-grade audio inputs, making it an ideal choice for filmmakers and videographers who demand the best quality.
Canon EOS R
The Canon EOS R is a mirrorless camera that can shoot 4K video at up to 30fps, making it perfect for videographers who want to shoot high-quality footage. It also features a fast autofocus system, a fully articulating touchscreen, and built-in image stabilization, making it an excellent choice for vloggers and content creators.
In conclusion, these video cameras offer exceptional value for money and are perfect for videographers on a budget. So, whether you’re a vlogger, filmmaker, or content creator, these cameras will help you capture stunning footage without breaking the bank. Happy filming!
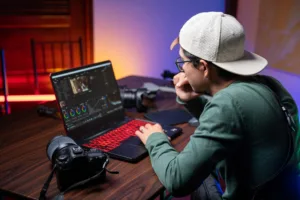
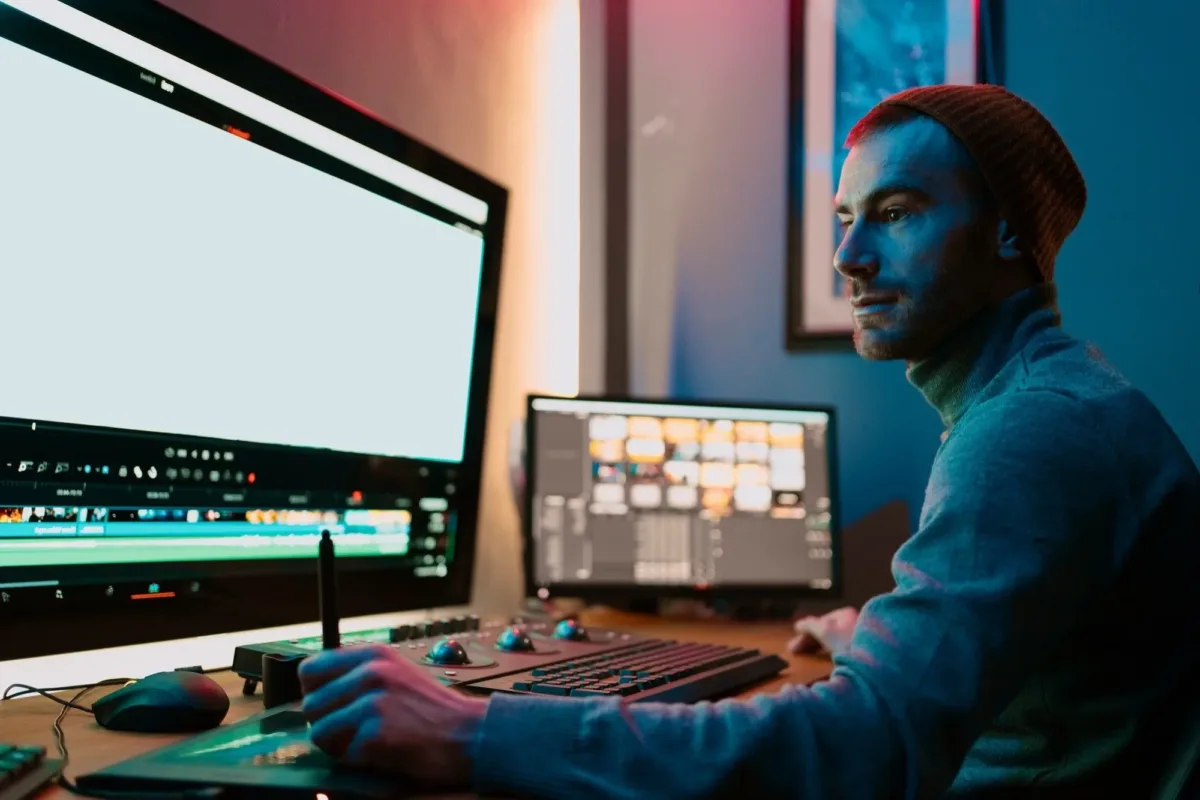
Hey there, aspiring YouTubers and filmmakers! Are you tired of scrolling through endless apps to find the perfect one for your needs? Look no further because we’ve got the top 5 apps that will make your video creation journey a breeze. So, let’s jump right in and check them out!
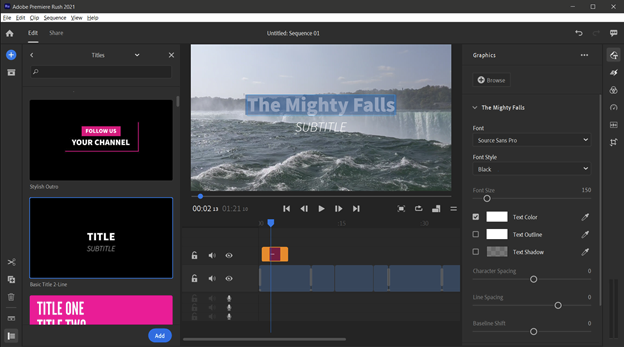
Adobe Premiere Rush
Adobe Premiere Rush is an all-in-one editing app for video and audio, perfect for YouTubers and filmmakers on the go. With its user-friendly interface, you can easily create professional-looking videos with built-in templates, transitions, and color correction tools. Plus, it’s compatible with both desktop and mobile devices, making it easy to switch between platforms.
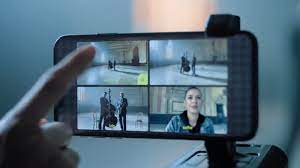
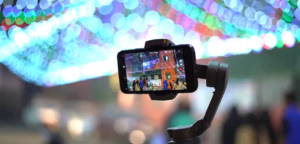
Filmic Pro
Filmic Pro is a high-end camera app that lets you control every aspect of your camera, from focus to exposure, giving you full creative control over your shots. It’s a must-have for filmmakers who want to shoot professional-looking footage on their smartphones. Plus, it supports a wide range of frame rates, resolutions, and aspect ratios, making it perfect for any project.
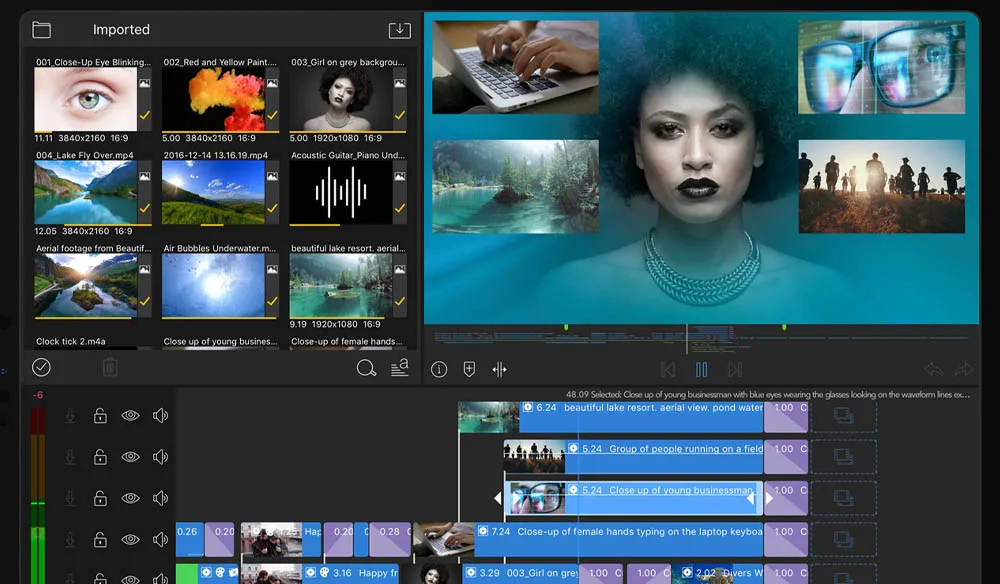
LumaFusion
LumaFusion is a powerful video editing app for iOS devices that offers advanced features like multi-track editing, keyframe animation, and audio mixing. It’s perfect for filmmakers who want to create complex video projects on their iPad or iPhone, with the ability to import and export footage in multiple formats.
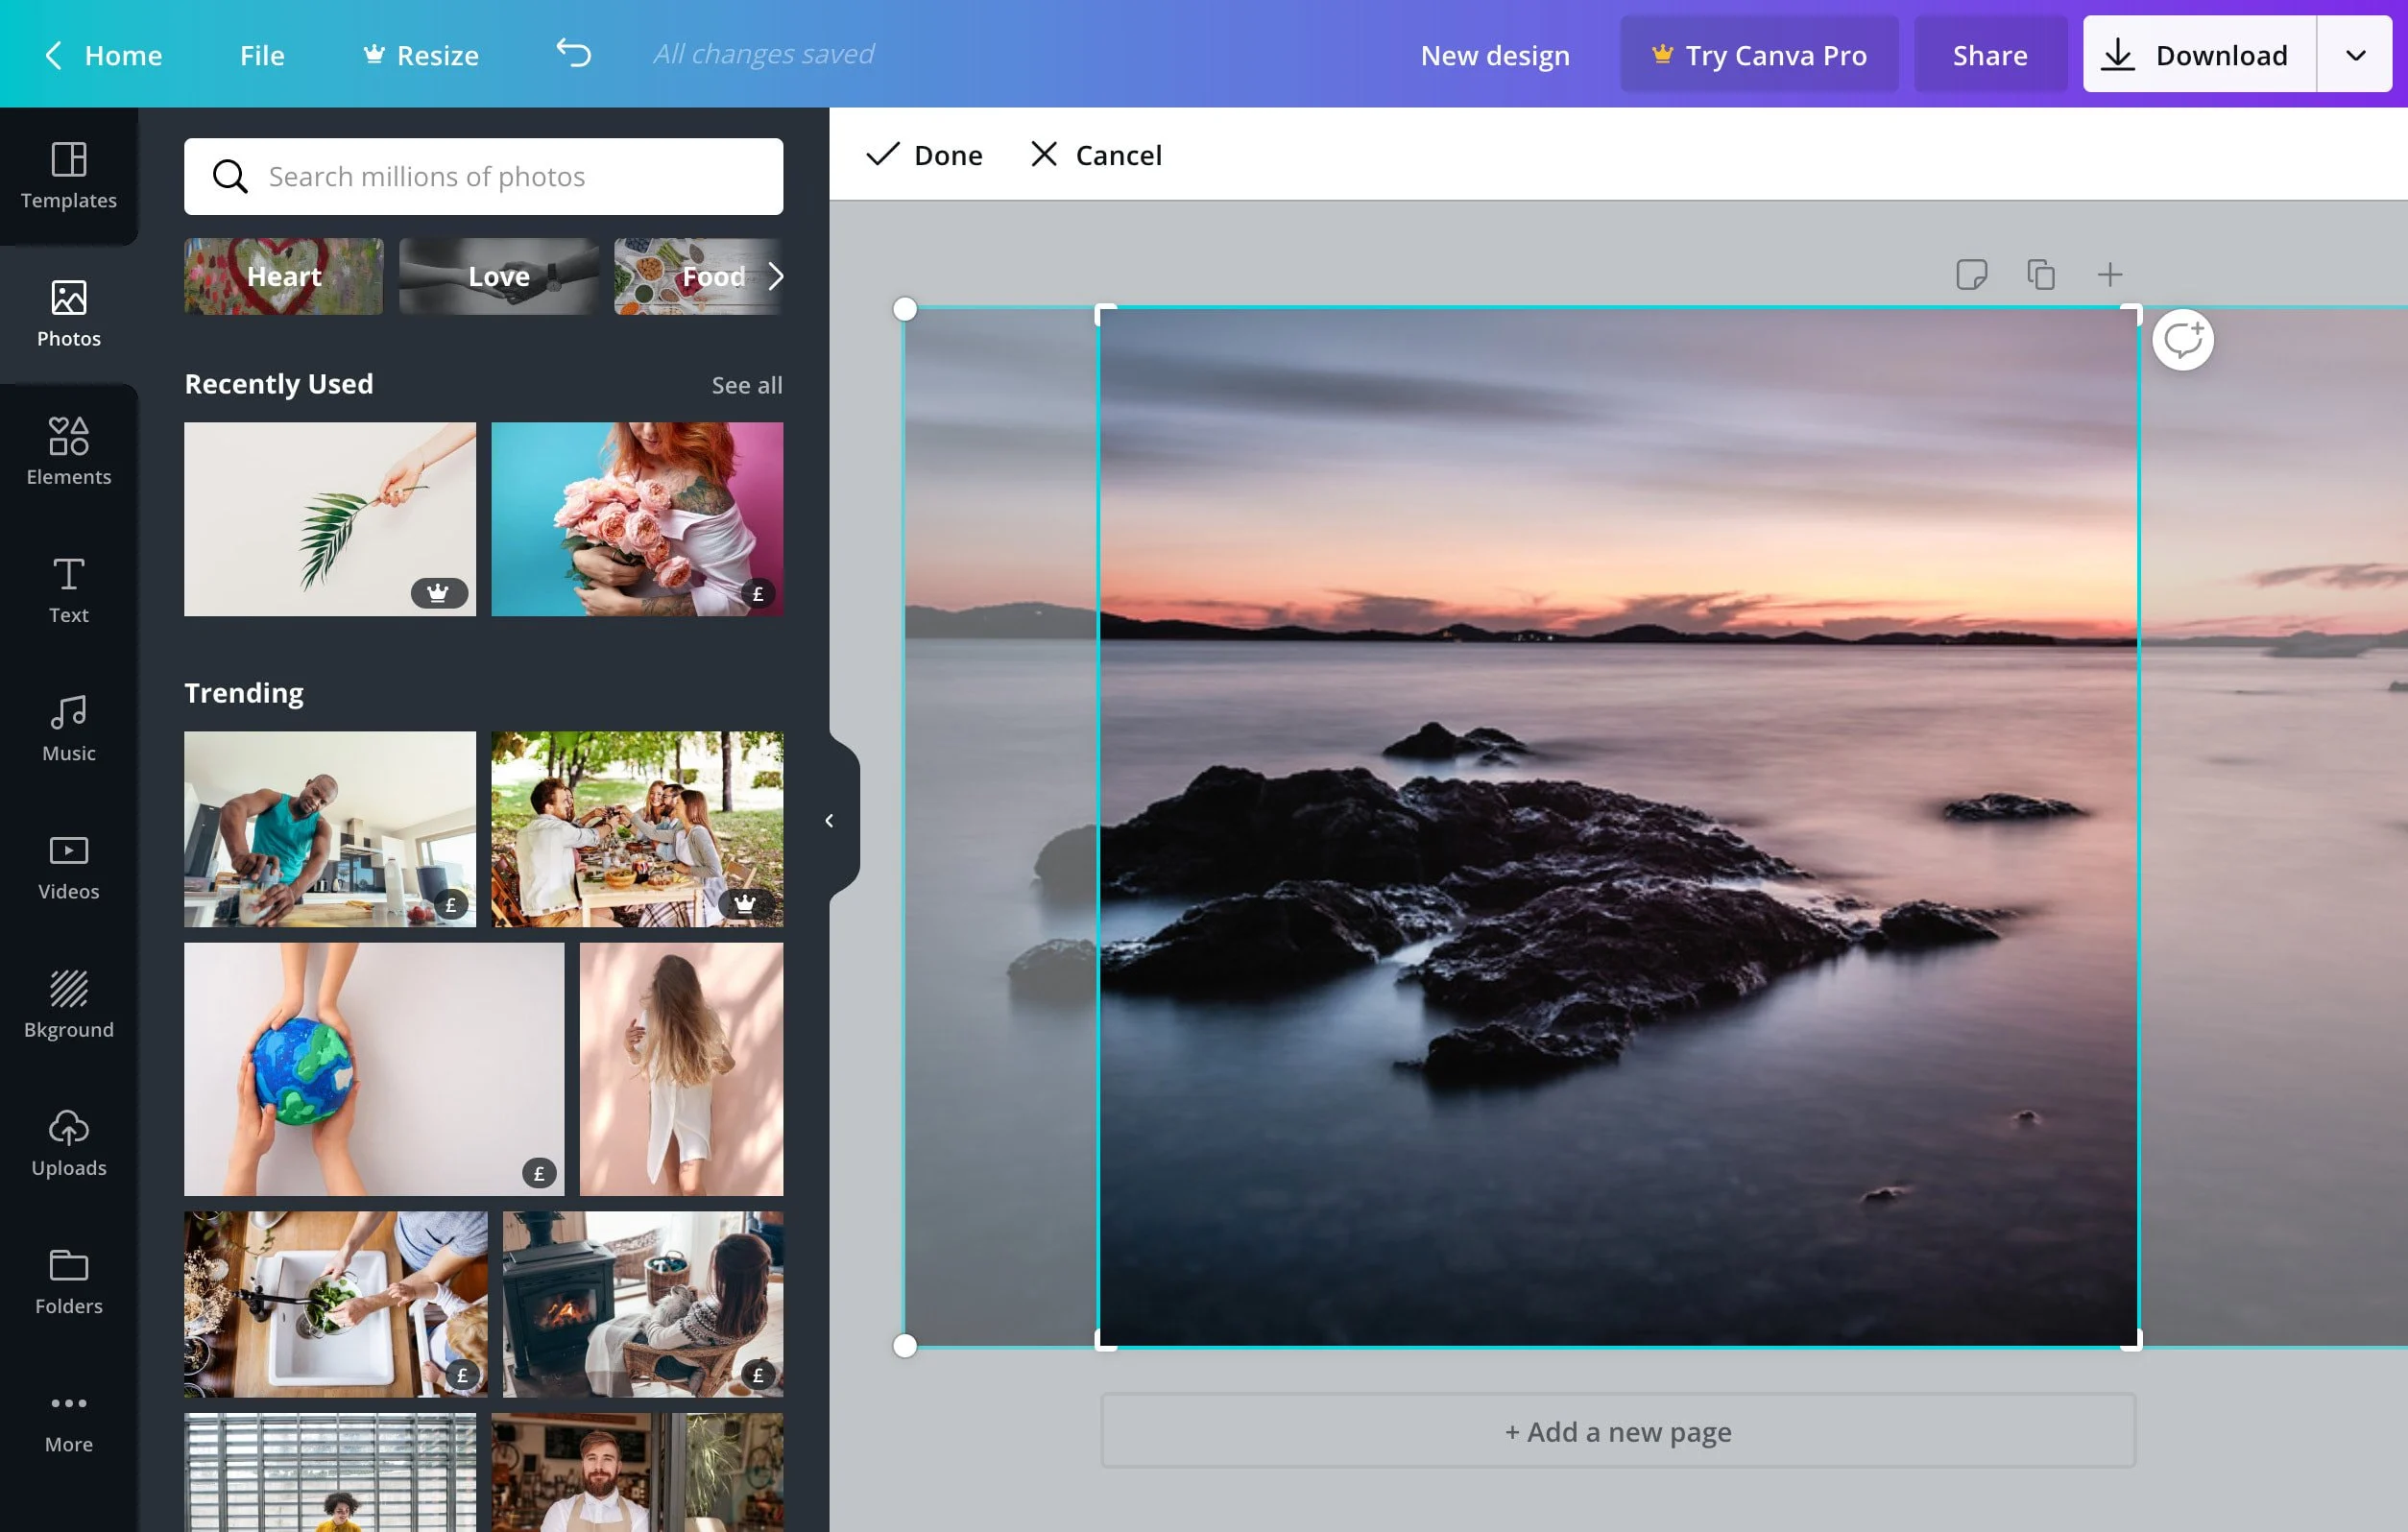
Canva
Canva is a versatile design app that offers a range of templates, graphics, and fonts to help you create stunning thumbnails, banners, and other graphics for your YouTube channel. With its drag-and-drop interface, you can easily customize designs to fit your brand and style.
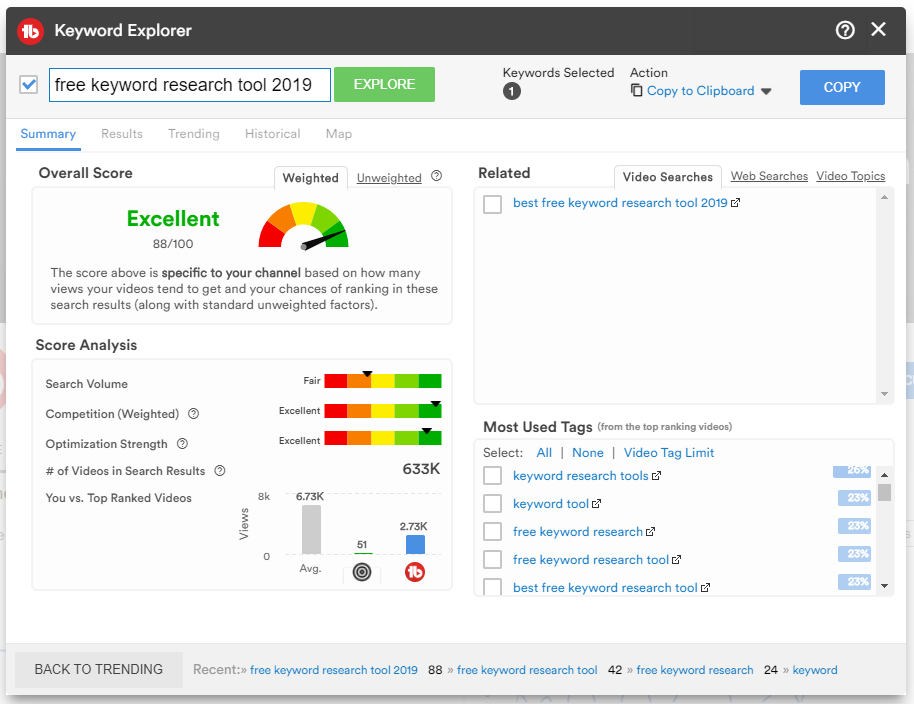
TubeBuddy
TubeBuddy is a YouTube-certified browser extension that offers a range of tools to help you optimize your videos for maximum views and engagement. With features like keyword research, tag suggestions, and video analytics, you can easily identify opportunities to improve your channel’s performance and grow your audience.
In conclusion, these apps are essential tools for any YouTuber or filmmaker looking to create high-quality videos and grow their audience. So, why not give them a try and see how they can take your content to the next level? Happy filming!
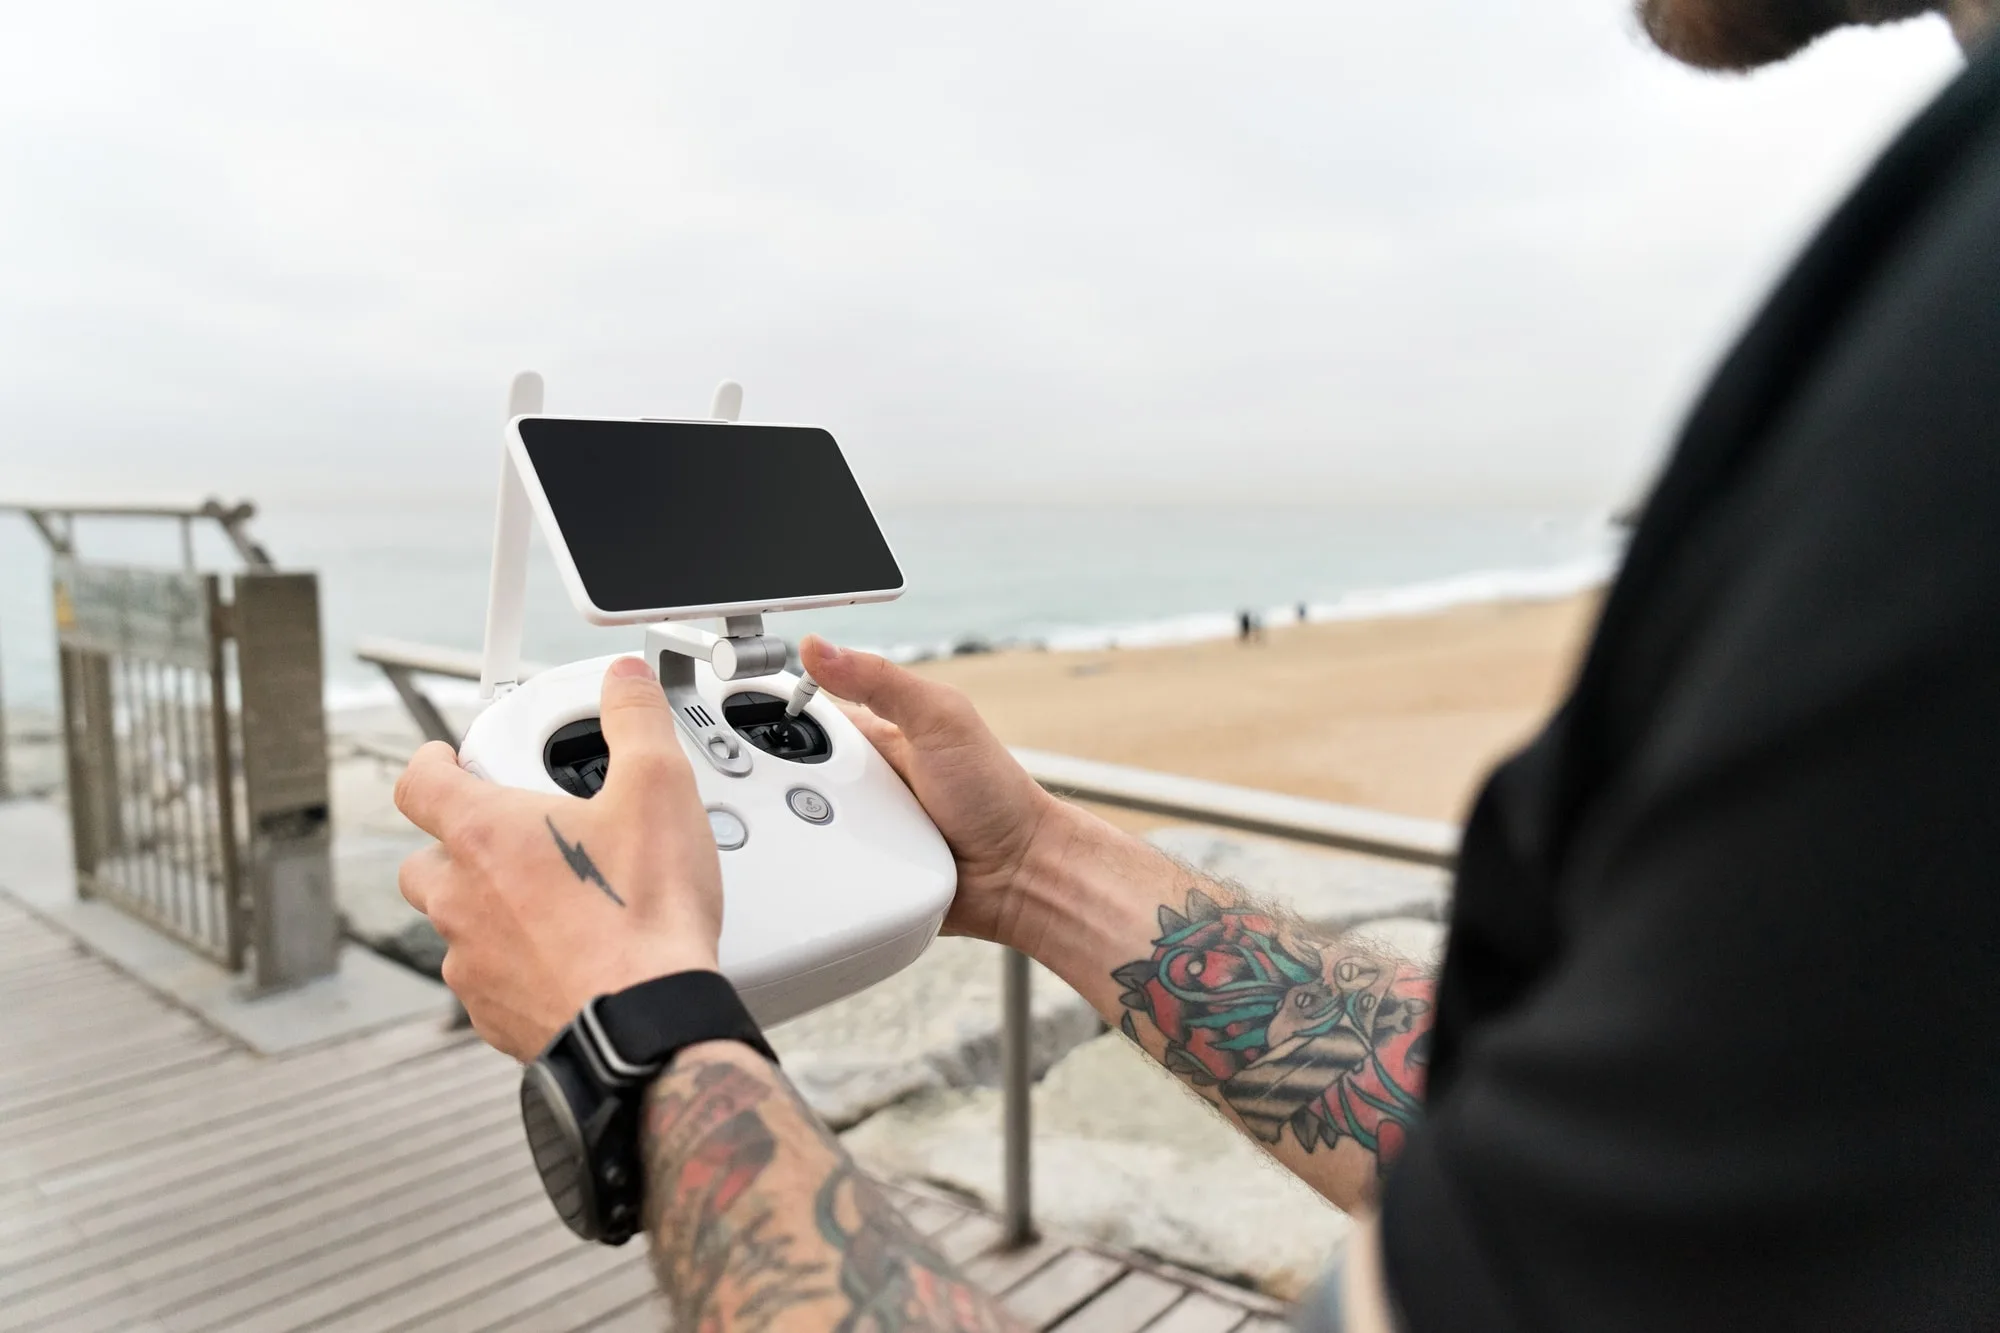
Hey there, drone enthusiasts! Are you ready to take to the skies and capture some epic footage? Whether you’re a beginner or a seasoned pro, there are always new tips and tricks to learn to take your drone flying skills to the next level. So, let’s dive in and check out some drone flying tips that will make you soar!
Start Small.
If you’re new to the world of drones, start with a small and easy-to-control model to get the hang of flying. This will help you avoid crashes and build your confidence before moving on to bigger and more expensive drones.
Get to Know Your Drone.
Read the manual, familiarize yourself with the controls, and practice in a safe and open area. Understanding how your drone works and responds to your inputs is crucial to avoid crashes and capture the footage you want.
Pay Attention to Battery Life.
Keep an eye on your drone’s battery life and always make sure you have enough power to get back safely. Also, consider getting spare batteries so you can fly for longer without having to stop and recharge.
Plan Your Shots
Before taking off, plan your shots and think about the type of footage you want to capture. This will help you fly more efficiently and get the footage you need in fewer flights.
Fly Slow and Steady.
Flying slow and steady will not only help you capture smoother footage but also help you avoid collisions and crashes. Take your time and focus on getting the shots you need.
Practice Advanced Techniques.
Once you’ve got the hang of basic drone flying, try practicing advanced techniques like orbiting, tracking, and fly-through shots. These techniques will take your footage to the next level and make your videos stand out.
Respect Local Regulations.
Before flying your drone, make sure to check local regulations and follow any guidelines or restrictions. This will help you avoid fines, legal trouble, and negative attention.
Drone Flying Conclusions.
In conclusion, flying a drone can be an incredible and rewarding experience, but it also requires responsibility and skill. By following these drone flying tips, you’ll be able to capture amazing footage and take your videos to new heights. So, get out there, practice, and have fun!