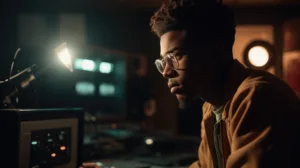
Why is Royalty-Free Music a Game Changer?
In today’s digital age, where content creation is at an all-time high, finding the perfect music for your project can often feel like a daunting and time-consuming task. Whether you’re a seasoned filmmaker, a YouTuber, a podcaster, or even a small business owner, integrating music into your content is crucial for enhancing your storytelling and creating an emotional connection with your audience. But finding affordable, high-quality music that’s legal to use can be tricky, especially when dealing with traditional licensing models.
Here are some key reasons why royalty-free music—and particularly free royalty-free music from platforms like TuneCutter—has become such a game-changer for creators worldwide:
1. No Legal or Financial Headaches
One of the biggest barriers to using licensed music in a project is navigating the complex legal landscape of copyright and royalty payments. Traditionally, using music in films, videos, commercials, or any other type of content meant securing expensive licenses and paying ongoing royalties to the original creator of the song each time it was used or aired. This can quickly add up, especially for smaller creators or businesses working with limited budgets.
With royalty-free music, all of that stress is eliminated. Once you’ve purchased a track or obtained it through a royalty-free platform like TuneCutter, you’re free to use it as many times as you want without having to worry about paying additional fees or getting into legal trouble. It’s a one-and-done deal.
This is especially important for platforms like YouTube, where copyright issues can lead to videos being demonetized or even taken down. By using royalty-free music, creators can avoid these complications and ensure that their content remains online and monetizable. Even better, TuneCutter’s offering of completely free royalty-free music takes this a step further—providing professional-grade tracks without any cost or risk of copyright infringement.
2. Budget-Friendly for Creators of All Sizes
For larger companies with big budgets, paying for traditional music licenses might not be an issue. But for smaller creators, independent filmmakers, and new podcasters, the costs can be prohibitive. Royalty-free music allows creators of all sizes to access professional-grade music without breaking the bank. And with TuneCutter’s 100% free music, you don’t even need to spend a dime to get high-quality tracks for your project.
Most royalty-free music platforms offer a range of pricing options, from affordable one-time purchases to subscription-based models that provide unlimited access to a library of tracks. But TuneCutter takes things to the next level by offering completely free music—no subscriptions, no fees, no hidden costs. Whether you’re a hobbyist or a seasoned professional, you can enhance your projects with amazing music without worrying about your budget.
3. An Endless Variety of Genres and Styles
One of the most exciting aspects of royalty-free music is the sheer diversity available. The misconception that royalty-free music is low-quality or limited in selection is far from the truth. Today’s royalty-free libraries are filled with music from a wide range of genres, styles, and moods, catering to every type of project imaginable.
Whether you’re looking for an epic orchestral track for a cinematic short film, a catchy pop tune to add energy to your YouTube vlog, or a soft acoustic melody for a heartfelt podcast episode, there’s something out there for you. TuneCutter’s library is no exception—it offers a wide selection of tracks covering various genres, from upbeat electronic music to serene piano melodies. All for free!
In fact, many platforms feature music from professional musicians and composers, ensuring that the quality is on par with tracks you’d hear on the radio or in commercial productions. From hip-hop beats to indie rock anthems, classical piano pieces to funky jazz numbers, royalty-free music libraries are vast and constantly growing, with new tracks being added regularly.
4. Time-Saving and User-Friendly
For creators who are under tight deadlines or producing content at a fast pace, time is of the essence. The last thing you want is to spend hours sifting through complicated licensing agreements or waiting for permission to use a song.
Royalty-free music is designed to be easy and accessible. Most platforms allow you to quickly search by genre, mood, tempo, or instrument, helping you find the perfect track in a matter of minutes. TuneCutter’s user-friendly interface makes this process even smoother, providing an intuitive search function and immediate access to free downloads.
Once you’ve made your selection, downloading the track and applying it to your project is seamless. This streamlined process saves valuable time, allowing you to focus on what matters most: creating great content.
How Does Royalty-Free Music Work?
Now that we’ve covered the benefits, you might be wondering, How exactly does royalty-free music work? Let’s break it down:
When you purchase royalty-free music, what you’re really buying is a license to use the track in your project. There are different types of royalty-free licenses, each with its own terms and conditions, so it’s important to understand the scope of your license before using the music.
For example, some licenses allow unlimited use across various platforms, while others may have restrictions on commercial use, geographical limits, or the number of plays. Always read the fine print before selecting a track to ensure that the license aligns with your project’s requirements.
However, with TuneCutter’s free royalty-free music, you won’t have to worry about restrictive licenses. The platform offers simple, no-strings-attached usage, meaning that once you download a track, you’re free to use it in any project—personal or commercial—without hidden terms.
The Rise of Royalty-Free Music Platforms
As the demand for royalty-free music has grown, so too has the number of platforms offering it. Gone are the days when you’d have to wade through obscure websites to find decent tracks. Today, there are a plethora of reputable platforms dedicated to providing high-quality, royalty-free music.
Some of the most popular platforms include:
- Epidemic Sound: Known for its extensive library and easy licensing options, Epidemic Sound is a go-to for YouTubers and filmmakers.
- Artlist: Artlist offers a simple subscription model that gives you unlimited access to its entire catalog of high-quality music. It’s a favorite among indie filmmakers and commercial content creators.
- PremiumBeat: This platform is known for its professional-grade music and a wide range of genres, making it ideal for larger-scale projects.
- AudioJungle: Part of the Envato Market, AudioJungle provides affordable tracks across a variety of categories, perfect for budget-conscious creators.
However, if you’re looking for free alternatives, TuneCutter stands out by offering high-quality royalty-free tracks completely free, with no hidden fees or complicated terms. It’s an ideal option for creators looking for hassle-free, professional-grade music.
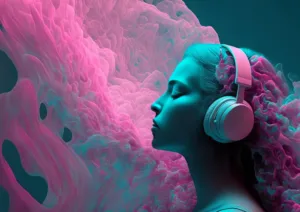
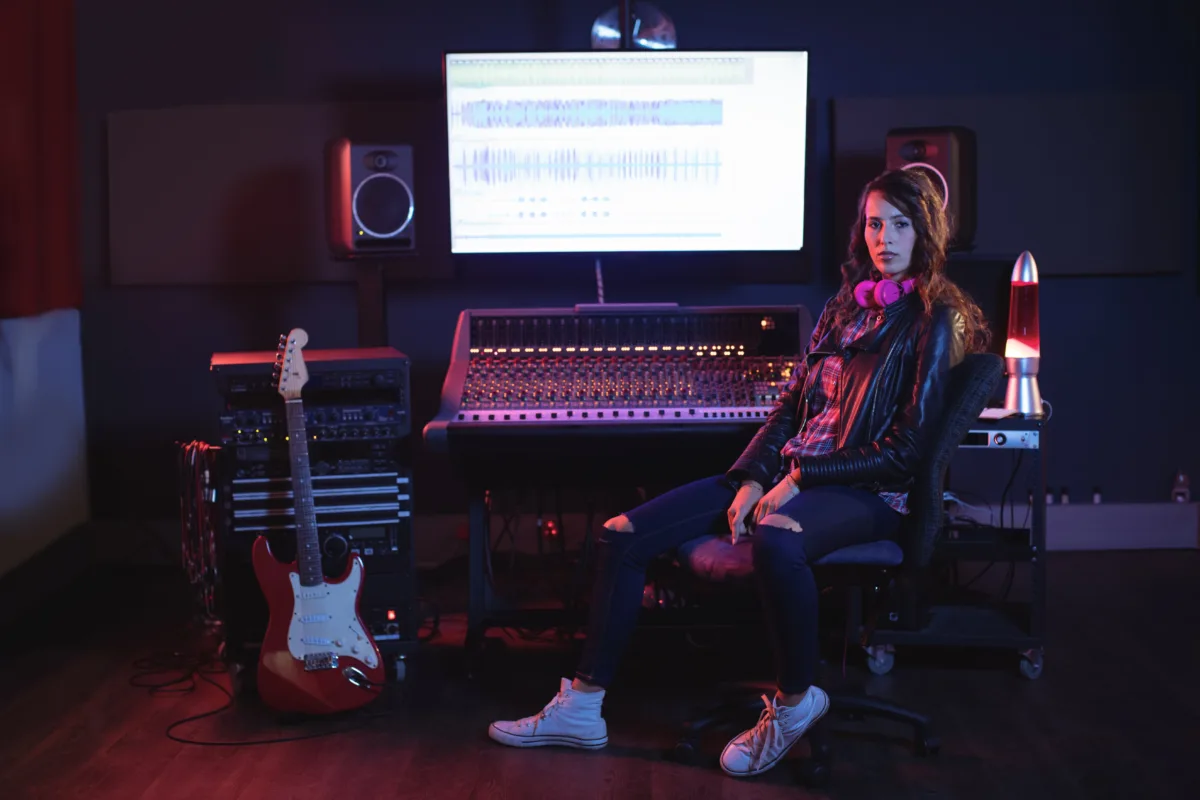
The Creative Impact of Royalty-Free Music
The importance of music in creative projects cannot be overstated. Music has the power to set the tone, evoke emotions, and enhance the overall storytelling experience. By providing easy access to high-quality music, royalty-free platforms empower creators to elevate their content, whether they’re working on a short film, a podcast, an advertisement, or a personal vlog.
For content creators, using royalty-free music opens the door to creative freedom. No longer constrained by budget limitations or legal complexities, creators can experiment with different styles and genres, find the perfect soundtrack for their projects, and ensure their content resonates with audiences on a deeper level.
Conclusion: Unlock Your Creative Potential with Royalty-Free Music
In conclusion, royalty-free music is a game-changing resource for anyone looking to enhance their projects with high-quality music without the legal or financial complications of traditional licensing models. Whether you’re a video creator, a podcast host, or a small business owner, royalty-free music offers flexibility, affordability, and a wide range of options to fit any project.
As the demand for creative content continues to rise, royalty-free music will only become more essential to helping creators thrive in this fast-paced digital landscape. So why wait? Dive into the world of royalty-free music, and unlock your creative potential today! You might just find your next favorite song along the way.