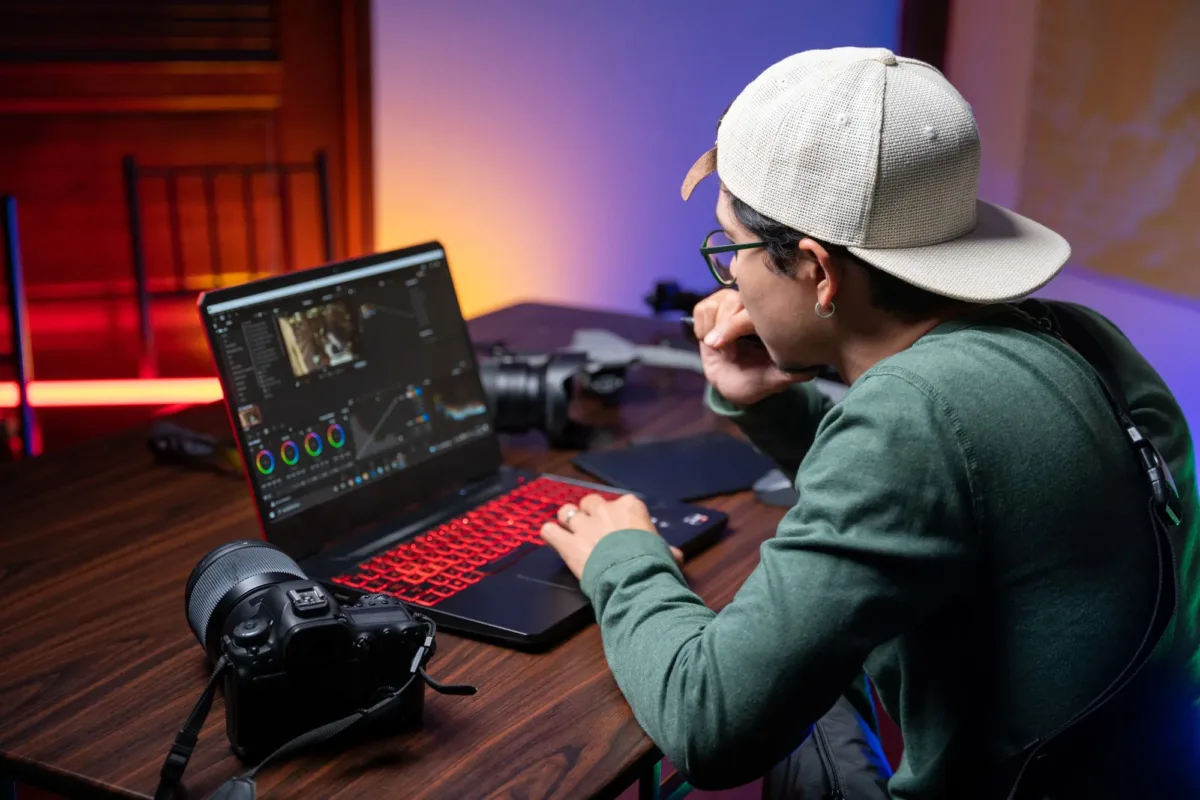
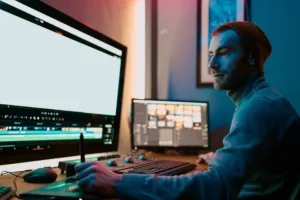
Welcome to the world of video production, where colors play a vital role in telling your story! If you’re new to the game, you might have heard the term “color theory” thrown around a lot. But what is it exactly, and how can you use it to make your videos more impactful? Let’s dive in and find out!
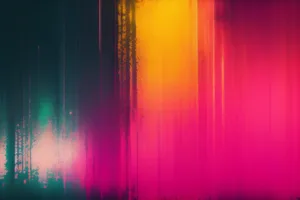
Color theory is the study of colors and their relationship with each other. In video production, color theory can help you create a specific mood or emotion in your audience, depending on the colors you choose to use. For example, warm colors like red, orange, and yellow can create a sense of excitement, while cool colors like blue and green can create a calming effect.
how do you use color theory in your videos?
Choose a color scheme: Before you start filming, choose a color scheme that aligns with the mood and tone of your video. You can use tools like Adobe Color or Canva to create a color palette that complements your story.
Use color grading: During the post-production process, use color grading to enhance the colors in your footage. You can adjust the brightness, saturation, and hue to create a consistent look throughout your video.
Think about contrast: Contrast is the difference between light and dark colors. Using contrasting colors in your videos can create visual interest and draw attention to specific elements on the screen.
Consider color temperature: Color temperature refers to the warmth or coolness of a color. It can be adjusted in post-production to create a specific look or mood.
By incorporating color theory into your video production process, you can create a more impactful and engaging experience for your viewers. So go ahead and experiment with different color schemes, and have fun with it!
Are you tired of boring, static images in your videos? Want to add a little flair and pizzazz to your video content? Well, have no fear, the Ken Burns Effect is here!
No, we’re not talking about the director of “The Civil War” documentary. We’re talking about a nifty little technique that adds movement and depth to still images in your video projects.
So, what exactly is the Ken Burns Effect? Simply put, it’s a technique of panning and zooming on still images, creating the illusion of movement and animation. It’s named after the famous documentary filmmaker, who used the technique extensively in his films to bring old photographs to life.
The effect involves zooming in or out on an image, while simultaneously panning across it. This creates a sense of motion and depth, making still images appear more dynamic and engaging.
Slideshows are boring, right?
Think about it – have you ever watched a slideshow of pictures that just seemed to drag on and on? Boring, right? But with the Ken Burns Effect, those same pictures can become much more interesting and visually stimulating.
The beauty of this technique is that it can be applied to a variety of different video projects. Whether you’re creating a slideshow of family photos or a promotional video for your business, the Ken Burns Effect can help elevate your content and make it stand out.
how do you create the Ken Burns Effect?
So, how do you create the Ken Burns Effect in your own video projects? It’s actually quite simple.
First, choose the image you want to apply the effect to. Ideally, you’ll want to choose an image with a strong focal point or subject that you can zoom in on. A landscape or group photo might not work as well as a portrait or close-up shot.
Next, import the image into your video editing software of choice. Most programs, like iMovie or Adobe Premiere, have built-in tools for creating the Ken Burns Effect.
Once you’ve imported the image, select it and click on the “crop” or “transform” tool. This will bring up a menu of options for adjusting the size and position of the image.
To create the effect, you’ll want to set two keyframes – one at the beginning of the clip, and one at the end. These keyframes will mark the starting and ending points of your zoom and pan.
At the first keyframe, zoom in on the image using the “scale” or “zoom” tool. You can also adjust the position of the image within the frame using the “pan” tool.
At the second keyframe, zoom out or return the image to its original size and position.
Finally, adjust the timing and duration of the effect to your liking. You might want to make the zoom and pan faster or slower, depending on the tone and pacing of your video.
And that’s it! With just a few simple steps, you can add a little extra oomph to your still images and make them come alive.
the Ken Burns Effect - Easy right?
Of course, like any video technique, the Ken Burns Effect can be overused or applied inappropriately. You don’t want to use it on every single image in your video, or it might become repetitive and tiresome.
Instead, use it strategically to highlight key moments or to add emphasis to specific images. It’s also a good idea to pair the effect with other visual elements, like text overlays or transitions, to create a more cohesive and polished look.
So, there you have it – the Ken Burns Effect in all its glory. It may seem like a small detail, but it can make a big difference in the overall quality and impact of your video content. Give it a try and see for yourself!
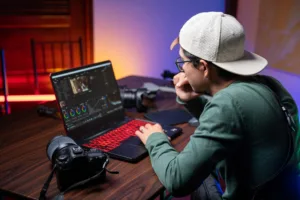
iMovie vs Final Cut Pro? Are you looking to up your video editing game? Well, you’re in luck because we’re about to dive into a showdown between iMovie and Final Cut Pro. These two editing softwares are both made by Apple, but they have some significant differences. So, let’s take a look and see which one comes out on top.
First up, we have iMovie. This editing software comes free with every Mac and is designed for beginners. It’s perfect if you’re just starting out with video editing and want to dip your toes in without committing to a paid software. iMovie is user-friendly and easy to navigate, making it great for making quick edits to your footage.
On the other hand, we have Final Cut Pro, which is a more professional-grade software. It’s used by industry professionals and offers more advanced features and tools than iMovie. This software is perfect if you’re looking to take your video editing skills to the next level and create more complex videos.
iMovie vs Final Cut Pro: Which One Is Right For You?
Well, it all depends on your needs. If you’re just starting out with video editing and want something easy to use, then iMovie is a great option. It’s simple and straightforward, and it’s perfect for making quick edits to your footage. Plus, since it’s free, it won’t hurt your wallet.
But if you’re looking to create more professional-grade videos and want access to advanced features and tools, then Final Cut Pro is the way to go. This software offers more control over your footage, and it’s perfect for creating complex edits and adding special effects.
Here are a few key differences between the two:
iMovie:
Comes free with every Mac
Is perfect for beginners
Offers a simple and user-friendly interface
Has limited features and tools compared to Final Cut Pro
Final Cut Pro:
Is a professional-grade editing software
Offers advanced features and tools for more complex video editing
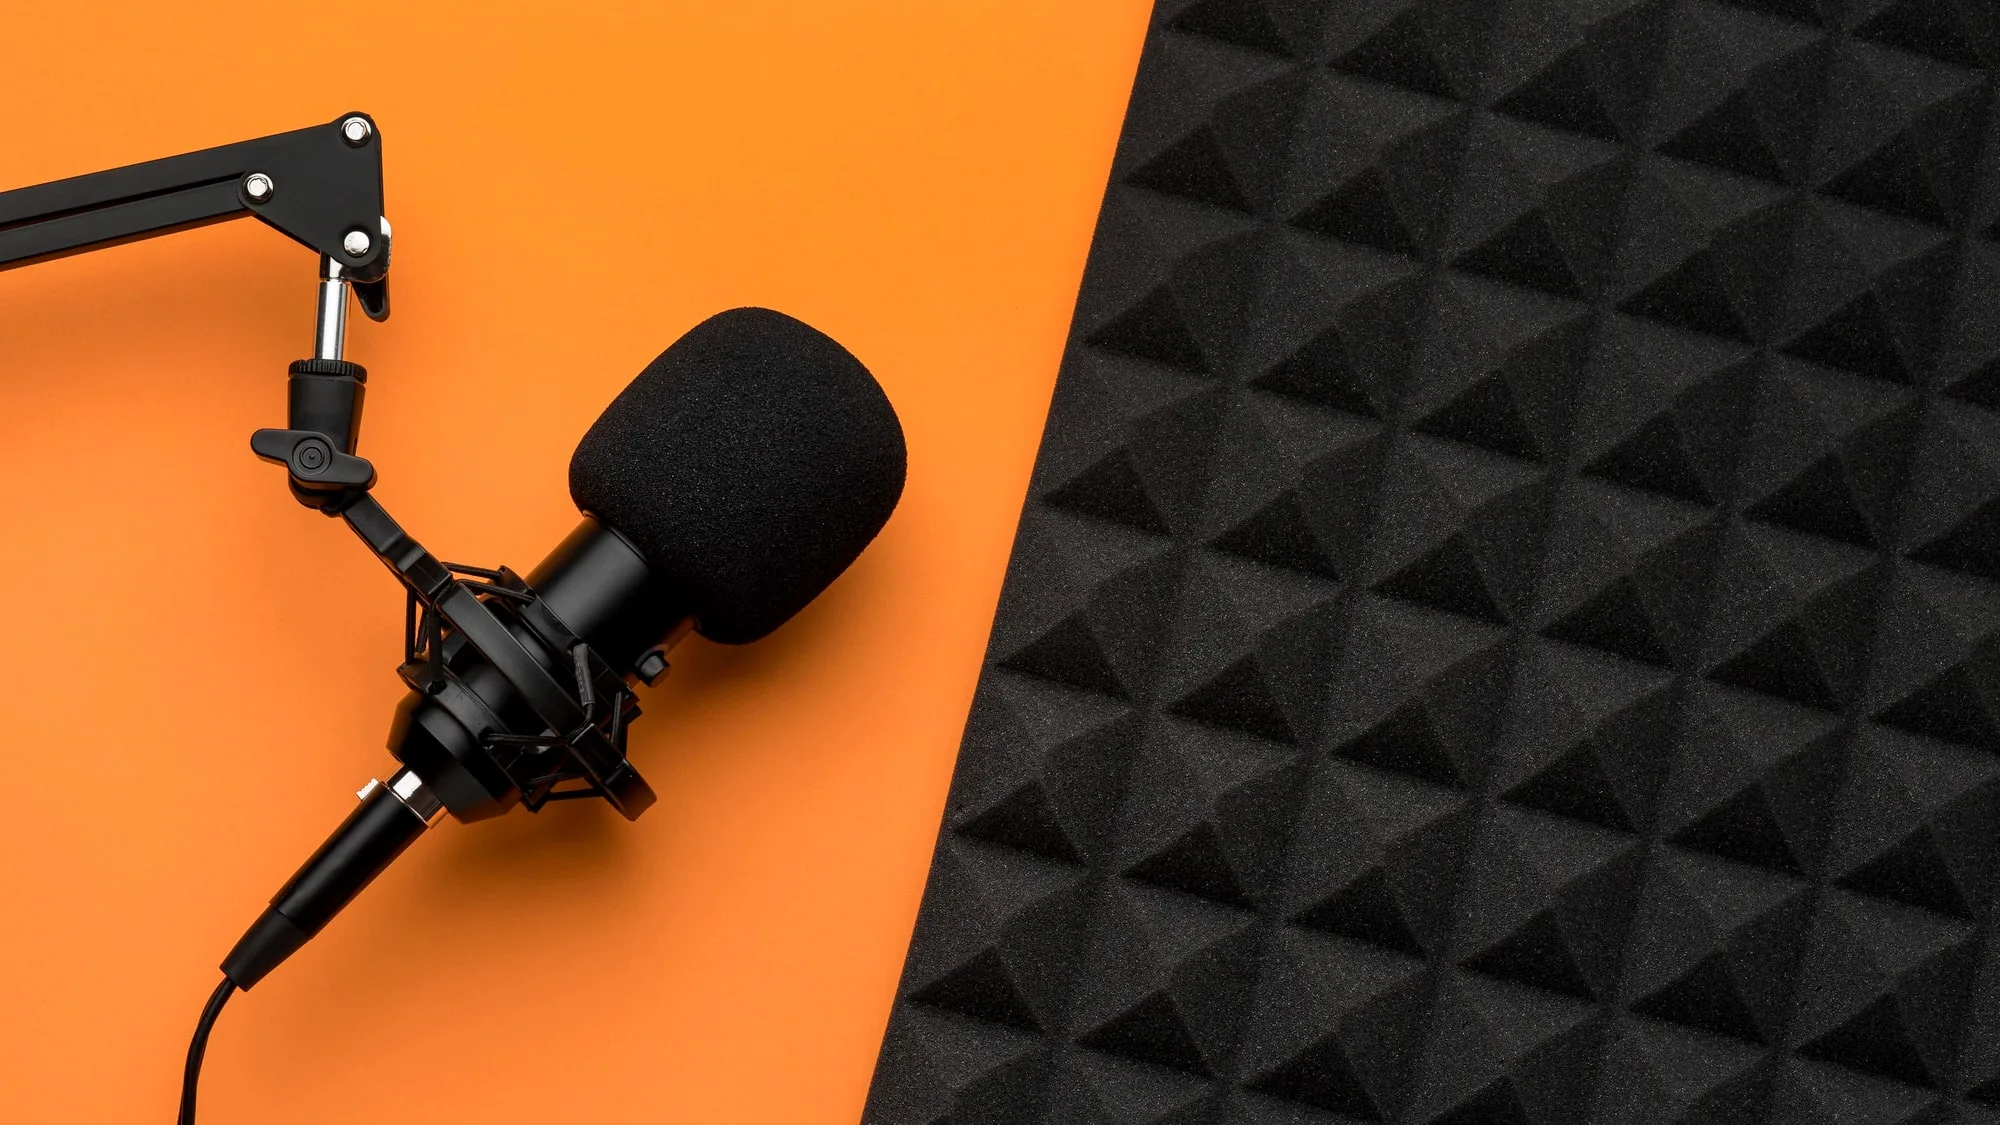
What is Sound Design? Welcome to the wonderful world of sound design! If you’re a filmmaker, you already know how important sound is to a great film. But have you ever thought about the art of sound design and how it can take your project to the next level? In this blog, we’ll explore what sound design is and give you some tips on how to use it effectively in your films.
So, what exactly is sound design? Simply put, it’s the process of creating and manipulating sound to enhance the storytelling of your film. This includes everything from creating sound effects and foley to mixing dialogue and music. Good sound design can transport your audience into the world of your film and add depth and emotion to every scene.
So, how do you use sound design effectively? Here are a few tips to get you started:
Tip #1: Plan ahead
As with any aspect of filmmaking, planning ahead is key to successful sound design. Make sure you have a clear idea of the sound you want to create before you start shooting, and create a detailed sound design plan. This will save you time and headache in the editing process.
Tip #2: Use sound effects and foley
Sound effects and foley are crucial to creating a realistic and immersive sound design. Think about all the sounds you hear in your everyday life – footsteps, doors opening and closing, the hum of an air conditioner – and try to recreate them in your film. This will help bring your audience into the world of your film and make them feel like they’re a part of it.
Tip #3: Mix your sound carefully
Mixing is the process of combining all the different sound elements in your film into a cohesive whole. This includes dialogue, sound effects, foley, and music. Be sure to mix your sound carefully to ensure that everything is balanced and sounds good together. You don’t want any one element to overpower the others.
Tip #4: Experiment and have fun!
Finally, don’t be afraid to experiment and have fun with your sound design. Try new things, play with different sounds, and see what works best for your film. Sound design is an art form, and there’s no right or wrong way to do it.
By following these tips, you can take your film’s sound design to the next level and create an immersive and engaging experience for your audience. So go forth and start creating – the world of sound design is waiting for you!
Welcome to the wonderful world of video production! If you’re new to the game, you might be wondering what the heck we’re talking about when we say “the 3 stages of video production.” Fear not, my friend – we’re here to break it down for you in a fun and easy-to-understand way.
Stage 1: Pre-Production
Ah, the magical world of pre-production! This is where all the planning happens. During this stage, you’ll be brainstorming ideas, creating storyboards, scouting locations, and assembling your crew. You’ll also be working on the script and figuring out all the technical details like lighting, sound, and camera angles. Think of this stage as laying the groundwork for the rest of the production process.
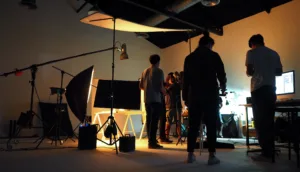
Stage 2: Production
Now it’s time for the fun part – actually shooting your video! During the production stage, you’ll be capturing all the footage you need to bring your vision to life. This includes setting up the camera and lights, recording audio, and directing your talent (if you have any). You’ll be working closely with your crew to make sure everything runs smoothly and you get all the shots you need.
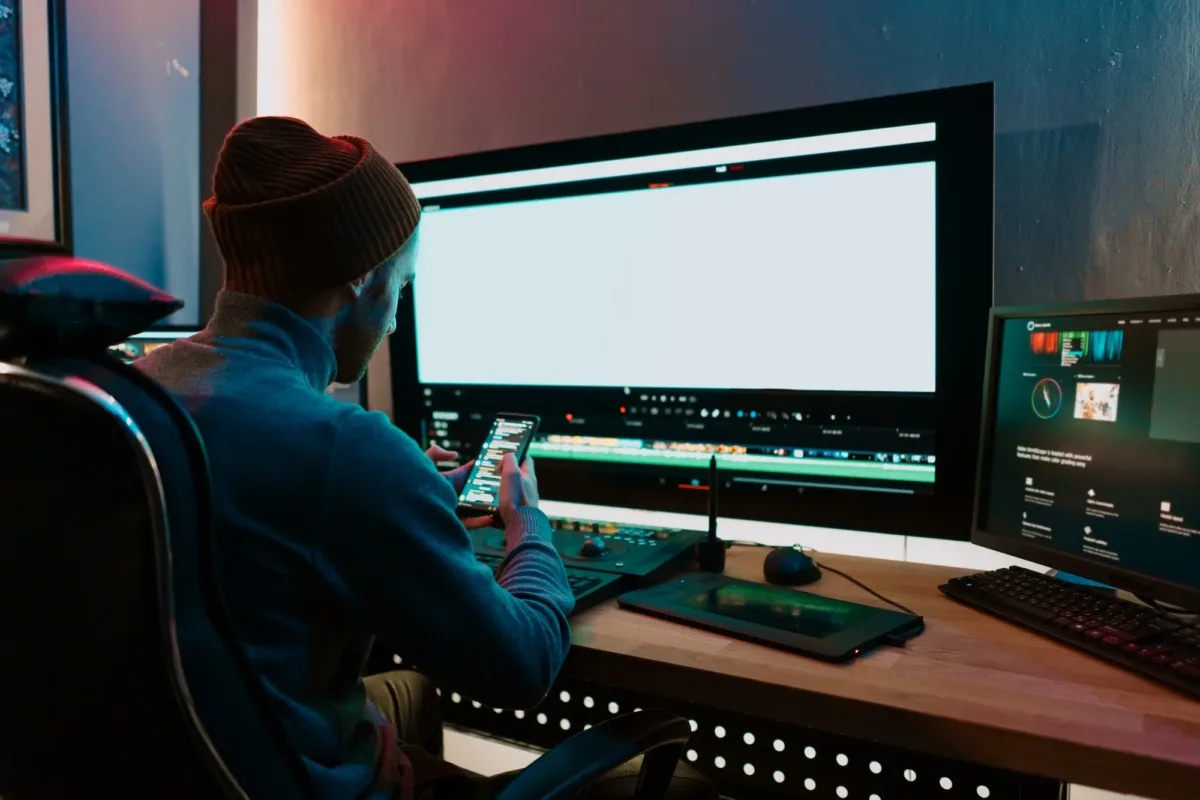
Stage 3: Post-Production
Finally, we come to the third and final stage of video production – post-production. This is where all the magic happens. During this stage, you’ll be editing your footage, adding special effects, and creating sound design. You’ll also be color correcting and mastering your video to make it look and sound its best. Think of this stage as putting all the puzzle pieces together to create the final product.
So there you have it – the 3 stages of video production in a nutshell. Whether you’re a seasoned pro or a newbie, these stages are essential to creating a successful video. Just remember to have fun and enjoy the process – after all, video production is an art form and there’s no right or wrong way to do it!
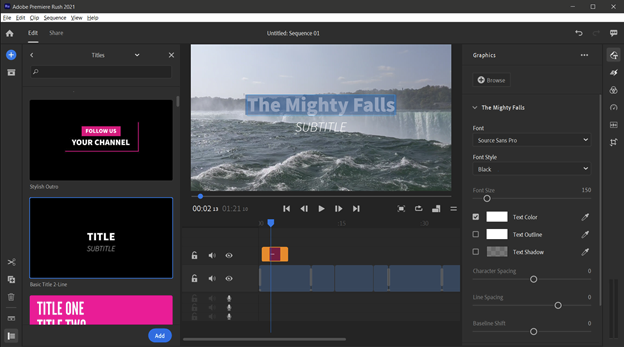
Hey there, video editing wizards! Are you looking to add some pizzazz to your videos with some slick transitions in Adobe Premiere Pro? Well, look no further because we’ve got you covered! In this blog, we’re going to break down the steps for adding transitions in Premiere Pro in a fun and easy-to-understand way. So grab your favorite beverage and let’s get started!
Step 1: Import your footage
The first step to adding transitions in Premiere Pro is to import your footage into the software. You can do this by clicking on “File” in the top left corner of the screen and selecting “Import” from the drop-down menu.
Step 2: Drag and drop your footage
Once you’ve imported your footage, you can drag and drop it onto the timeline at the bottom of the screen. Arrange the clips in the order you want them to appear in your final video.
Step 3: Choose your transition
Next, it’s time to choose your transition. Premiere Pro has a wide variety of transitions to choose from, including wipes, dissolves, and more. You can access the transitions panel by clicking on the “Effects” tab in the bottom left corner of the screen, and then selecting “Video Transitions” from the drop-down menu.
Step 4: Apply the transition
Once you’ve selected your desired transition, you can apply it to your footage by dragging and dropping it onto the spot where you want the transition to occur on the timeline. Premiere Pro will automatically adjust the length of the transition to fit between the two clips.
Step 5: Adjust the duration
If you want to adjust the duration of the transition, you can do so by clicking on the transition in the timeline and dragging the edges to lengthen or shorten it.
Step 6: Preview and export
Finally, it’s time to preview your masterpiece! You can do this by clicking on the play button in the preview window at the top right corner of the screen. If you’re happy with your video, it’s time to export it and share it with the world.
In conclusion, adding transitions in Premiere Pro is a fun and easy way to add some extra flair to your videos. By following these simple steps, you’ll be well on your way to creating professional-looking videos that are sure to impress. So go ahead and give it a try – who knows, you might just become the next big thing in video editing!
Hey there, movie buffs and sound geeks! Have you ever heard of Automated Dialogue Replacement (ADR)? It’s a fascinating process used in film and television production that involves re-recording dialogue in a studio after filming. Today, we’re going to dive into the world of ADR and learn more about what it is and why it’s used. So, grab your popcorn and let’s get started!
What is ADR?
Automated Dialogue Replacement (ADR), also known as “looping,” is a post-production process where dialogue is re-recorded in a studio and synced up with the visuals on screen. This is done for a variety of reasons, including improving the sound quality, correcting mistakes or inconsistencies in the original dialogue, and adding new lines that weren’t captured during filming.
Why is ADR used?
ADR is used for a variety of reasons, but mainly it’s because it allows filmmakers to have more control over the sound quality and consistency of the dialogue. Sometimes, the audio recorded on set can be plagued by background noise, wind, or other unwanted sounds that can make it difficult to hear the dialogue clearly. ADR allows filmmakers to record the dialogue in a controlled environment, without any unwanted noise or distractions.
ADR is also used to correct mistakes or inconsistencies in the original dialogue. Sometimes, actors may stumble over their lines, or the audio may not be clear enough to use in the final edit. ADR allows the actors to re-record their lines, ensuring that the dialogue is clear and consistent throughout the film.
Finally, ADR is sometimes used to add new lines that weren’t captured during filming. This can be done for a variety of reasons, including adding humor, improving the story, or filling in gaps in the dialogue.
How does ADR work?
ADR typically involves the following steps:
The actor watches the scene on a monitor while listening to the original audio in their headphones.
The actor records their lines in sync with the visuals on screen, using a special microphone that is designed to capture high-quality sound.
The new dialogue is synced up with the visuals using special software, ensuring that the lips of the actors match the new dialogue.
Conclusion:
In conclusion, Automated Dialogue Replacement (ADR) is a crucial process in film and television production that allows filmmakers to have more control over the sound quality and consistency of the dialogue. It’s a fascinating process that involves re-recording dialogue in a studio and syncing it up with the visuals on screen. So, the next time you’re watching your favorite movie or TV show, listen closely for any ADR, and appreciate the hard work that goes into creating seamless dialogue on screen.
Hey there, Premiere Pro users! Are you tired of trying to figure out how to split a clip in Premiere Pro? Well, look no further because we’ve got you covered with this easy-to-follow guide on how to do just that. So, let’s dive in and split some clips like a pro!
Step 1: Select the clip
First things first, select the clip that you want to split in the timeline. You can do this by clicking on it with your mouse.
Step 2: Position the playhead
Next, position the playhead (the little blue triangle) to the point where you want to split the clip. You can do this by dragging the playhead along the timeline or by using the arrow keys on your keyboard.
Step 3: Split A clip
Now, it’s time to split the clip! There are two ways you can do this:
Option 1: Right-click the clip and select "Split Clip"
This is the easiest way to split a clip. Simply right-click on the clip and select “Split Clip.” Premiere Pro will split the clip at the position of the playhead, creating two separate clips.
Option 2: Use the "Razor Tool"
The Razor Tool is another way to split a clip. You can find it in the toolbar on the left-hand side of the screen. Click on the Razor Tool and then click on the clip at the position where you want to split it. Premiere Pro will split the clip at that point, creating two separate clips.
Step 4: Adjust the clips
Now that you’ve split the clip, you may want to adjust the two separate clips. You can do this by dragging them along the timeline or by trimming them using the Trim Tool (the little bracket-looking icon in the toolbar).
And that’s it! You’ve successfully split a clip in Premiere Pro. It’s a simple process that can be done in just a few clicks. So, go ahead and give it a try on your own. Happy editing!
Hey there, aspiring YouTubers and filmmakers! Are you tired of scrolling through endless apps to find the perfect one for your needs? Look no further because we’ve got the top 5 apps that will make your video creation journey a breeze. So, let’s jump right in and check them out!
Adobe Premiere Rush
Adobe Premiere Rush is an all-in-one editing app for video and audio, perfect for YouTubers and filmmakers on the go. With its user-friendly interface, you can easily create professional-looking videos with built-in templates, transitions, and color correction tools. Plus, it’s compatible with both desktop and mobile devices, making it easy to switch between platforms.
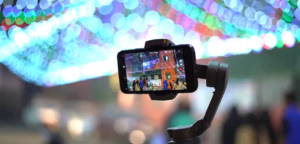
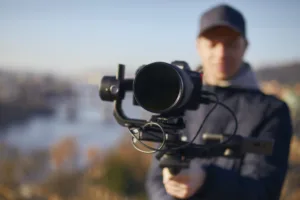
Filmic Pro
Filmic Pro is a high-end camera app that lets you control every aspect of your camera, from focus to exposure, giving you full creative control over your shots. It’s a must-have for filmmakers who want to shoot professional-looking footage on their smartphones. Plus, it supports a wide range of frame rates, resolutions, and aspect ratios, making it perfect for any project.
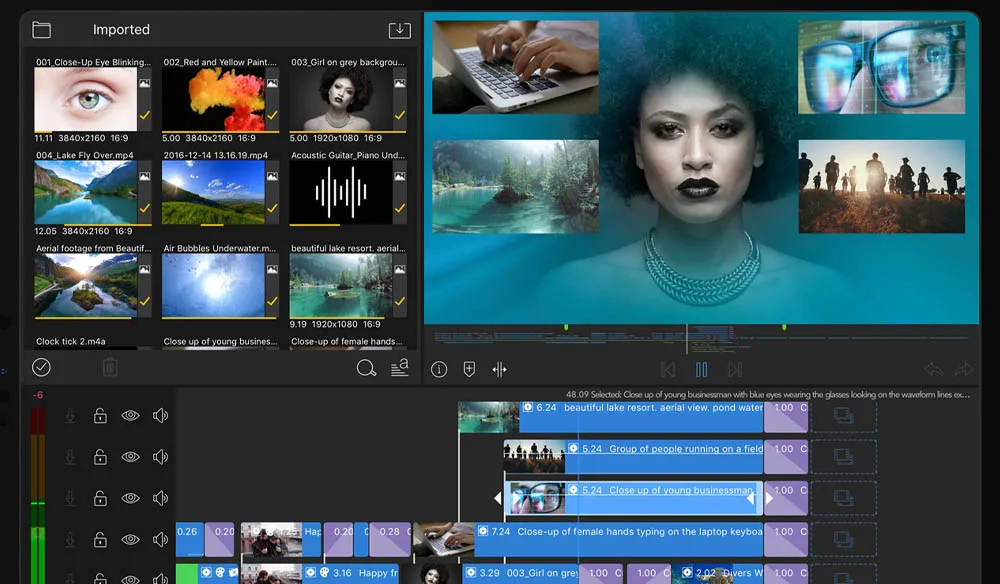
LumaFusion
LumaFusion is a powerful video editing app for iOS devices that offers advanced features like multi-track editing, keyframe animation, and audio mixing. It’s perfect for filmmakers who want to create complex video projects on their iPad or iPhone, with the ability to import and export footage in multiple formats.
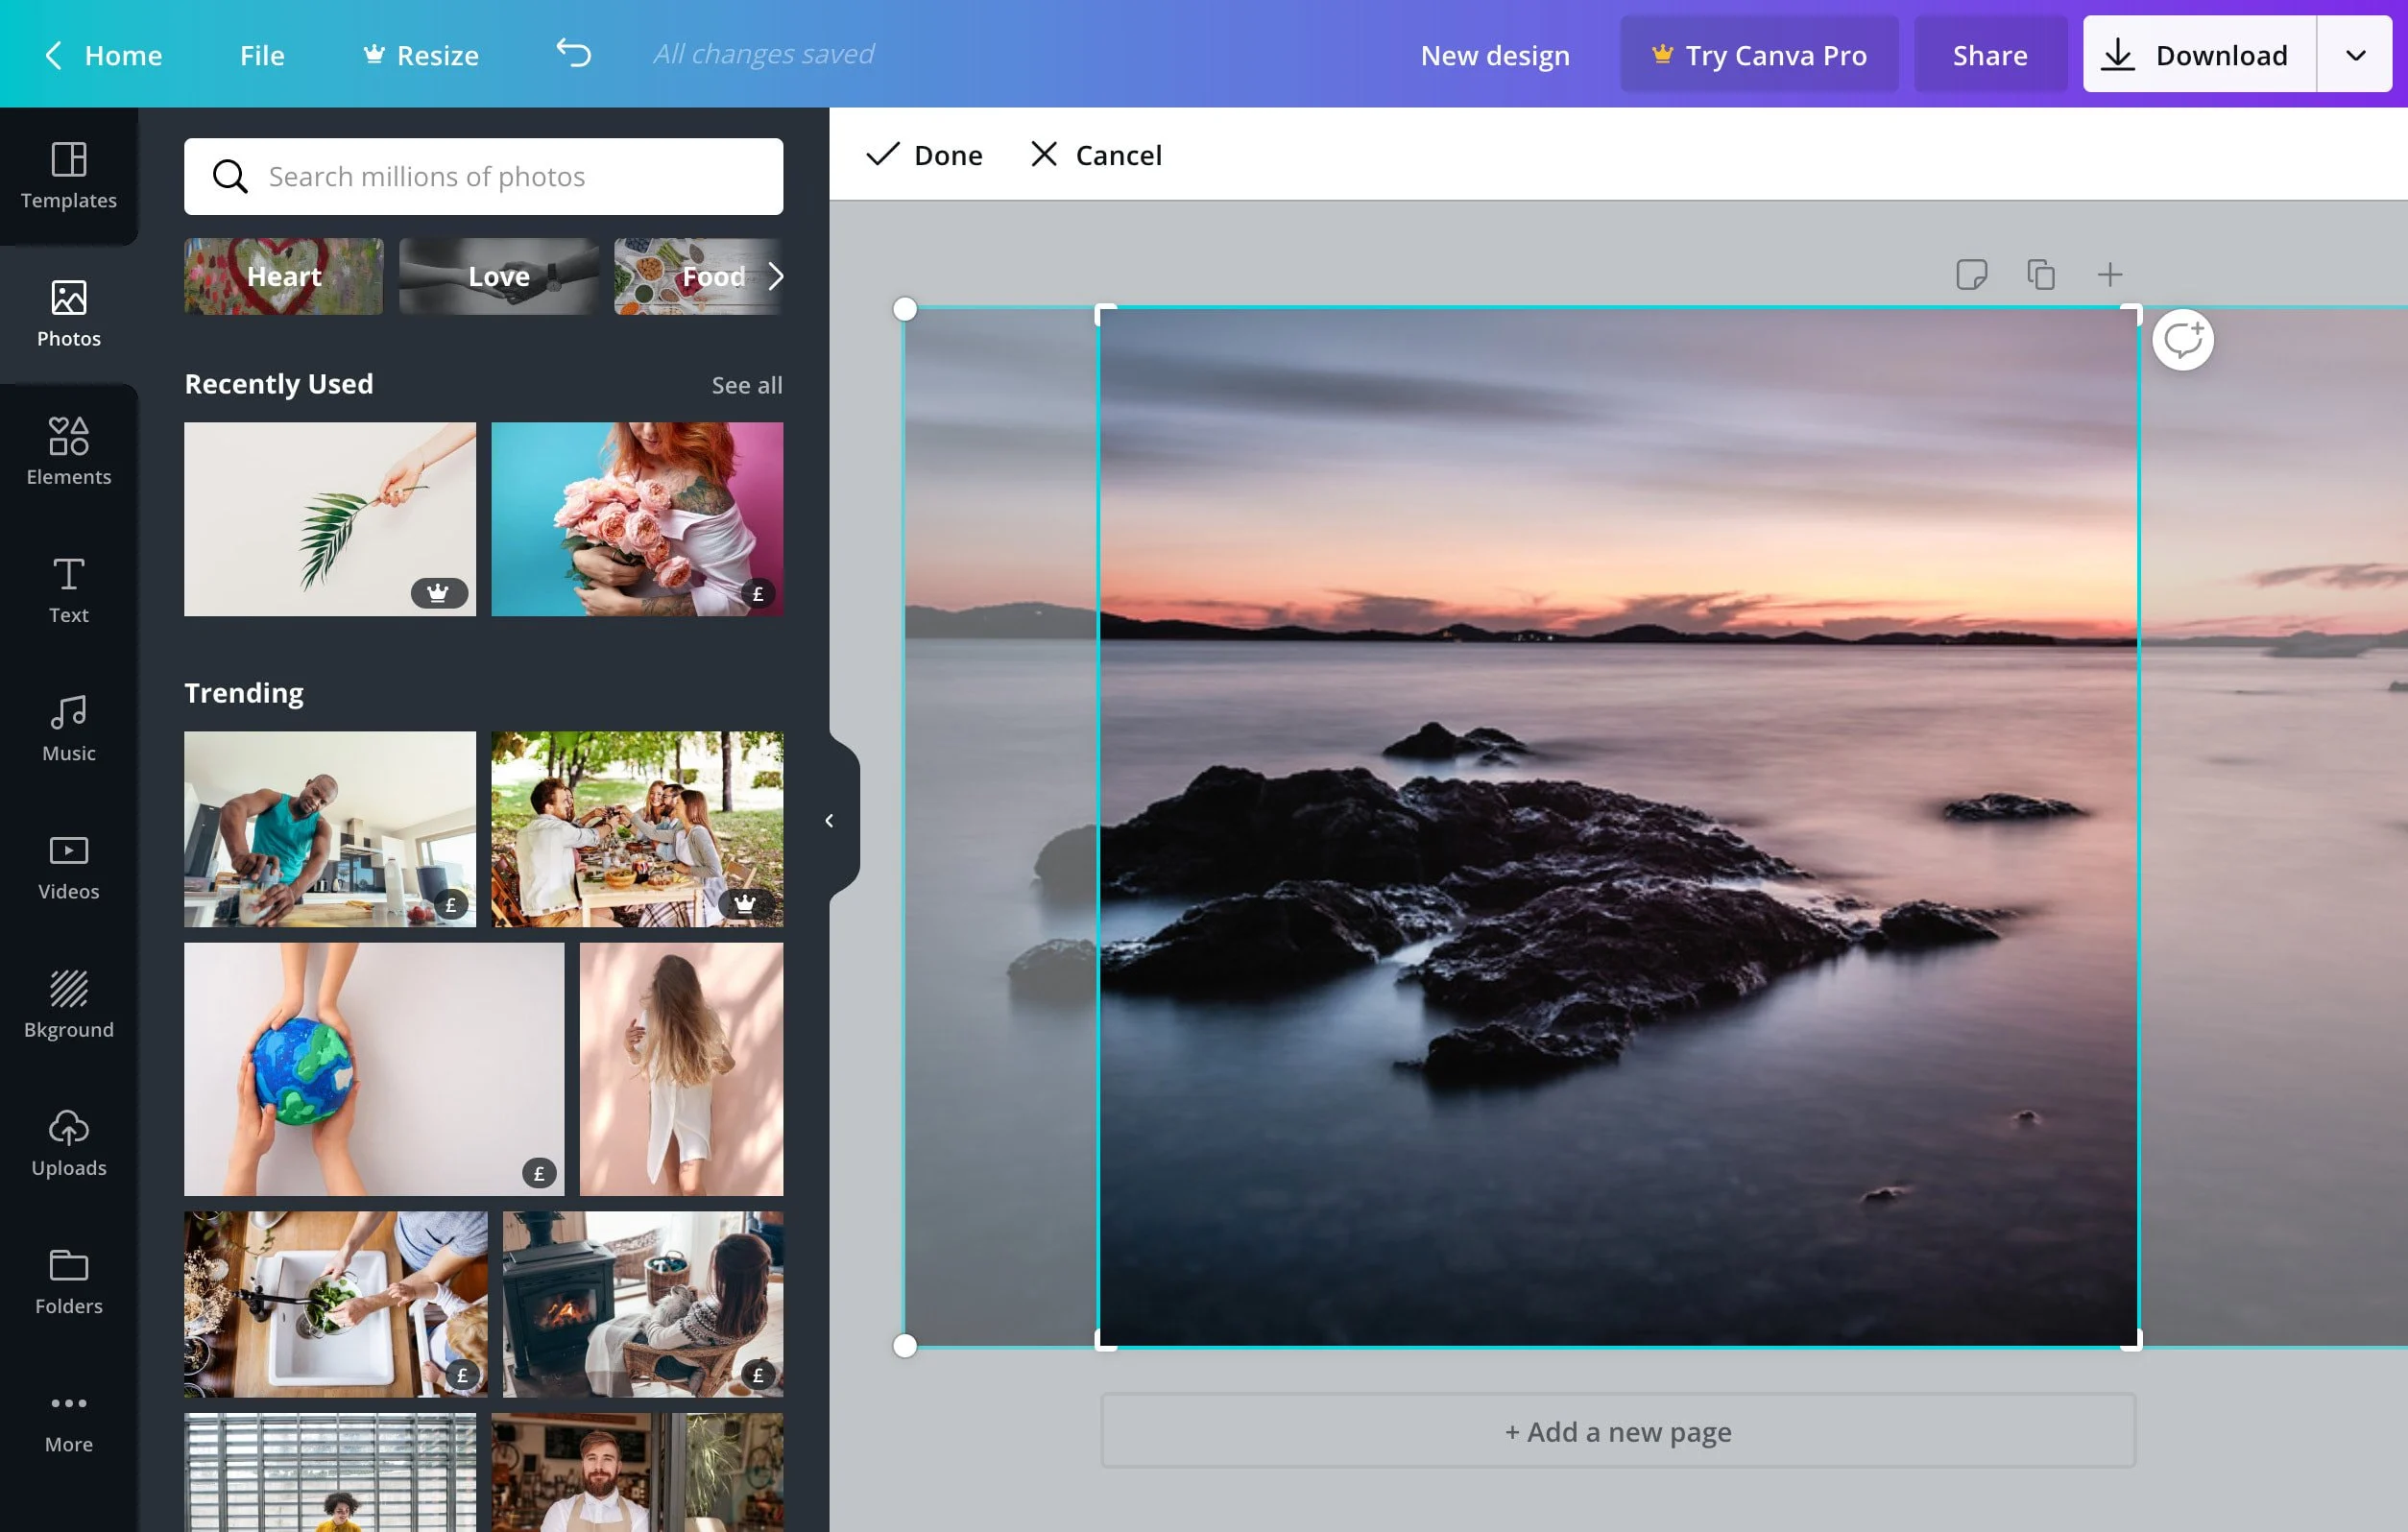
Canva
Canva is a versatile design app that offers a range of templates, graphics, and fonts to help you create stunning thumbnails, banners, and other graphics for your YouTube channel. With its drag-and-drop interface, you can easily customize designs to fit your brand and style.
TubeBuddy
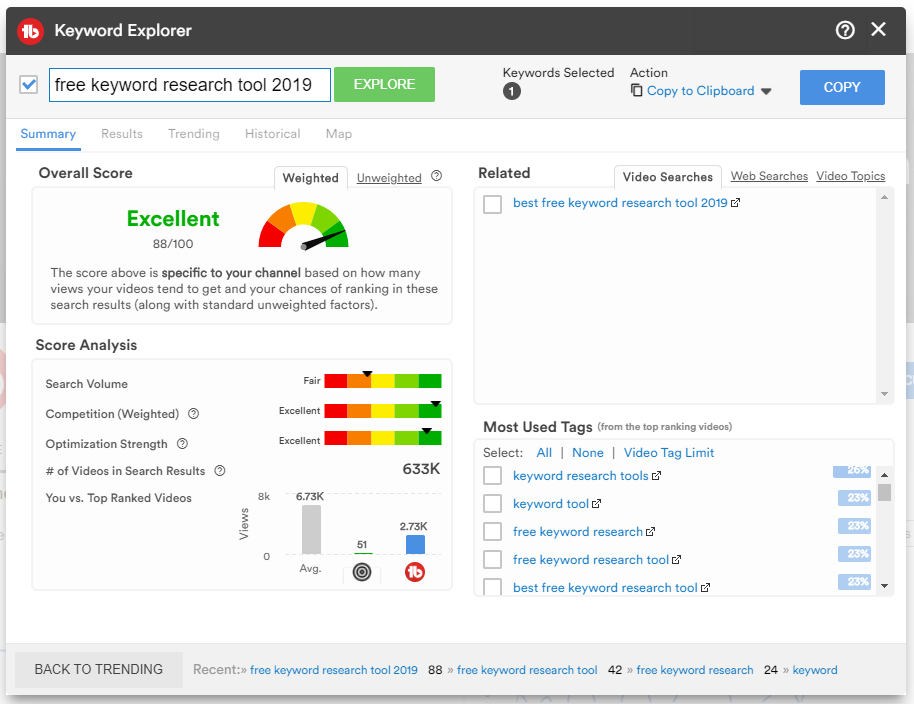
TubeBuddy is a YouTube-certified browser extension that offers a range of tools to help you optimize your videos for maximum views and engagement. With features like keyword research, tag suggestions, and video analytics, you can easily identify opportunities to improve your channel’s performance and grow your audience.
In conclusion, these apps are essential tools for any YouTuber or filmmaker looking to create high-quality videos and grow their audience. So, why not give them a try and see how they can take your content to the next level? Happy filming!