Welcome to the world of video production, where colors play a vital role in telling your story! If you’re new to the game, you might have heard the term “color theory” thrown around a lot. But what is it exactly, and how can you use it to make your videos more impactful? Let’s dive in and find out!
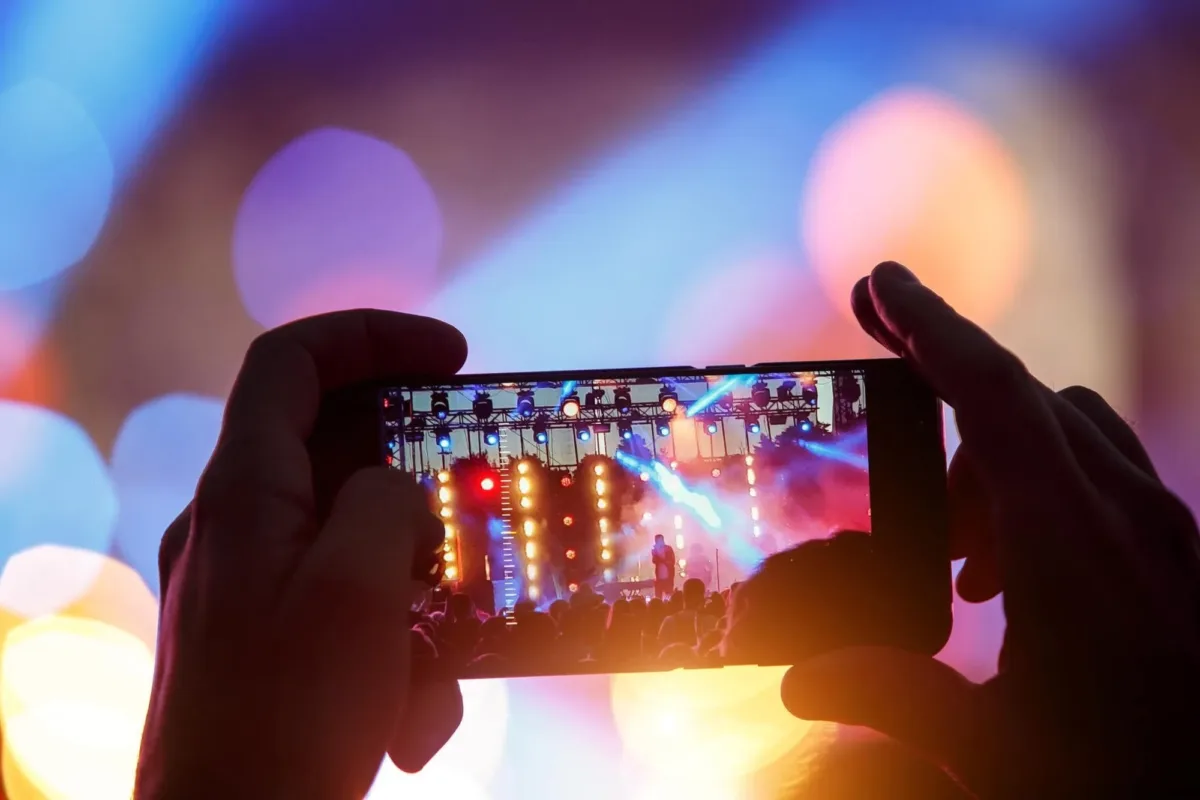
Color theory is the study of colors and their relationship with each other. In video production, color theory can help you create a specific mood or emotion in your audience, depending on the colors you choose to use. For example, warm colors like red, orange, and yellow can create a sense of excitement, while cool colors like blue and green can create a calming effect.
how do you use color theory in your videos?
Choose a color scheme: Before you start filming, choose a color scheme that aligns with the mood and tone of your video. You can use tools like Adobe Color or Canva to create a color palette that complements your story.
Use color grading: During the post-production process, use color grading to enhance the colors in your footage. You can adjust the brightness, saturation, and hue to create a consistent look throughout your video.
Think about contrast: Contrast is the difference between light and dark colors. Using contrasting colors in your videos can create visual interest and draw attention to specific elements on the screen.
Consider color temperature: Color temperature refers to the warmth or coolness of a color. It can be adjusted in post-production to create a specific look or mood.
By incorporating color theory into your video production process, you can create a more impactful and engaging experience for your viewers. So go ahead and experiment with different color schemes, and have fun with it!
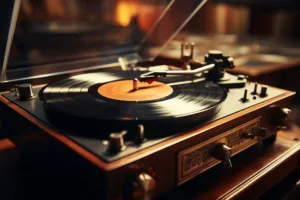
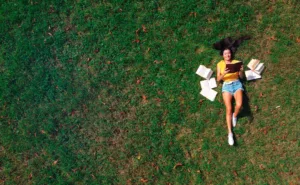
Emotions of Video Viewers is everything! Ready to dive into the fascinating world of music and emotions in video? Great, let’s get started!
As humans, we have a natural tendency to connect with music on an emotional level. From happy to sad, from excited to reflective, music has the power to evoke a wide range of emotions within us. And when it comes to video, the right music can make or break the emotional impact of your content.
how does music affect the emotions of video viewers?
Firstly, music can create a sense of atmosphere and mood within a video. For example, a slow, melancholic piece of music can set a somber tone for a dramatic scene, while an upbeat, catchy tune can create a fun, lighthearted mood for a comedy skit.
Secondly, music can enhance the emotional impact of a particular moment or scene. Have you ever watched a tear-jerking movie scene and found yourself crying along with the characters? Chances are, the music played a big role in amplifying the emotional impact of that moment.
Physiological responses of viewers.
In fact, research has shown that music can even affect the physiological responses of viewers, such as heart rate and skin conductance. So, it’s safe to say that music plays a vital role in creating an emotional connection between viewers and the content they’re watching.
When selecting music for your video, it’s important to consider the emotions you want to convey, as well as the tone and style of your content. A fast-paced, action-packed video may require a different type of music than a slow, contemplative vlog.
Royalty Free Music.
In addition, you’ll want to make sure you have the legal rights to use the music in your video, whether that’s through purchasing a license or using royalty-free music.
So, to sum it up, music has a powerful impact on the emotions of video viewers. It can create a mood, enhance the emotional impact of specific moments, and even affect physiological responses. So, choose your music wisely and let it help you tell the emotional story you want to convey in your video.
Now, go out there and create some amazing, emotion-filled video content!
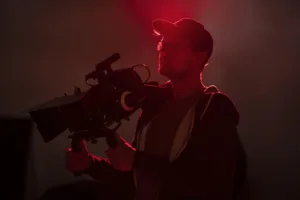
Lights, camera, action! When it comes to filmmaking, there are a lot of terms to keep track of. From tracking shots to close-ups, it can be hard to keep it all straight. But fear not, my fellow film enthusiasts! In this blog post, we’re going to focus on one particular shot: the martini shot. But first, let’s cover some other important shot names you might hear on set.
Close-Up: A shot that shows a subject’s face or a specific detail.
Medium Shot: A shot that shows the subject from the waist up.
Long Shot: A shot that shows the subject from head to toe or from a distance.
Tracking Shot: A shot in which the camera moves with the subject as they move through the scene.
The Martini Shot.
The martini shot is the final shot of the day. It’s named after the tradition of celebrating the end of a long day of filming with a martini. It’s also known as the “final shot” or the “golden shot.”
The martini shot is important for a few reasons. First, it marks the end of the day’s work and signals to the cast and crew that they can pack up and head home. Second, it’s often used as an opportunity to get creative with the shot, since it doesn’t necessarily need to fit within the continuity of the scene. Finally, it’s a chance to capture a memorable moment that might not fit within the structure of the scene itself.
While the martini shot is certainly an important part of filmmaking, it’s important to remember that every shot has a purpose. Each shot helps to tell the story and convey the emotion of the scene. So whether you’re capturing a close-up or a tracking shot, make sure it serves the story you’re trying to tell.
Now that you know what the martini shot is, and a few other important shot names, you’re ready to take on the world of filmmaking. So go forth, my friends, and create something amazing!
Have you ever watched a movie or a video where the camera seems to be shaking uncontrollably? That’s called “shaky cam,” and it’s a technique that can be used to create a sense of chaos and urgency in your videos. But before you start shaking your camera around like a madman, there are a few things you should know.
First, let’s talk about what shaky cam is. Essentially, it’s a camera technique that simulates the experience of being in the middle of a chaotic or high-energy situation. The camera is held unsteadily, which can create a sense of movement and tension in the footage. You might see shaky cam used in action movies, horror films, or documentaries to create a sense of realism and immediacy.
how can you use shaky cam in your own videos?
Use it sparingly. Shaky cam can be an effective technique, but too much of it can be distracting and disorienting. Use it strategically to highlight moments of high energy or chaos.
Plan ahead. While shaky cam might look like it’s just the result of holding the camera haphazardly, it actually takes careful planning and choreography to execute effectively. Before you start shooting, think about the movements and actions you want to capture and how you can best simulate the experience of being in the middle of them.
Use stabilization tools. If you’re filming with a traditional camera, consider using a stabilization rig or tripod to help control the camera’s movement. If you’re using a smartphone, there are a number of apps that can help stabilize your footage.
Edit with intention. Shaky cam footage can be difficult to work with in post-production, so it’s important to have a clear idea of how you want to use it before you start editing. Experiment with different effects and techniques to find the look that works best for your project.
Overall, shaky cam can be a fun and effective way to add energy and excitement to your videos. Just remember to use it strategically and with intention, and you’ll be well on your way to creating dynamic and engaging footage.
Ah, aspect ratio. It’s one of those filmmaking terms that can seem intimidating at first, but don’t worry – it’s not as complicated as it sounds. In fact, understanding aspect ratio is crucial to making your film look its best.
So, what is aspect ratio? Simply put, it’s the proportion of the width of your video frame to its height. For example, a common aspect ratio is 16:9, which means the width is 16 units and the height is 9 units.
Now, why does aspect ratio matter?
Well, it can affect the way your audience perceives your film. Different aspect ratios can create different moods and visual effects. Here are a few examples:
1.33:1 (also known as 4:3) was once the standard aspect ratio for TV shows and movies. It can create a classic, nostalgic feel.
1.85:1 is a common aspect ratio for modern films. It can create a cinematic, widescreen look.
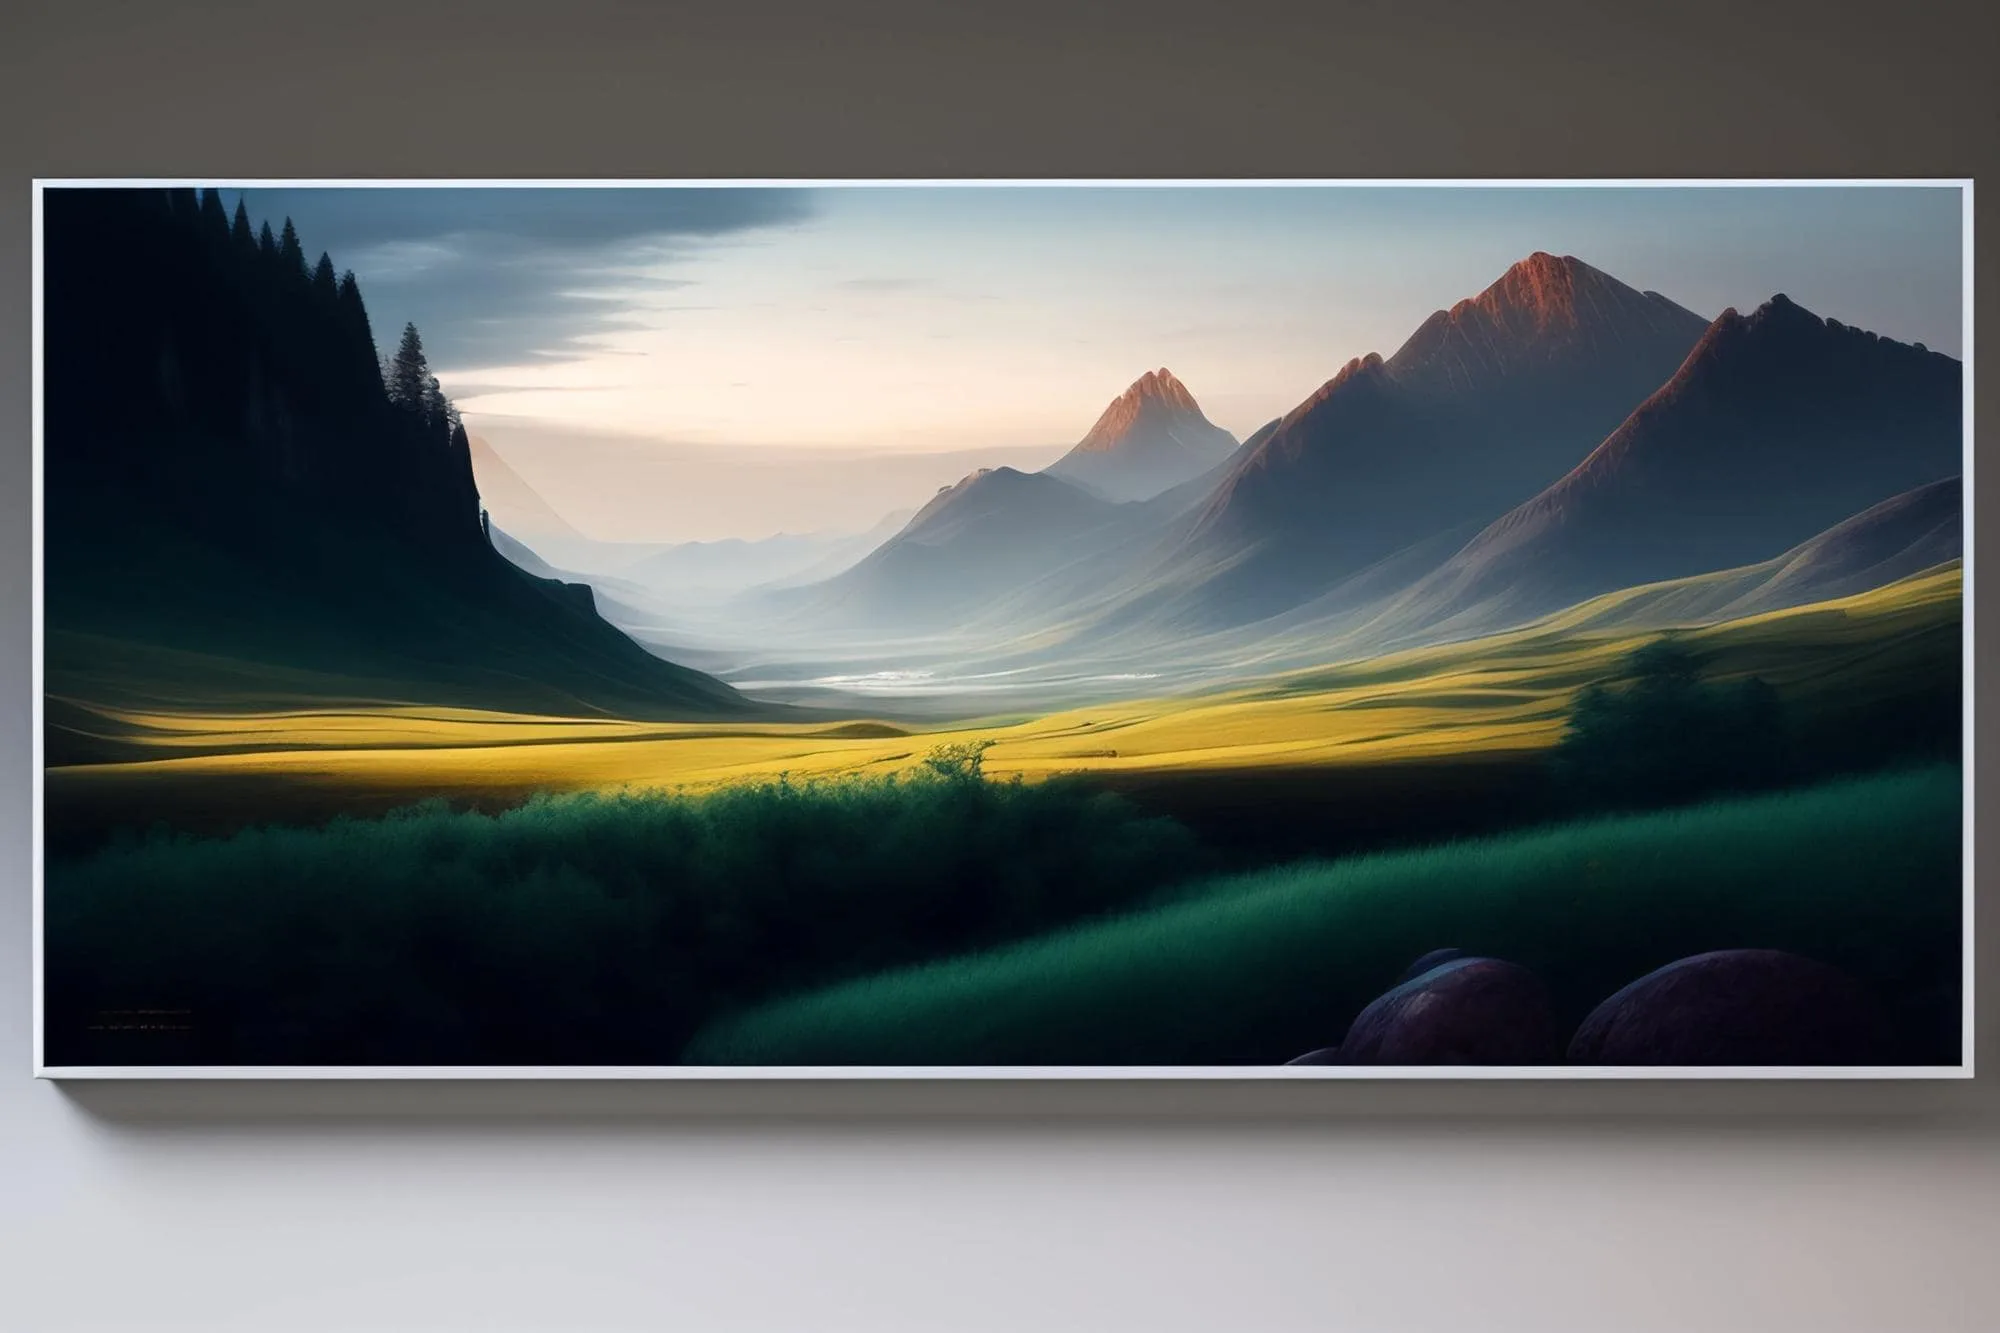
2.39:1 (also known as “Scope”) is an ultra-widescreen aspect ratio often used for epic, sweeping shots.
So, how do you choose the right aspect ratio for your project?
Think about the story you want to tell and the mood you want to create. A widescreen aspect ratio might be great for an action movie, while a more intimate, square aspect ratio might be better for a drama.
And once you’ve chosen your aspect ratio, make sure you stick with it throughout your film. Changing aspect ratios mid-scene can be jarring for your audience.
Now, there are a few technical things to keep in mind when it comes to aspect ratio. For example, if you’re shooting on a camera with a fixed aspect ratio, you’ll need to crop or letterbox your footage in post-production to achieve the desired aspect ratio. And if you’re distributing your film, you’ll need to consider which aspect ratios are compatible with different platforms.
But don’t let that scare you off – with a little practice, using aspect ratio can be a fun and creative tool for enhancing your filmmaking. So go ahead, play around with different aspect ratios and see what works best for your project!
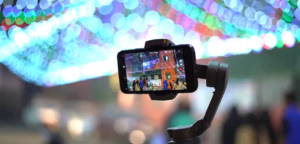
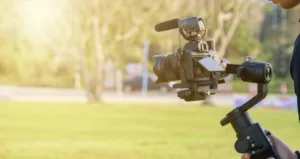
Are you tired of shooting bland videos on your iPhone? Well, get ready to take your shots to the next level with these tips on how to make great cinematic shots on an iPhone.
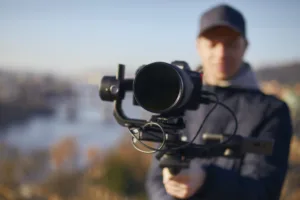
First things first, stability is key. Shaky footage can make even the best shots look amateurish, so invest in a tripod or stabilizer to keep your phone steady. This will help you achieve those smooth, cinematic movements that make your shots stand out.
pay attention to your framing
Think about the rule of thirds, and try to place your subject off-center for a more visually pleasing shot. Also, be mindful of your composition – try to include interesting foreground and background elements to add depth to your shot.
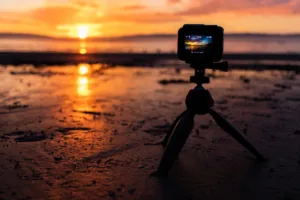
Lighting is also crucial for achieving that cinematic look. Avoid shooting in harsh, direct sunlight and opt for softer, diffused light instead. You can achieve this by shooting during golden hour (the hour after sunrise and before sunset), or by using artificial lighting such as a ring light or softbox.
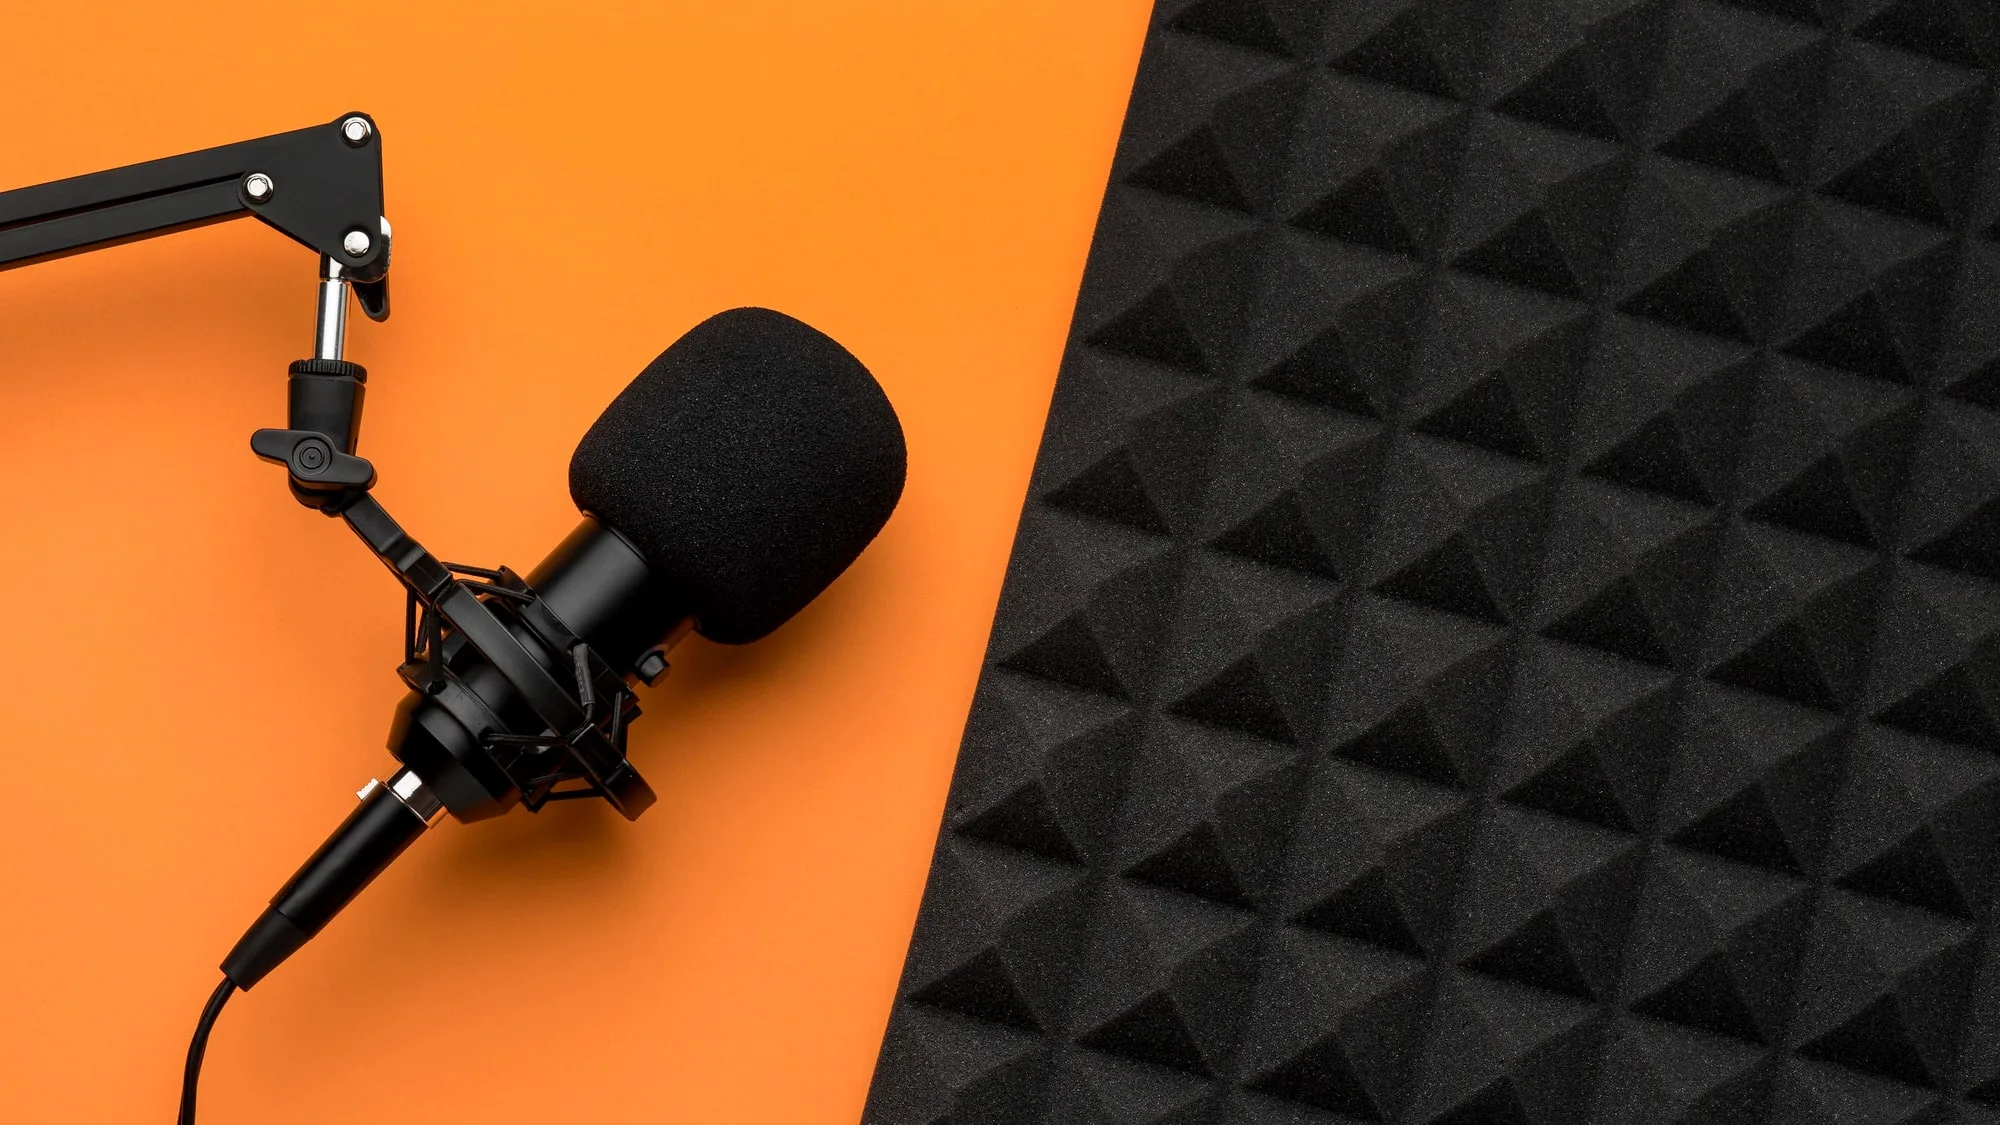
Don't forget about sound!
Audio is just as important as visuals in creating a cinematic experience. Invest in a good quality microphone to capture clear, crisp audio that enhances your footage. Add background soundtrack with amazing tracks from TuneCutter, of course!
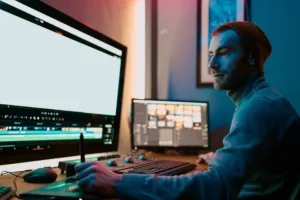
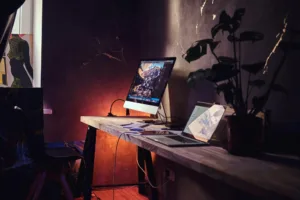
Finally, editing is where the magic happens. Take advantage of editing software like iMovie or Adobe Premiere Pro to add color grading, slow-motion, and other effects that enhance the overall cinematic feel of your footage.
So there you have it, folks – with a little bit of know-how and some handy equipment, you can make great cinematic shots on your iPhone. Remember to experiment and have fun, and you’ll be creating professional-looking videos in no time!
Ah, the 180 degree rule – one of the fundamental rules of filmmaking! If you’re new to filmmaking, you may be wondering what exactly this rule is and why it’s so important. Don’t worry, we’ve got you covered. In this blog, we’ll explain what the 180 degree rule is and give you some tips on how to use it effectively.
So, what exactly is the 180 degree rule? In simple terms, it’s a rule that dictates that when filming a conversation between two characters, the camera should stay on one side of an imaginary line drawn between them. This helps maintain spatial continuity and keeps the audience from getting disoriented. If you cross the line, the characters will appear to switch positions on screen, which can be confusing for the viewer.
For example, imagine you’re filming a conversation between two characters sitting across from each other at a table. You would draw an imaginary line between them and make sure that the camera stays on one side of that line throughout the scene. If you need to show the other side of the table, you would move the camera to the other side and stay on that side for the rest of the scene.
Now, you may be wondering why the 180 degree rule is so important. Well, it’s all about maintaining spatial continuity and keeping the audience engaged in the story. If you cross the line, it can be disorienting for the viewer and take them out of the story. By following the 180 degree rule, you can ensure that your film is easy to follow and keeps the audience engaged.
So, how do you use the 180 degree rule effectively? Here are a few tips:
Tip #1: Plan ahead
As with any aspect of filmmaking, planning ahead is key to using the 180 degree rule effectively. Make sure you have a clear idea of the scene you want to film and draw an imaginary line between the characters before you start shooting.
Tip #2: Use the rule creatively
Sound effects and foley are crucial to creating a realistic and immersive sound design. Think about all the sounds you hear in your everyday life – footsteps, doors opening and closing, the hum of an air conditioner – and try to recreate them in your film. This will help bring your audience into the world of your film and make them feel like they’re a part of it.
Tip #3: Break the rule intentionally
As with any rule in filmmaking, it’s okay to break the 180 degree rule – as long as you do it intentionally. Breaking the rule can create tension and disorientation, which can be effective in certain scenes. Just make sure that the break is intentional and serves a purpose in the story.
By following these tips, you can use the 180 degree rule effectively and create engaging and immersive films. So go forth and start filming – the world of filmmaking is waiting for you!
Are you ready to take your filmmaking skills to the next level? If you’re looking to add some serious drama and tension to your videos, chiaroscuro lighting might just be the answer. In this blog, we’ll break down what chiaroscuro lighting is and how to use it to create some seriously captivating footage. So get ready to dive into the world of lighting and shadows!
First things first, what the heck is chiaroscuro lighting? Simply put, it’s a technique that uses strong contrasts between light and dark to create depth and drama in a scene. Think of those classic film noirs with dark alleys and shadowy figures – that’s chiaroscuro lighting at work.
So how do you create this effect? Here are a few tips:
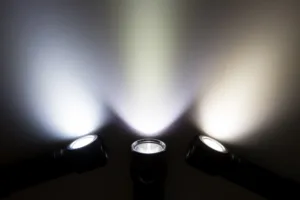
Tip #1: Use a single light source
Chiaroscuro lighting is all about creating strong contrasts between light and shadow, so using a single, strong light source can help you achieve this effect. Try positioning your light source off to one side of your subject to create strong shadows on the opposite side.
Tip #2: Play with angles
The angle of your light source can also have a big impact on the look of your shot. Experiment with different angles to create interesting shadows and highlights. You might try positioning your light source above your subject for a more dramatic effect.
Tip #3: Control your light intensity
Since chiaroscuro lighting relies on strong contrasts, you’ll want to make sure your light source is bright enough to create those deep shadows. But be careful not to overdo it – you don’t want your footage to be too blown out or harsh. Use dimmer switches or diffusion material to control the intensity of your light.
Tip #4: Get creative with your shadows
Finally, don’t be afraid to get creative with your shadows. You can use objects to create interesting shapes and patterns, or even use a piece of cardboard to block part of the light source and create a more defined shadow.
By using these tips, you can create some seriously stunning footage with chiaroscuro lighting. Whether you’re filming a dramatic scene or just looking to add some visual interest to your shots, this technique is a powerful tool in any filmmaker’s arsenal. So go forth and experiment – who knows, you might just create the next film noir classic!
Welcome to the wonderful world of video production! If you’re new to the game, you might be wondering what the heck we’re talking about when we say “the 3 stages of video production.” Fear not, my friend – we’re here to break it down for you in a fun and easy-to-understand way.
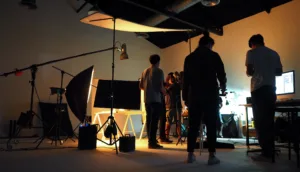
Stage 1: Pre-Production
Ah, the magical world of pre-production! This is where all the planning happens. During this stage, you’ll be brainstorming ideas, creating storyboards, scouting locations, and assembling your crew. You’ll also be working on the script and figuring out all the technical details like lighting, sound, and camera angles. Think of this stage as laying the groundwork for the rest of the production process.
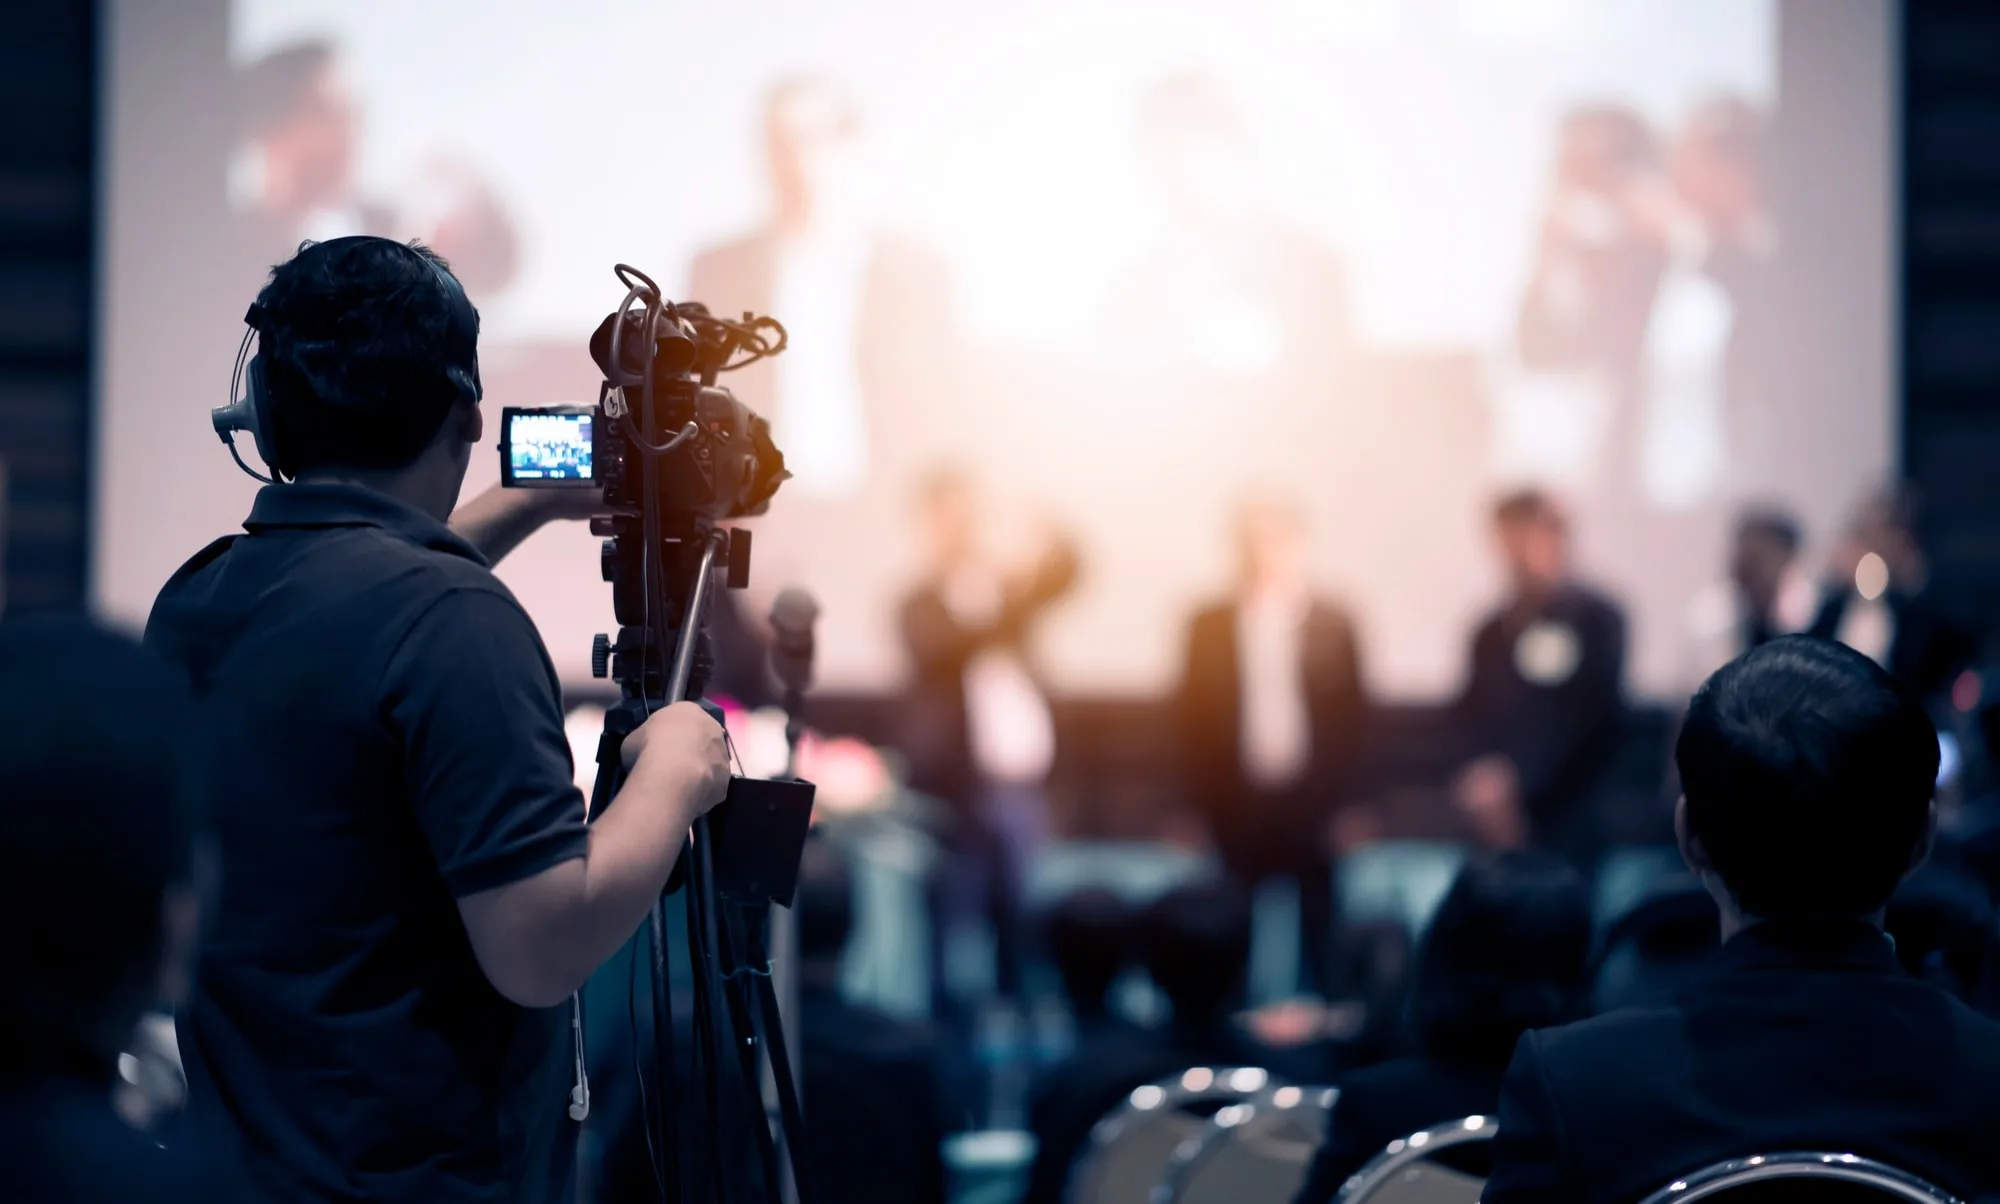
Stage 2: Production
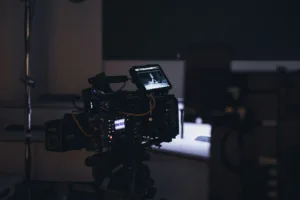
Now it’s time for the fun part – actually shooting your video! During the production stage, you’ll be capturing all the footage you need to bring your vision to life. This includes setting up the camera and lights, recording audio, and directing your talent (if you have any). You’ll be working closely with your crew to make sure everything runs smoothly and you get all the shots you need.
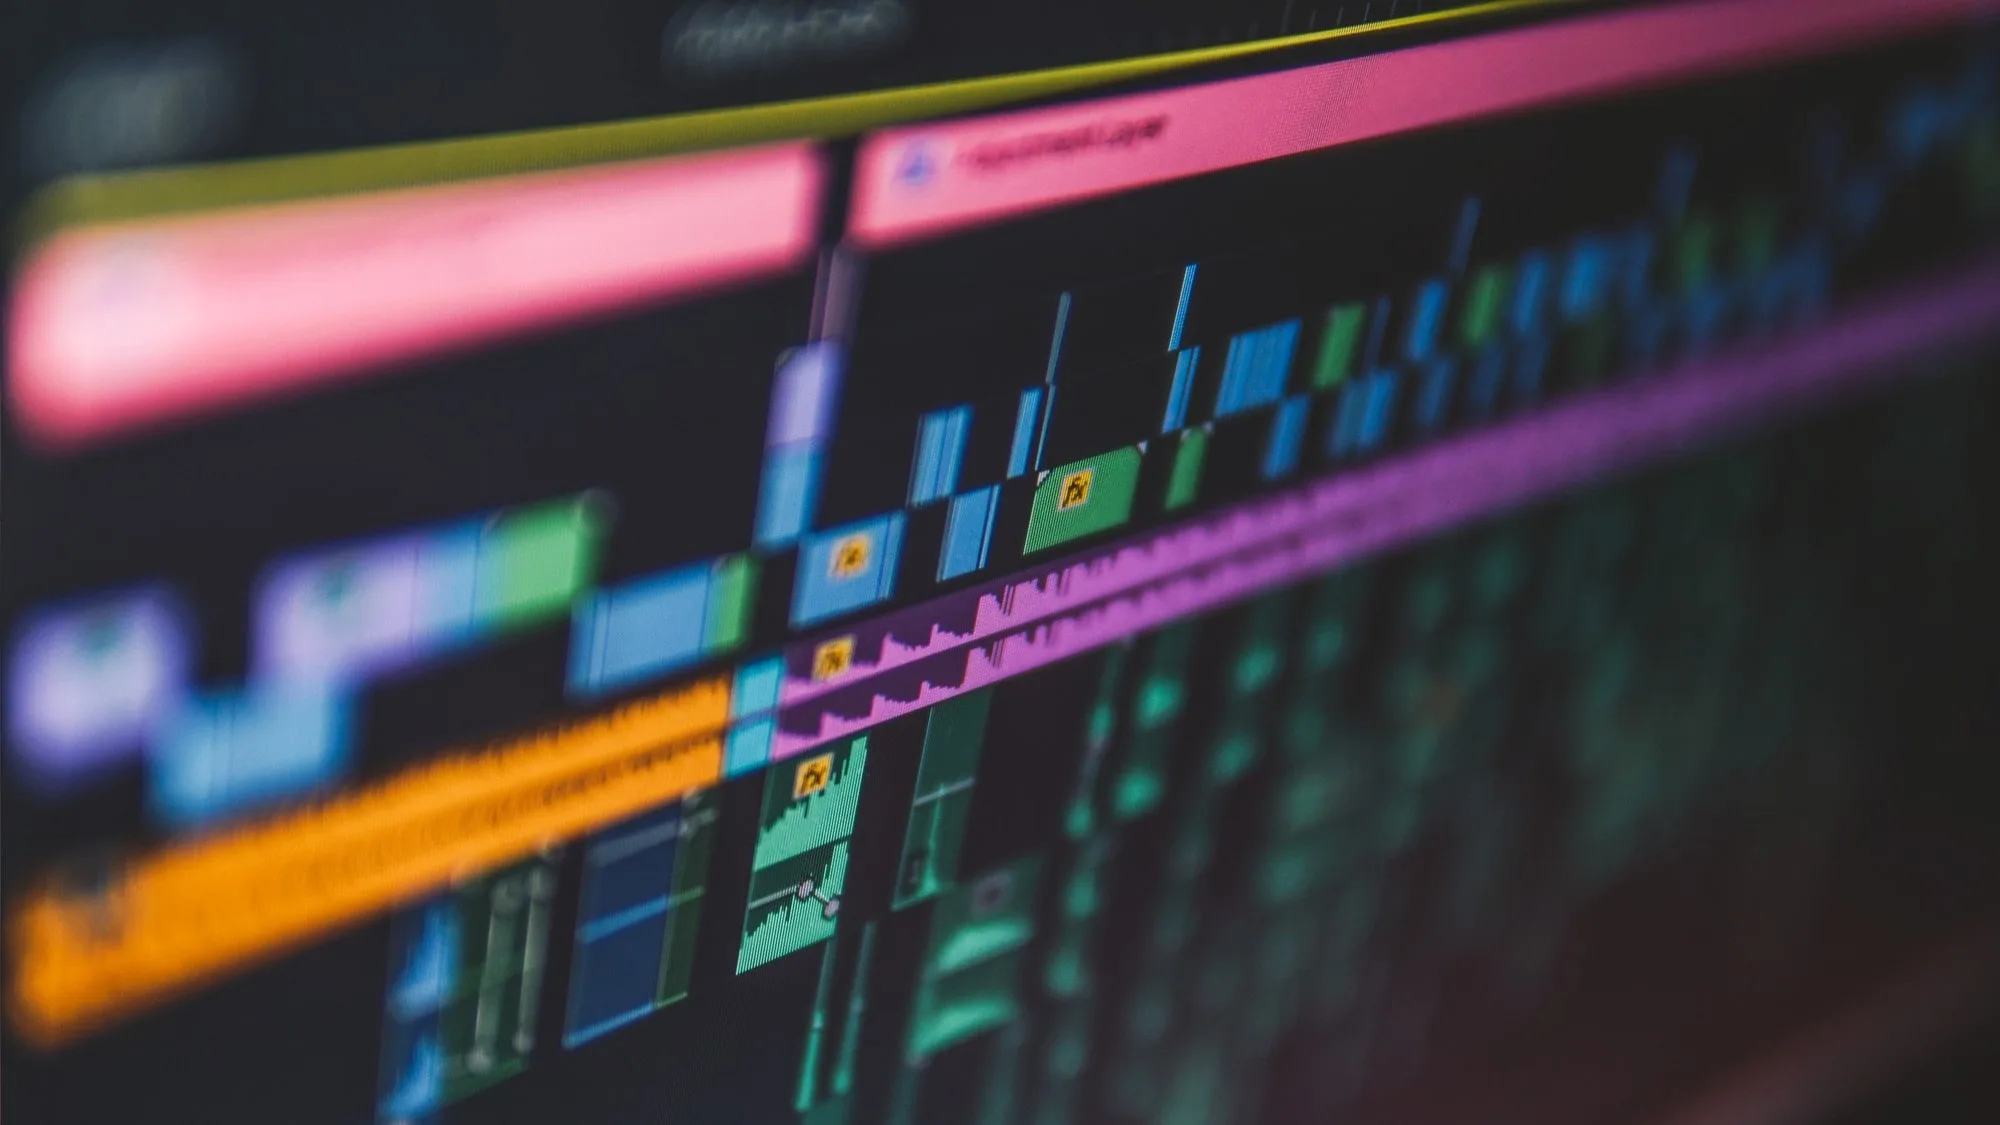
Stage 3: Post-Production
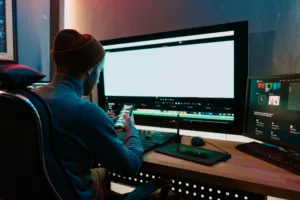
Finally, we come to the third and final stage of video production – post-production. This is where all the magic happens. During this stage, you’ll be editing your footage, adding special effects, and creating sound design. You’ll also be color correcting and mastering your video to make it look and sound its best. Think of this stage as putting all the puzzle pieces together to create the final product.
So there you have it – the 3 stages of video production in a nutshell. Whether you’re a seasoned pro or a newbie, these stages are essential to creating a successful video. Just remember to have fun and enjoy the process – after all, video production is an art form and there’s no right or wrong way to do it!
Hey there, movie buffs and sound geeks! Have you ever heard of Automated Dialogue Replacement (ADR)? It’s a fascinating process used in film and television production that involves re-recording dialogue in a studio after filming. Today, we’re going to dive into the world of ADR and learn more about what it is and why it’s used. So, grab your popcorn and let’s get started!
What is ADR?
Automated Dialogue Replacement (ADR), also known as “looping,” is a post-production process where dialogue is re-recorded in a studio and synced up with the visuals on screen. This is done for a variety of reasons, including improving the sound quality, correcting mistakes or inconsistencies in the original dialogue, and adding new lines that weren’t captured during filming.
Why is ADR used?
ADR is used for a variety of reasons, but mainly it’s because it allows filmmakers to have more control over the sound quality and consistency of the dialogue. Sometimes, the audio recorded on set can be plagued by background noise, wind, or other unwanted sounds that can make it difficult to hear the dialogue clearly. ADR allows filmmakers to record the dialogue in a controlled environment, without any unwanted noise or distractions.
ADR is also used to correct mistakes or inconsistencies in the original dialogue. Sometimes, actors may stumble over their lines, or the audio may not be clear enough to use in the final edit. ADR allows the actors to re-record their lines, ensuring that the dialogue is clear and consistent throughout the film.
Finally, ADR is sometimes used to add new lines that weren’t captured during filming. This can be done for a variety of reasons, including adding humor, improving the story, or filling in gaps in the dialogue.
How does ADR work?
ADR typically involves the following steps:
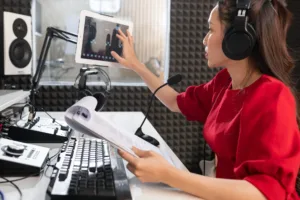
The actor watches the scene on a monitor while listening to the original audio in their headphones.
The actor records their lines in sync with the visuals on screen, using a special microphone that is designed to capture high-quality sound.
The new dialogue is synced up with the visuals using special software, ensuring that the lips of the actors match the new dialogue.
Conclusion:
In conclusion, Automated Dialogue Replacement (ADR) is a crucial process in film and television production that allows filmmakers to have more control over the sound quality and consistency of the dialogue. It’s a fascinating process that involves re-recording dialogue in a studio and syncing it up with the visuals on screen. So, the next time you’re watching your favorite movie or TV show, listen closely for any ADR, and appreciate the hard work that goes into creating seamless dialogue on screen.