

Premiere Pro vs Premiere Rush: Which Editing Software Is Best For You?
Premiere Pro vs Premiere Rush: Which One Is Right for You?
When it comes to video editing, the question often arises: Premiere Pro vs. Premiere Rush — which one should you use? If you’re new to video editing or trying to figure out the right tool for your needs, you may be confused by the differences between these two Adobe programs. Fear not, we’ve got you covered. In this blog post, we’ll break down the key distinctions between Premiere Pro and Premiere Rush and help you decide which software suits you best.
What is Premiere Pro?
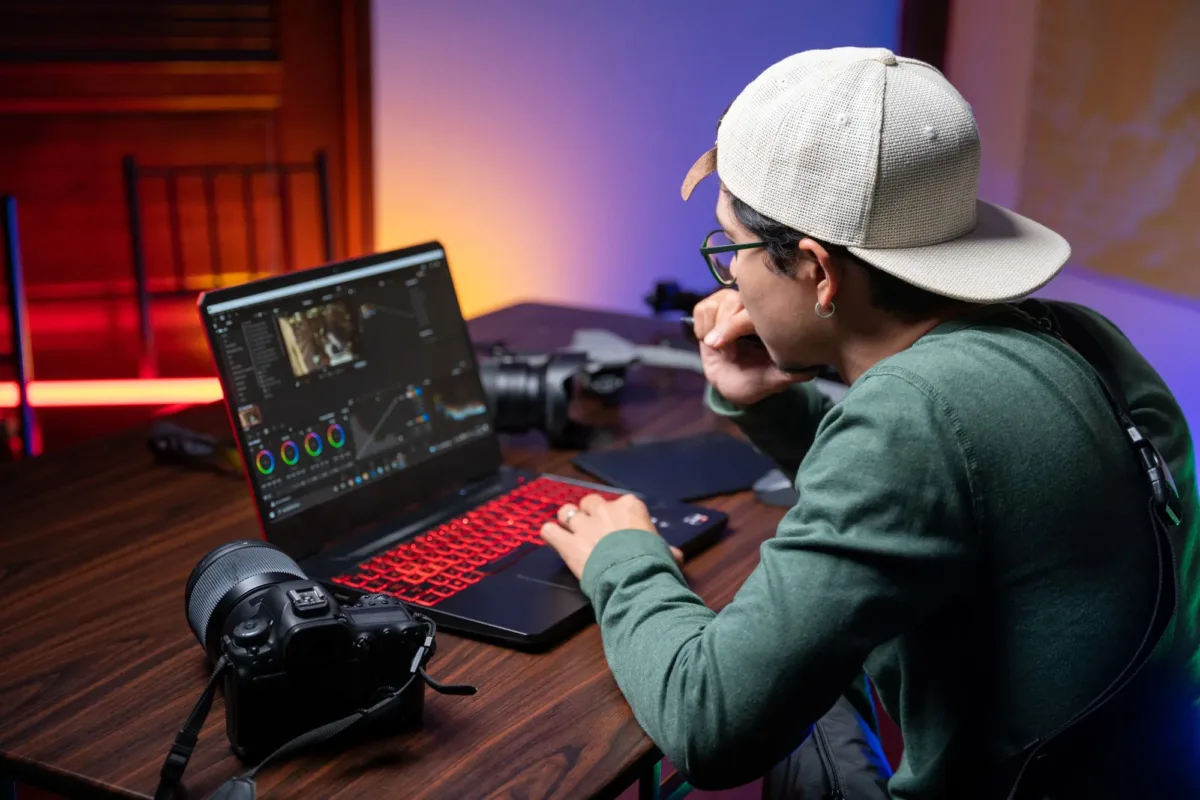
Premiere Pro is Adobe’s flagship video editing software, designed for professional-grade projects. Filmmakers, YouTubers, and video production experts rely on Premiere Pro for its extensive set of features, customization options, and powerful capabilities. Whether you’re editing short clips, full-length movies, or video ads, Premiere Pro provides granular control over every aspect of your project.
Key Features of Premiere Pro:
- Advanced editing tools with precision controls
- Support for multi-cam editing and complex projects
- Color correction and grading with Lumetri Color
- Compatibility with various plugins and third-party integrations
- Built-in motion graphics and animation capabilities
Pros of Premiere Pro:
- Professional-grade output
- Extensive customization
- Great for large, complex projects
Cons of Premiere Pro:
- Steep learning curve
- Higher cost (requires a more expensive subscription)
What is Premiere Rush?
Premiere Rush, as the name suggests, is geared toward quick and easy video editing. It’s perfect for content creators, social media influencers, or anyone looking to create videos without diving into the complexities of advanced video editing. While it shares some tools with Premiere Pro, Premiere Rush simplifies the process by focusing on ease of use and speed. It’s the perfect choice for those who want to edit on the go and publish to platforms like YouTube, Instagram, or TikTok.
Key Features of Premiere Rush:
- Easy-to-use, intuitive interface
- Built-in templates for social media optimization
- Automatic resizing for different platforms (YouTube, Instagram, etc.)
- Cross-platform functionality, allowing you to edit on your phone, tablet, or desktop
- Seamless integration with Premiere Pro for more advanced edits
Pros of Premiere Rush:
- User-friendly interface
- Perfect for social media content creators
- Affordable and mobile-friendly
Cons of Premiere Rush:
- Limited advanced features
- Not suitable for large, complex projects
Premiere Pro vs Premiere Rush: Key Differences
While both tools are part of Adobe’s video editing suite, the two have fundamental differences that cater to different users.
| Feature | Premiere Pro | Premiere Rush |
|---|---|---|
| User Type | Professionals (Filmmakers, YouTubers, Video Producers) | Casual editors (Content creators, Influencers) |
| Learning Curve | Steeper; requires practice and tutorials | Easier; intuitive and beginner-friendly |
| Project Size | Handles large, complex projects with ease | Suitable for shorter, simpler projects |
| Customization | High level of customization with advanced editing tools | Limited customization; focuses on ease of use |
| Mobile Editing | Desktop-focused but can sync with mobile apps | Designed with mobile-first in mind |
| Price | More expensive (Part of Adobe Creative Cloud) | More affordable (Available as a standalone app) |
When to Choose Premiere Pro
You should choose Premiere Pro if:
- You’re a professional filmmaker, YouTuber, or video producer working on high-end projects.
- You need full control over every aspect of the editing process.
- You’re comfortable with advanced editing tools and techniques.
- Your projects require complex timelines, multiple video layers, and high-end visual effects.
When to Choose Premiere Rush
Premiere Rush is the better option if:
- You’re a beginner or casual video editor.
- You want to create quick videos for social media platforms like YouTube, Instagram, or TikTok.
- You need a streamlined editing experience that allows you to publish content fast.
- You plan to edit videos on mobile devices or want to edit on the go.
Pricing Comparison
Another crucial aspect to consider is pricing. Adobe Premiere Pro is part of the Adobe Creative Cloud, meaning it comes with a higher price tag, especially if bundled with other Adobe apps. Premiere Rush is much more affordable and is available either as part of Creative Cloud or as a standalone app with a lower subscription cost.
| Plan | Premiere Pro | Premiere Rush |
|---|---|---|
| Single App Subscription | $20.99/month | $9.99/month |
| Creative Cloud All Apps Plan | $54.99/month | Included in this plan |
| Premiere Rush Starter Plan | Not applicable | Free with limited features |
Final Thoughts: Which One is Right for You?
At the end of the day, the choice between Premiere Pro and Premiere Rush comes down to your editing needs and budget. If you’re a professional or aspire to work in the film or video production industry, Premiere Pro will offer you the advanced features and customizations necessary for top-tier editing. However, if you’re looking for a simpler, more affordable solution for creating social media videos, vlogs, or casual content, Premiere Rush is the perfect choice.
Whichever software you choose, both offer excellent tools to unleash your creativity and help you bring your vision to life.
Happy editing!
Related Content.