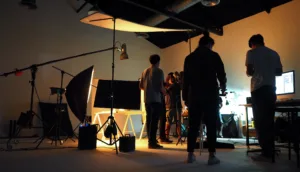
Are you ready to take your filmmaking skills to the next level? If you’re looking to add some serious drama and tension to your videos, chiaroscuro lighting might just be the answer. In this blog, we’ll break down what chiaroscuro lighting is and how to use it to create some seriously captivating footage. So get ready to dive into the world of lighting and shadows!
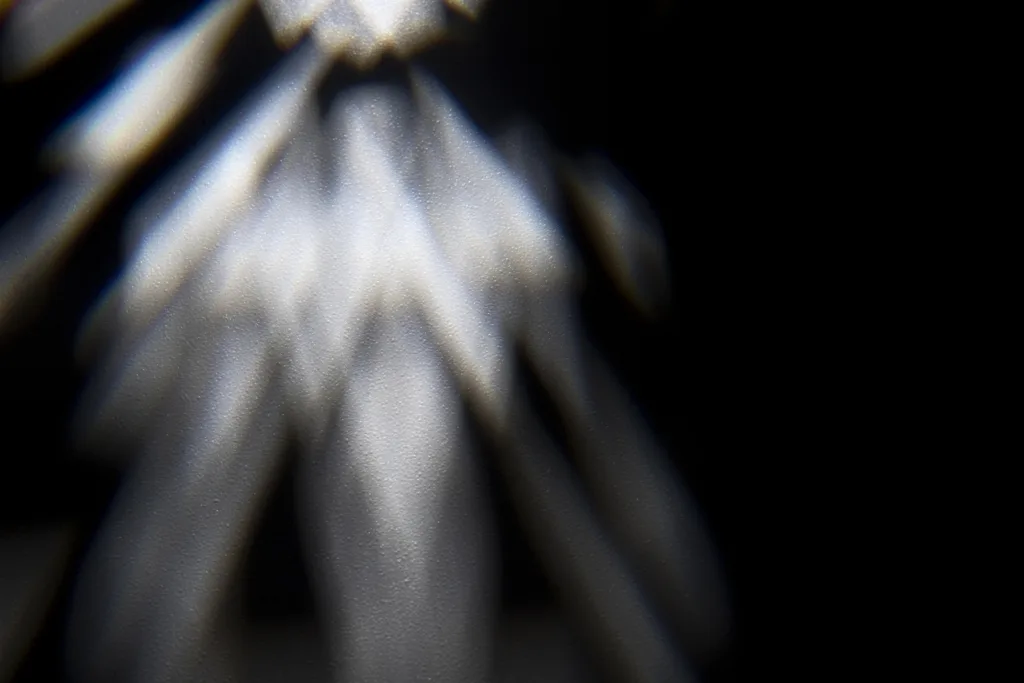
First things first, what the heck is chiaroscuro lighting? Simply put, it’s a technique that uses strong contrasts between light and dark to create depth and drama in a scene. Think of those classic film noirs with dark alleys and shadowy figures – that’s chiaroscuro lighting at work.
So how do you create this effect? Here are a few tips:
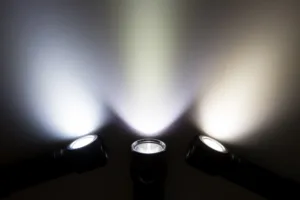
Tip #1: Use a single light source
Chiaroscuro lighting is all about creating strong contrasts between light and shadow, so using a single, strong light source can help you achieve this effect. Try positioning your light source off to one side of your subject to create strong shadows on the opposite side.
Tip #2: Play with angles
The angle of your light source can also have a big impact on the look of your shot. Experiment with different angles to create interesting shadows and highlights. You might try positioning your light source above your subject for a more dramatic effect.
Tip #3: Control your light intensity
Since chiaroscuro lighting relies on strong contrasts, you’ll want to make sure your light source is bright enough to create those deep shadows. But be careful not to overdo it – you don’t want your footage to be too blown out or harsh. Use dimmer switches or diffusion material to control the intensity of your light.
Tip #4: Get creative with your shadows
Finally, don’t be afraid to get creative with your shadows. You can use objects to create interesting shapes and patterns, or even use a piece of cardboard to block part of the light source and create a more defined shadow.
By using these tips, you can create some seriously stunning footage with chiaroscuro lighting. Whether you’re filming a dramatic scene or just looking to add some visual interest to your shots, this technique is a powerful tool in any filmmaker’s arsenal. So go forth and experiment – who knows, you might just create the next film noir classic!
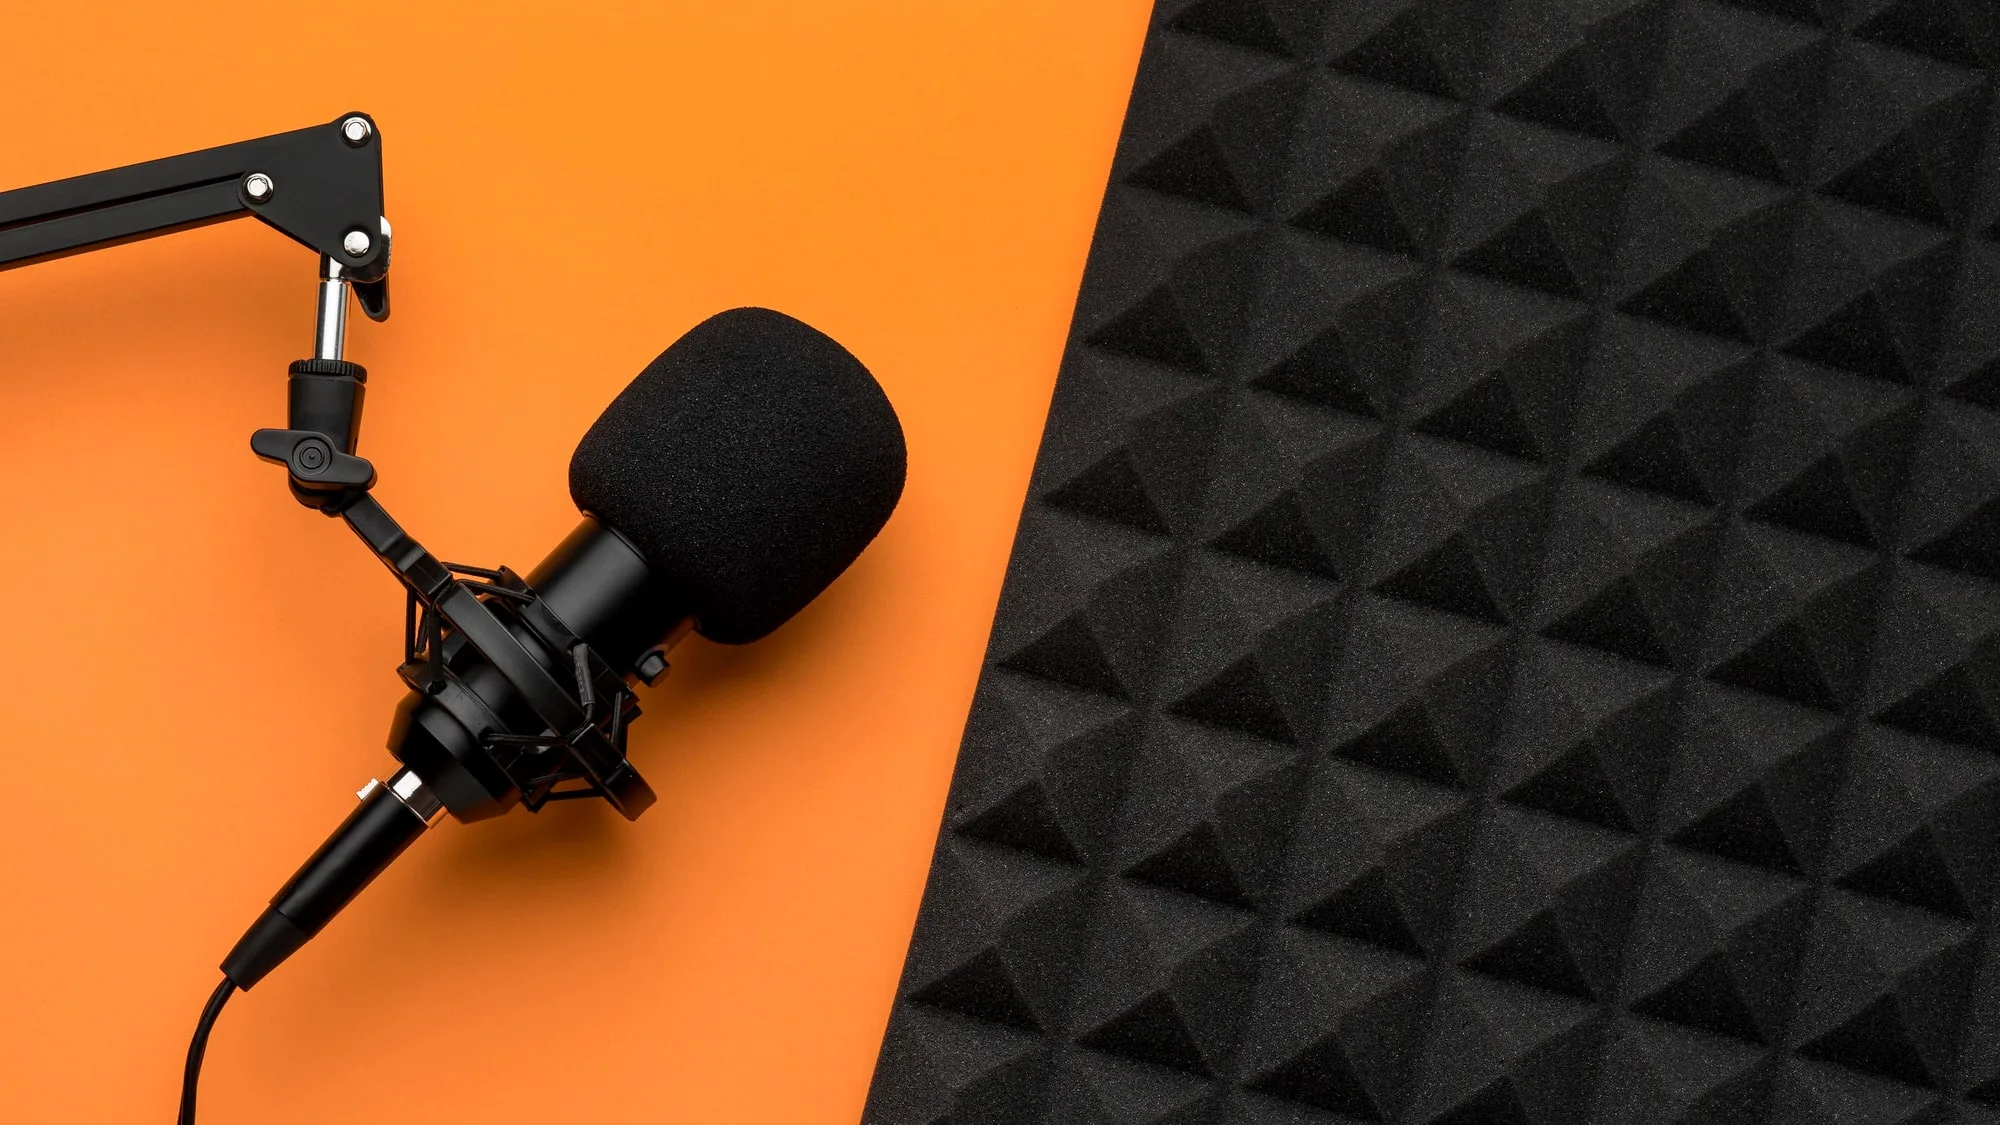
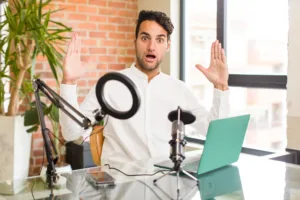
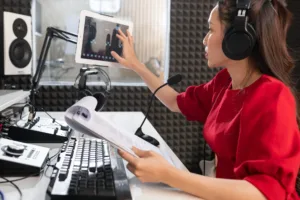
Hey there, movie buffs and sound geeks! Have you ever heard of Automated Dialogue Replacement (ADR)? It’s a fascinating process used in film and television production that involves re-recording dialogue in a studio after filming. Today, we’re going to dive into the world of ADR and learn more about what it is and why it’s used. So, grab your popcorn and let’s get started!
What is ADR?
Automated Dialogue Replacement (ADR), also known as “looping,” is a post-production process where dialogue is re-recorded in a studio and synced up with the visuals on screen. This is done for a variety of reasons, including improving the sound quality, correcting mistakes or inconsistencies in the original dialogue, and adding new lines that weren’t captured during filming.
Why is ADR used?
ADR is used for a variety of reasons, but mainly it’s because it allows filmmakers to have more control over the sound quality and consistency of the dialogue. Sometimes, the audio recorded on set can be plagued by background noise, wind, or other unwanted sounds that can make it difficult to hear the dialogue clearly. ADR allows filmmakers to record the dialogue in a controlled environment, without any unwanted noise or distractions.
ADR is also used to correct mistakes or inconsistencies in the original dialogue. Sometimes, actors may stumble over their lines, or the audio may not be clear enough to use in the final edit. ADR allows the actors to re-record their lines, ensuring that the dialogue is clear and consistent throughout the film.
Finally, ADR is sometimes used to add new lines that weren’t captured during filming. This can be done for a variety of reasons, including adding humor, improving the story, or filling in gaps in the dialogue.
How does ADR work?
ADR typically involves the following steps:
The actor watches the scene on a monitor while listening to the original audio in their headphones.
The actor records their lines in sync with the visuals on screen, using a special microphone that is designed to capture high-quality sound.
The new dialogue is synced up with the visuals using special software, ensuring that the lips of the actors match the new dialogue.
Conclusion:
In conclusion, Automated Dialogue Replacement (ADR) is a crucial process in film and television production that allows filmmakers to have more control over the sound quality and consistency of the dialogue. It’s a fascinating process that involves re-recording dialogue in a studio and syncing it up with the visuals on screen. So, the next time you’re watching your favorite movie or TV show, listen closely for any ADR, and appreciate the hard work that goes into creating seamless dialogue on screen.
Hey there, filmmakers and video enthusiasts! Have you ever wondered what diffused light is and why it’s so important in filmmaking? Well, today we’re going to shed some light on this (pun intended) and explain why diffused light is a crucial element in creating stunning visuals. So, let’s dive in and learn more!
What is diffused light?
Diffused light is a type of light that has been scattered or spread out, resulting in a soft and even light source. This is in contrast to harsh direct light, which creates strong shadows and can be unflattering. Diffused light can be created using a variety of methods, including softboxes, diffuser panels, and even natural light on an overcast day.
Why do filmmakers use diffused light?
Filmmakers use diffused light for a variety of reasons, but mainly it’s because it creates a soft and flattering light source that can be used to enhance the look of their subjects. Diffused light can be used to create a variety of moods and styles, from bright and airy to moody and dramatic. It’s also great for creating a more natural and realistic look, as it mimics the soft, even light that you might find on a cloudy day.
Diffused light is also great for reducing harsh shadows and creating a more flattering look for your subjects. It can help to smooth out skin tones and make your subjects look more youthful and vibrant. This is why many portrait photographers and beauty vloggers swear by diffused light for creating stunning visuals.
So, how can you create diffused light?
There are several ways to create diffused light, depending on your budget and equipment. Here are a few options:
Softboxes:
These are specially designed light modifiers that can be attached to your lights to create a soft and even light source. They come in a variety of shapes and sizes, from small tabletop versions to large studio models.
Diffuser panels:
These are large, translucent panels that can be used to diffuse natural light or artificial light sources. They can be hung over windows or placed in front of lights to create a soft and even light source.
Umbrellas:
Yes, you read that right. Photography umbrellas can also be used to create diffused light. Simply point your light source at the inside of the umbrella, and the light will bounce back towards your subject, creating a soft and even light source.
In conclusion, diffused light is a crucial element in creating stunning visuals in filmmaking and photography. It can help to create a variety of moods and styles, while also making your subjects look more flattering and natural. So, go ahead and experiment with diffused light in your next project, and see how it can transform your visuals. Happy filming!
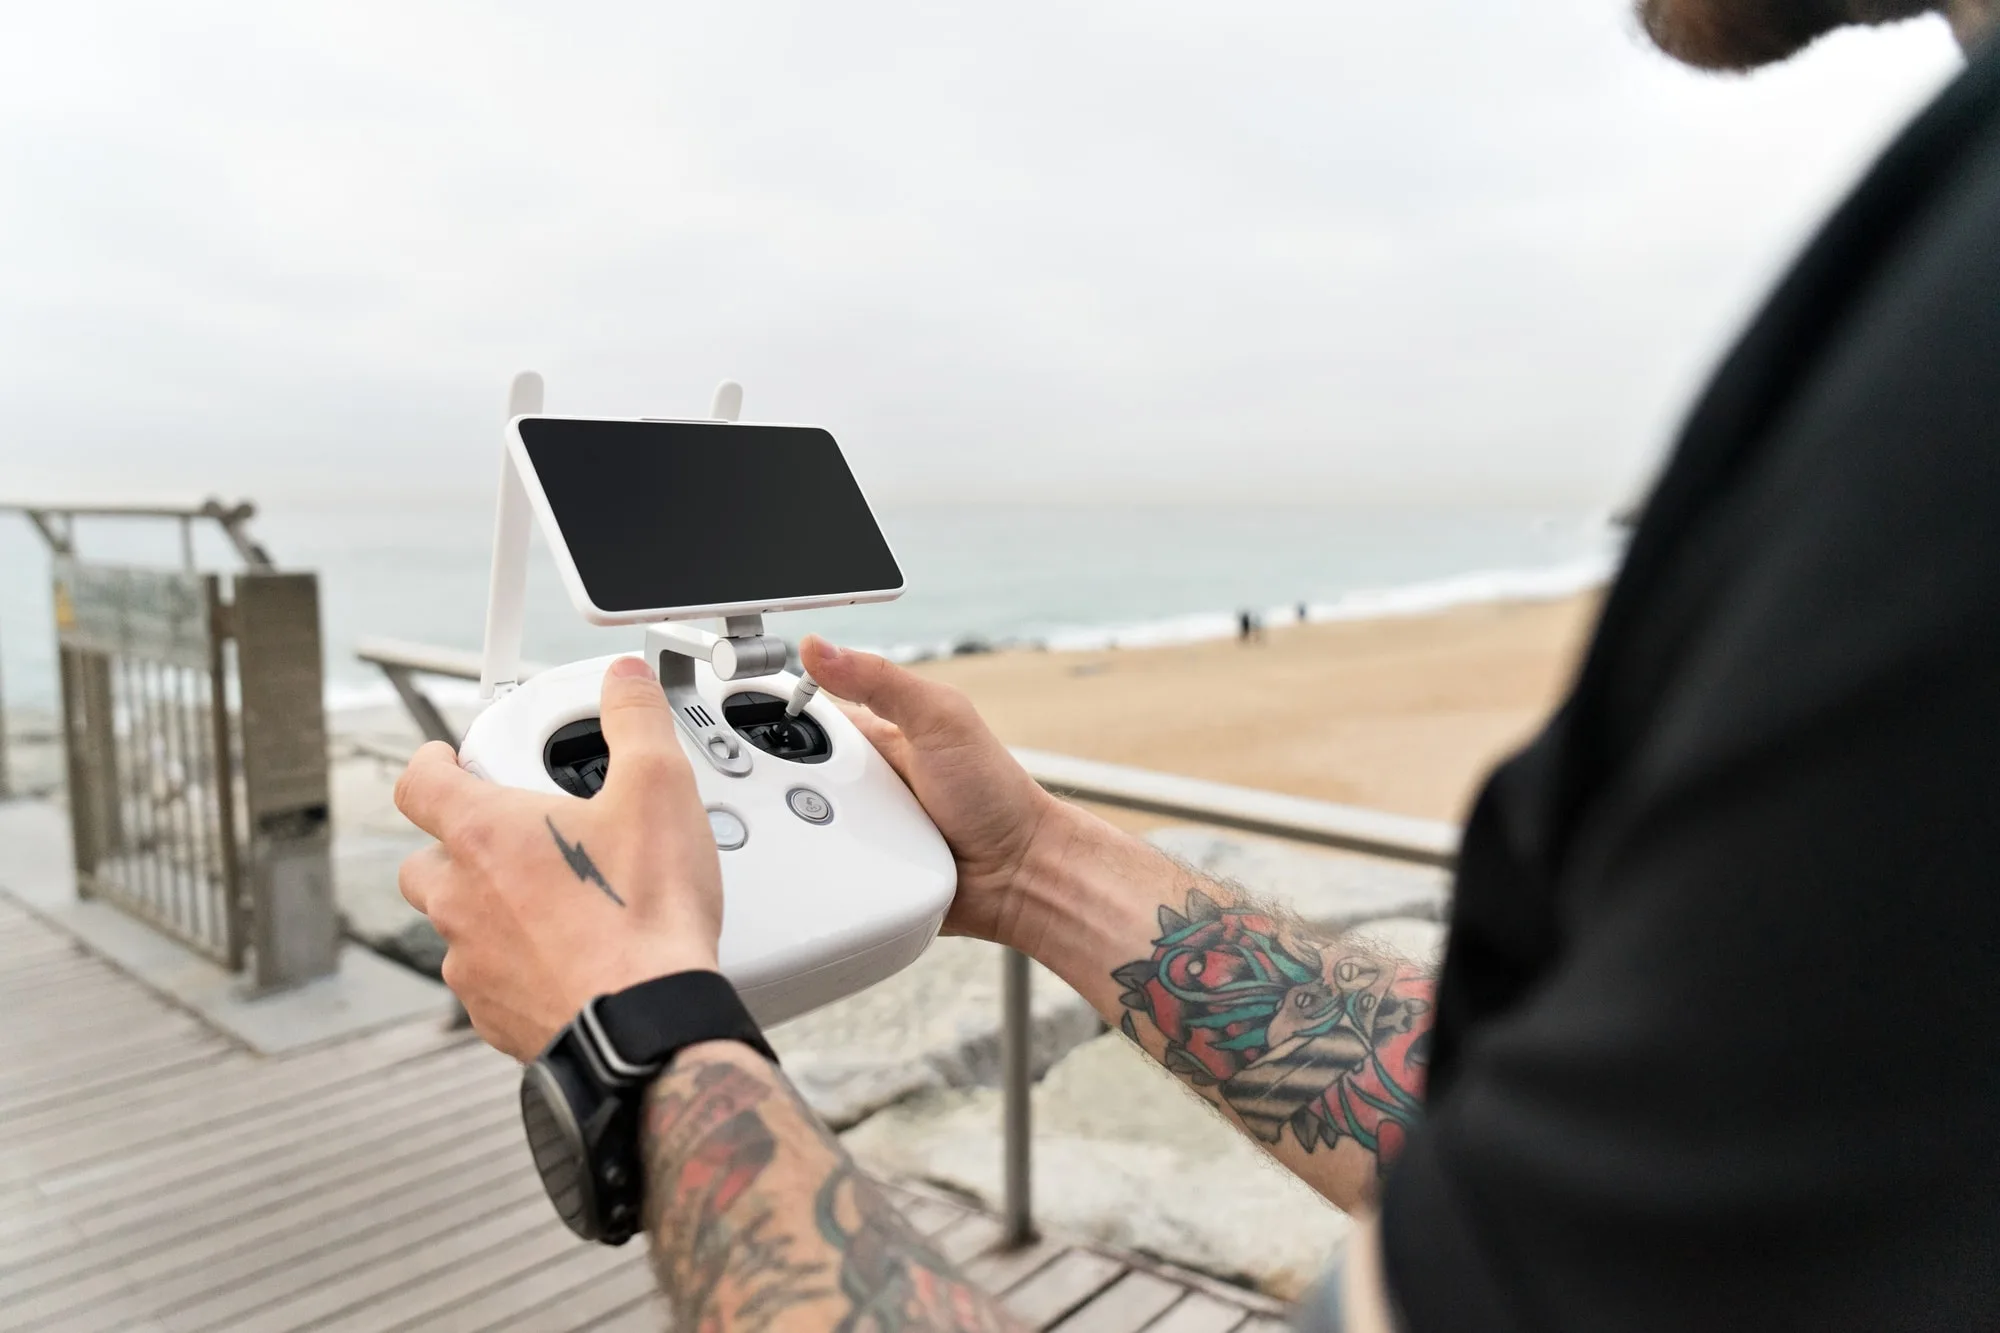
Hey there, drone enthusiasts! Are you ready to take to the skies and capture some epic footage? Whether you’re a beginner or a seasoned pro, there are always new tips and tricks to learn to take your drone flying skills to the next level. So, let’s dive in and check out some drone flying tips that will make you soar!
Start Small.
If you’re new to the world of drones, start with a small and easy-to-control model to get the hang of flying. This will help you avoid crashes and build your confidence before moving on to bigger and more expensive drones.
Get to Know Your Drone.
Read the manual, familiarize yourself with the controls, and practice in a safe and open area. Understanding how your drone works and responds to your inputs is crucial to avoid crashes and capture the footage you want.
Pay Attention to Battery Life.
Keep an eye on your drone’s battery life and always make sure you have enough power to get back safely. Also, consider getting spare batteries so you can fly for longer without having to stop and recharge.
Plan Your Shots
Before taking off, plan your shots and think about the type of footage you want to capture. This will help you fly more efficiently and get the footage you need in fewer flights.
Fly Slow and Steady.
Flying slow and steady will not only help you capture smoother footage but also help you avoid collisions and crashes. Take your time and focus on getting the shots you need.
Practice Advanced Techniques.
Once you’ve got the hang of basic drone flying, try practicing advanced techniques like orbiting, tracking, and fly-through shots. These techniques will take your footage to the next level and make your videos stand out.
Respect Local Regulations.
Before flying your drone, make sure to check local regulations and follow any guidelines or restrictions. This will help you avoid fines, legal trouble, and negative attention.
Drone Flying Conclusions.
In conclusion, flying a drone can be an incredible and rewarding experience, but it also requires responsibility and skill. By following these drone flying tips, you’ll be able to capture amazing footage and take your videos to new heights. So, get out there, practice, and have fun!